You’re on a quest for perfection in your podcast studio. Every note, every beat, every sound wave matters. But there’s an uninvited guest in your creative space – noise. It creeps in unannounced, turning your crisp, clear audio into a muddled mess.
That’s where sound blankets come in, your unsung heroes in the battle against noise. In this article, we’re diving deep into the world of sound blankets. We’ll explore why they’re essential for your studio and how they can transform your audio experience.
The Best Sound Blankets For Studio Soundproofing
Imagine a blanket, but not just any blanket. This one’s a guardian of your studio’s sound integrity. Sound blankets are not your average household throws; they are sophisticated and designed to absorb and minimize noise, giving you the control you crave over your audio environment.
Whether you’re a budding podcaster, a seasoned music producer, or a filmmaker, understanding the role of sound blankets in your studio is crucial. Let’s embark on this journey to find the perfect sound blanket that meets your studio’s unique needs.
1. Filmcraft Studio Sound Blanket
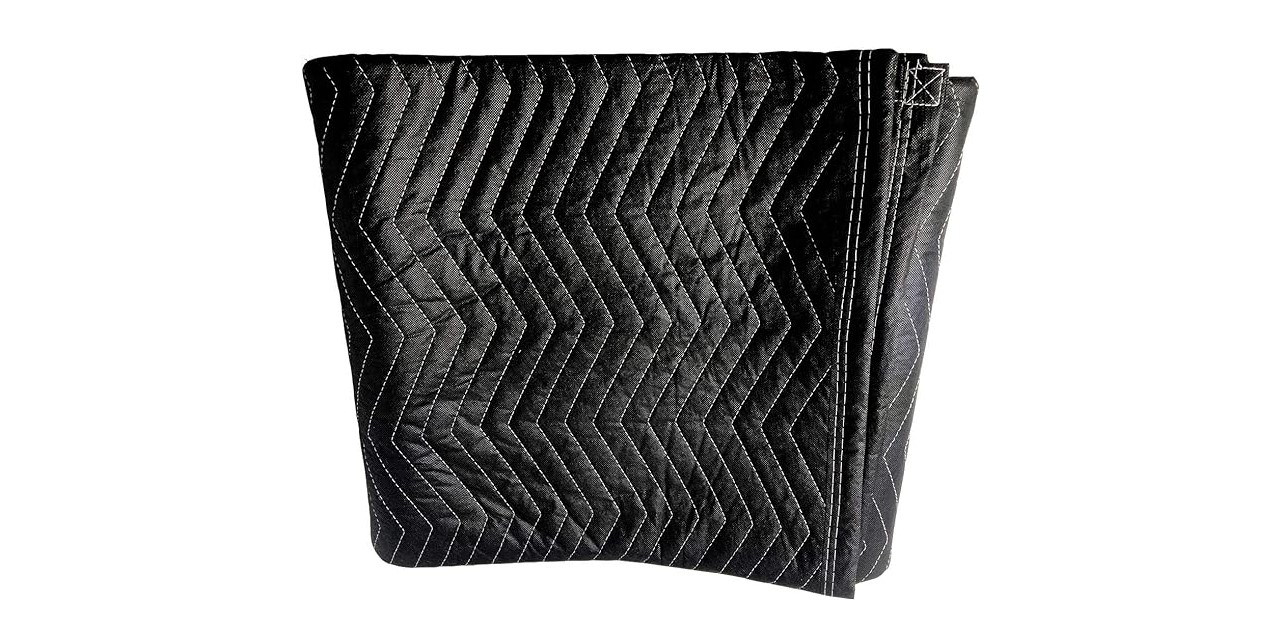
The Filmcraft Studio Sound Blanket has grommets on all sides for easy draping. Image Source.
Key Features
- High-quality sound-absorbing fabric
- Versatile for studios, home theaters, and more
- Easy installation with grommets
· Large size for ample coverage
The Filmcraft Studio Sound Blanket is more than just a barrier; it’s a meticulously designed sound management tool. Crafted with precision, it targets the specific needs of audio professionals and enthusiasts alike. Whether you’re laying down tracks in the studio or setting up a serene space for post-production, this sound control blanket is your ally in achieving unparalleled sound clarity.
Each blanket is constructed with a focus on both functionality and durability. The high-quality sound-absorbing fabric is selected not only for its ability to capture and nullify unwanted noise but also for its longevity. This means you’re investing in a product that will stand the test of time, session after session.
The Filmcraft Studio Sound control blankets aren’t just for recording studios. It’s a versatile piece that fits perfectly in various settings – from home theaters to vocal booths. Its large size and easy-to-use grommets make it adaptable to different environments, ensuring that wherever you are, superior sound quality follows.
Pros
- Exceptional sound absorption.
- Durable and long-lasting.
- Easy to set up and versatile.
Cons
- Bulky for smaller spaces.
2. US Cargo Sound Dampening Blanket
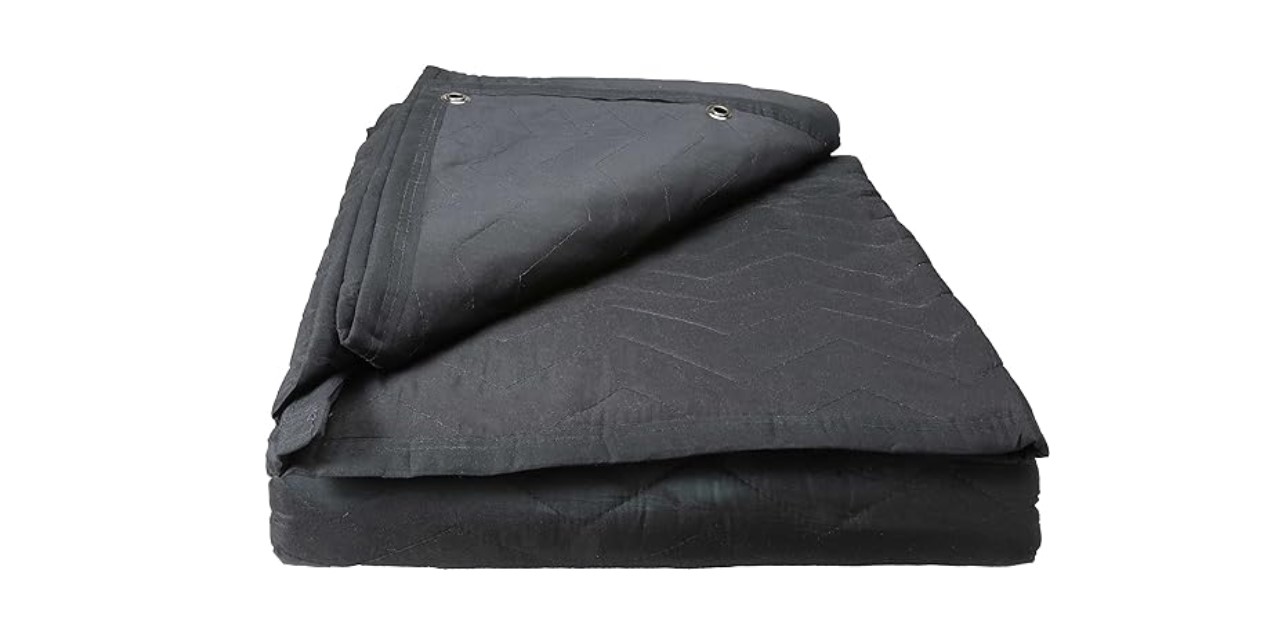
US Cargo Control’s sound dampening blanket consists of 100% recycled cotton batting wrapped with a quilted, woven cotton/polyester fabric shell for superior sound absorbing. Image Source.
Key Features
- Superior sound dampening.
- Heavy-duty construction.
- Multipurpose across environments.
- Easy to handle.
The US Cargo Sound Dampening Blanket is a powerhouse in noise reduction. Designed with the needs of audio professionals in mind, it significantly reduces external noise and internal echo, creating a controlled audio environment. This blanket is an essential tool for anyone serious about sound.
Durability is key in sound management products, and this blanket doesn’t disappoint. Its heavy-duty construction ensures it can withstand the rigors of studio use, as well as more demanding environments like workshops or transport vehicles. This is a sound-dampening solution built for the long haul.
Despite its robust build, the US Cargo blanket is surprisingly easy to handle. Its manageable size and weight allow for quick and easy setup, making it a go-to choice for various applications. Whether you’re recording, mixing, or simply seeking a quieter space, this blanket adapts to your needs.
Pros
- Highly effective in noise reduction.
- Durable and robust.
- Versatile and user-friendly.
Cons
- Heavier than other options.
- Not ideal for very small spaces.
3. Audimute Sound Absorption Sheet

The Audimute Sound Absorption Sheet has a dimension of 26.97 x 26.85 x 3.66 inches. Image Source.
Key Features
- Made with eco-friendly eco-C-tex.
- Lab-tested for echo reduction and clarity.
- Easy installation with included hardware.
- Non-toxic and health-conscious design.
Enter the realm of precise sound management with the Audimute Sound Absorption Sheet. This isn’t just a product; it’s a revolution in acoustic treatment. With its ability to absorb an impressive 85% of sound waves, it stands out as a top-tier choice for anyone looking to enhance their audio environment.
What sets the Audimute apart is its commitment to environmental responsibility without compromising on quality. Made in the USA with eco-C-tex, it outperforms traditional acoustic materials like fiberglass or foam, both in sound absorption and ecological impact. This is sound management with a conscience.
In today’s world, health and safety are paramount. The Audimute Sound Absorption Sheet aligns with these values, being non-toxic, non-carcinogenic, and free from harmful materials like fiberglass or inferior foam. It’s a choice that protects your health as much as it enhances your sound.
Pros
- Superior sound absorption.
- Environmentally friendly.
- Easy to install and remove.
Cons
- Slightly higher price point.
4. Forearm Forklift Heavy Weight Quilted Moving Blanket
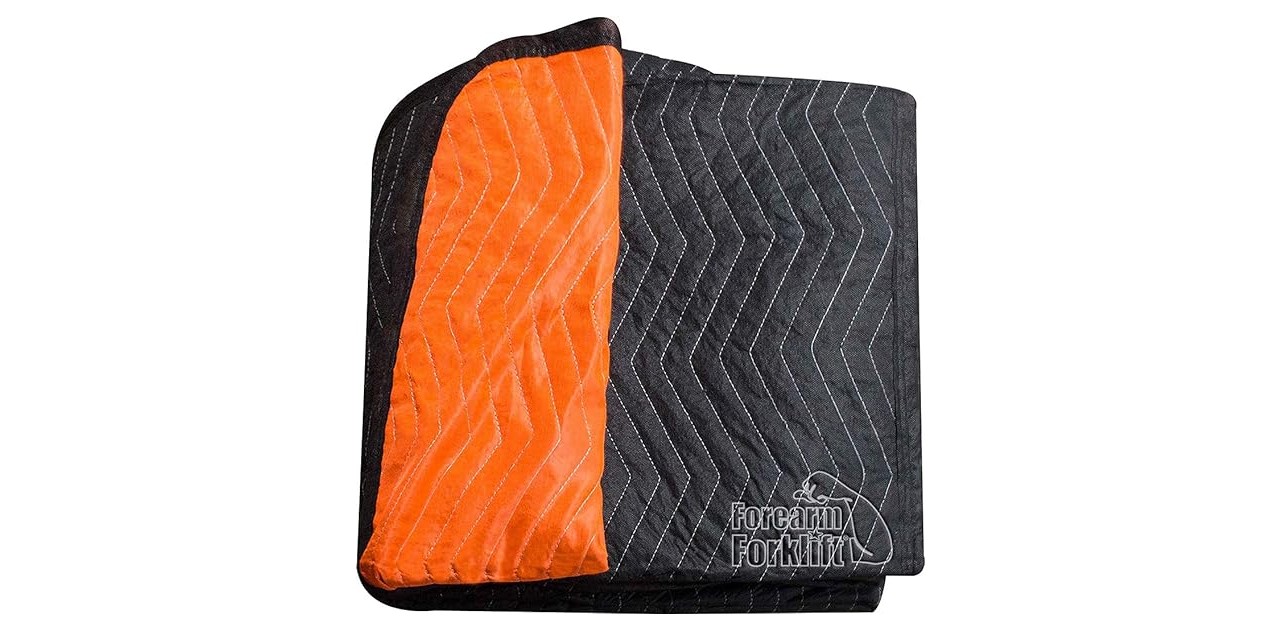
The Forearm Forklift has double stitching plus cloth binding on all edges make for a long lasting, strong multi use blanket. Image Source.
Key Features
- Heavyweight fabric for maximum protection.
- Quilted for extra padding and cushioning.
- Generously sized to cover large items.
- Durable and designed for repeated use.
When you’re gearing up for a big move, the Forearm Forklift Blanket is your go-to ally. This isn’t just any moving blanket; it’s a heavyweight champion in the world of moving supplies. Picture this: a thick, quilted blanket, robust enough to shield your most cherished items from the rigors of moving. It’s like wrapping your valuables in a protective embrace.
The blanket’s substantial weight and size (72 x 80 inches) mean it can cover large pieces of furniture, safeguarding them against scratches, dings, and dust. The quilted pattern isn’t just for show; it adds an extra layer of cushioning, providing peace of mind as your belongings jostle and shift in transit. This blanket is a workhorse, designed to withstand the demands of both professional movers and DIY enthusiasts alike.
Pros
- Superior protection for valuable items.
- Ideal for heavy-duty moving and storage.
- Versatile for a range of items, from furniture to electronics.
Cons
- The heavyweight nature might be cumbersome for some users.
5. Sure-Max 12 Heavy-Duty Blankets
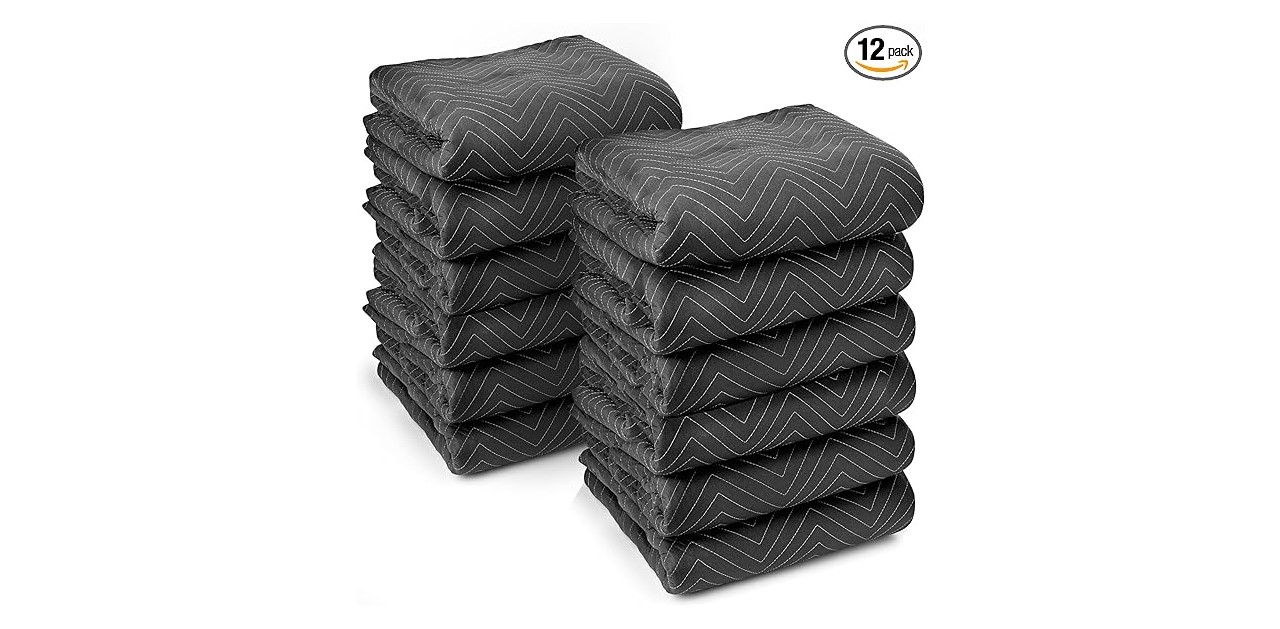
The Sure-Max 12 is constructed with thick, padded virgin cotton batting with polyester binding. Image Source.
Key Features
- A set of 12 for comprehensive coverage.
- Thick and padded for superior protection.
- Large size for wrapping bulky items.
- Durable for long-term use and multiple moves.
Imagine having a personal bodyguard for each of your precious belongings during a move. That’s what the Sure-Max 12 Heavy-Duty Blankets offer. This set of 12 blankets is like an army, ready to defend your furniture, appliances, and other large items from the hazards of moving.
Each blanket in the set is crafted with a focus on durability and protection. They’re thick, padded, and ready to absorb shocks and impacts. Whether you’re moving across town or storing items for the long term, these blankets are up to the task. The size of each blanket (80 x 72 inches) is perfect for wrapping up even your bulkiest items, ensuring they arrive at their destination unscathed.
Pros
- Excellent value with a set of 12.
- Ideal for large-scale moves or storage needs.
- High-quality construction for durability.
Cons
- The set’s bulkiness may require significant storage space.
6. Audimute Isolé Sound Barrier And Sound Absorption Sheet
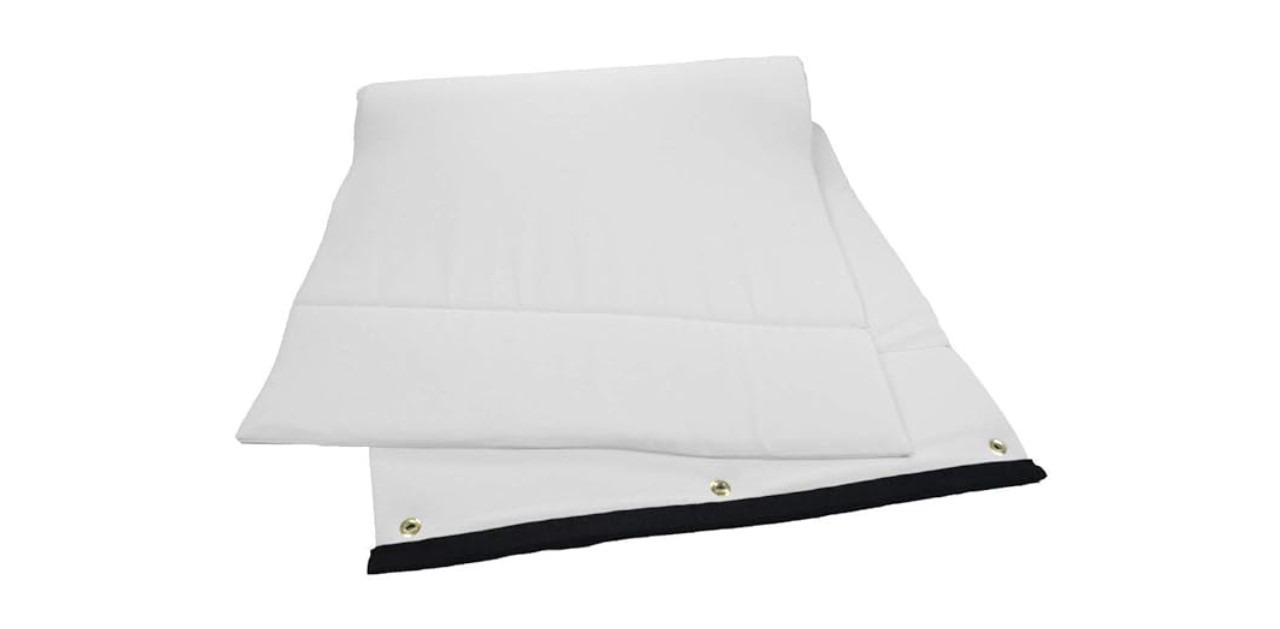
Audimute sheets and panels are composed of eco-C-tex, which is Audimute’s recycled sound absorption material. Image Source.
Key Features
- Dual-action soundproofing and absorption.
- Versatile for various applications.
- Eco-friendly materials.
- Easy installation and customization.
- Ideal size for most needs.
Step into a world of serene silence with the Audimute isolé Sound Barrier and Sound Absorption Sheet. This product is a game-changer for anyone looking to create a peaceful, noise-free environment. Whether you’re a musician needing a quiet studio space or a homeowner seeking solace from the hustle and bustle of daily life, this sound absorption sheet is your solution.
The Audimute isolé is not just about soundproofing; it’s about transforming your space into an oasis of calm. It’s expertly designed to both absorb and block sound, making it a dual-action powerhouse in the world of absorb sound management. The sheet is incredibly versatile, perfect for use on walls, ceilings, doors, and windows. It’s the ideal choice for studios, offices, and any space where sound control is essential.
What’s more, the Audimute isolé is an eco-friendly option. Made from a blend of recycled cotton and cellulose fibers, it’s a product that not only benefits you but also the environment. The sheet is also incredibly user-friendly, with a simple installation process that doesn’t require any specialized tools. Measuring 34.5″ x 82″, it’s the perfect size for most applications and can be easily cut and customized to fit your specific needs.
Pros
- Effective in creating a quiet environment.
- Suitable for a wide range of spaces.
- Environmentally conscious choice.
- Simple to set up and adjust.
Cons
- Multiple sheets may be required for larger areas.
- Higher price point compared to basic soundproofing solutions
7. uBoxes Moving Blankets
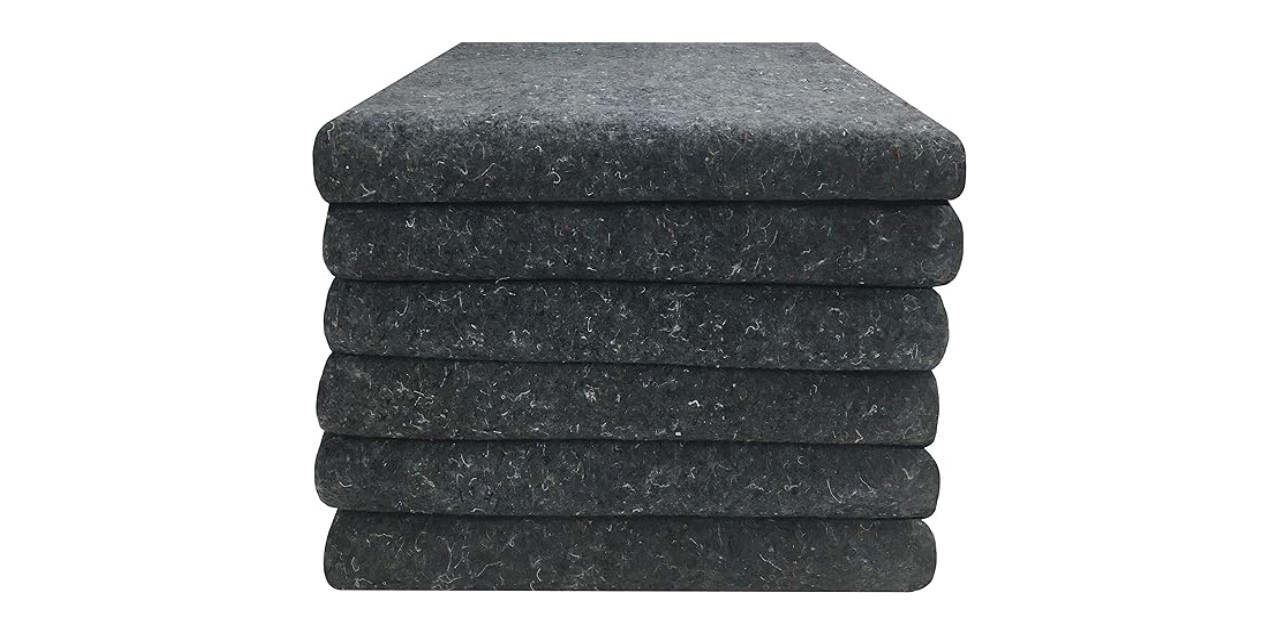
The uBoxes Moving Blankets has a dimension of 54″L x 72″W. Image Source.
Key Features
- Lightweight for ease of use.
- Durable material for reliable protection.
- Versatile for a variety of moving needs.
- Easy to fold, store, and reuse.
uBoxes Moving Blankets are the epitome of moving efficiency. These acoustic blankets strike the perfect balance between lightweight maneuverability and protective strength. They’re designed for those who want an easy-to-handle solution without compromising on the safety of their belongings.
These blankets are versatile and suitable for wrapping a wide range of household items. Their lightweight nature makes them a breeze to fold, carry, and position around your furniture and appliances. Despite their lighter weight, they don’t skimp on protection. The durable fabric ensures your items are shielded from scratches, dust, and light impacts during the move.
Pros
- User-friendly for quick and easy moving.
- Suitable for a range of items, from small to large.
- Convenient for storage and multiple uses.
Cons
- Lighter padding compared to heavier blankets.
Each of these sound blankets offers a unique blend of features designed to meet a range of audio needs. So, even if you’re a professional in the studio, a creator in your home setup, or simply seeking a quieter environment, these products provide effective solutions for superior sound management.
Selecting The Right Sound Blankets For Your Studio
When it comes to perfecting your studio’s acoustics, choosing the right sound blankets is crucial. It’s not just about dampening noise; it’s about creating an environment that enhances your audio work. You need to consider several factors to ensure you get the best results. Let’s explore what makes a sound blanket perfect for your studio.
Size and Coverage
The effectiveness of a sound blanket is largely determined by its size. Larger blankets cover more surface area, providing better sound absorption. Consider the height and width of your studio walls. A blanket that’s too small will leave gaps, allowing sound to escape or enter, undermining your soundproofing efforts.
Coverage isn’t just about the size of one blanket; it’s about the collective coverage of all the blankets in your studio. You might need multiple blankets to cover doors, windows, and corners – areas where sound leakage is common. It’s a balancing act between covering as much area as possible and maintaining the functionality and accessibility of your space.
Aesthetic and Design Aspects
While the primary function of sound absorbing blankets is to control sound, they also play a visual role in your studio. Aesthetic considerations might include color schemes that match your studio’s interior or patterns that add a creative touch. The design of the acoustic blanket can influence your mood and creativity, making it an important aspect to consider.
Beyond aesthetics, design features like grommets or hooks can simplify the installation process. Some sound dampening blankets are designed to be modular, allowing you to easily rearrange them as your studio’s layout changes. These practical design elements can greatly enhance the usability and flexibility of sound blankets in a dynamic studio environment.
Material and Fabric Quality
The material of your sound blanket is critical. High-density materials like mass-loaded vinyl (MLV) or fiberglass offer superior sound absorption compared to lighter fabrics. The weave and thickness of the fabric also play a role in how sound waves are absorbed or deflected.
Consider the longevity of the material. Soundproof blankets are an investment, and you want them to last. Look for materials that are resistant to wear and tear, especially if they will be moved or adjusted frequently. Durability also means less frequent replacements, saving you money in the long run.
Sound Absorption Coefficient
Image by Freepik
The Sound Absorption Coefficient is a numerical value that indicates how much sound a material can absorb. It ranges from 0 (no absorption) to 1 (total absorption). For a studio, you’ll want blankets with a coefficient as close to 1 as possible, especially for frequencies common in your work.
Different materials absorb different frequencies more effectively. For instance, if you’re recording bass-heavy music, you’ll need blankets that can absorb lower frequencies. Understanding the frequency-specific absorption capabilities of a soundproof blanket is key to tailoring your studio’s soundproofing to your specific needs.
Installation and Maintenance
The ease of installation can vary greatly. Some blankets can be hung with simple hooks, while others might require a more permanent fixture. Consider how often you’ll need to move or adjust the blankets and choose a product that aligns with your studio’s flexibility needs.
Regular maintenance extends the life of your sound blankets. Look for materials that are easy to clean and resistant to dust and moisture. Some blankets may be machine washable, which is a convenient feature for maintaining a clean and professional-looking studio.
Thermal and Fire Safety
Some sound blankets offer the added benefit of thermal insulation. This can be particularly useful in studios where temperature control contributes to equipment performance and personal comfort. Safety should never be compromised.
Opt for sound blankets that are fire retardant or have a fire safety rating. This is especially important in a studio environment where electronic equipment can pose a fire risk.
Price and Budget Considerations
While it’s tempting to go for the cheapest option, remember that sound blankets are an investment in your studio’s quality and professionalism. Higher-priced options often offer better sound absorption and durability.
Determine your budget but also consider the long-term benefits of investing in higher-quality blankets. It might be more cost-effective in the long run to spend a bit more upfront for a product that will perform better and last longer.
Customer Reviews and Feedback
Customer reviews can provide real-world insights into a product’s performance. Look for reviews from users with similar studio setups or soundproofing needs to gauge how well a product might work for you. Feedback from industry professionals can be incredibly valuable.
They can offer insights into the durability, effectiveness, and practicality of different sound blankets, helping you make an informed decision.
By considering these detailed aspects, you can make a well-informed decision on the right sound blankets for your studio, ensuring optimal sound quality and a conducive working environment.
Related: Best Soundproof Blanket For Door
Conclusion: Finding Your Studio’s Sound Blanket Soul Mate
You’ve journeyed through the ins and outs of selecting the perfect sound blankets for your studio. From understanding the importance of size and coverage to delving into the nuances of material quality and design aspects, you’re now equipped with the knowledge to make an informed decision. We’ve explored critical factors like sound absorption coefficients installation ease and even delved into the realms of thermal and fire safety, as well as budget considerations.
Remember, the right sound blanket can transform your studio from a mere room into a sanctuary of sound. It’s not just about dampening unwanted noise; it’s about creating an environment where your creativity can thrive. While each studio has its unique needs, we recommend considering products like the Audimute isolé Sound Barrier and Sound Absorption Sheet for their versatility and effectiveness in soundproofing and aesthetics.
In the end, the choice is yours. Reflect on what your studio requires and what each blanket offers. Whether you’re a seasoned audio professional or just starting, the perfect sound blanket is out there, waiting to elevate your studio experience.