In the world of audio recording, clarity is king. Whether you’re a budding podcaster, a musician laying down tracks, or a voice-over artist working from your home studio, you know the frustration of unwanted echoes and background noise all too well. Enter the microphone isolation shield – your knight in sound-dampening armor. But here’s the catch: professional-grade shields can put a serious dent in your wallet. That’s where a little ingenuity and DIY spirit come into play.
Creating your own DIY Microphone Isolation Shield is not just about saving money, though that’s a definite perk. It’s about tailoring a solution that fits your space and your needs perfectly. Plus, there’s a certain satisfaction that comes from using a piece of equipment you’ve crafted with your own hands. It’s empowering, it adds a personal touch to your recording setup, and, let’s be honest, it’s a cool conversation starter.
In this article, we’ll guide you through the process of building your own isolation shield. We’ll ensure you have a clear list of materials and tools, provide you with a step-by-step construction guide, and share some tips to make your shield as effective as it can be. So, roll up your sleeves and get ready to take your recordings to the next level with a touch of DIY magic.
Contents
Materials And Tools Needed For Your DIY Project
Crafting a DIY Microphone Isolation Shield doesn’t require a degree in engineering, nor does it demand an extensive budget. With some basic materials and a handful of tools, you can construct a shield that rivals the pros. Here’s what you’ll need to get started:
Choosing The Right Materials
The effectiveness of your isolation shield hinges on the materials you choose. You’ll need something sturdy for the frame, like:
- Acoustic Foam: This is the heart of your isolation shield. Acoustic foam absorbs sound and minimizes echo, ensuring your recordings are crisp and clear.
- Hardboard or Plywood: You’ll need a solid backing for the acoustic foam. A piece of hardboard or plywood can serve as a great foundation.
- Brackets or Hinges: These will help you attach the shield to your microphone stand securely.
- Adhesive: A strong glue or spray adhesive will be necessary to affix the foam to the backing.
Essential Tools For The Build

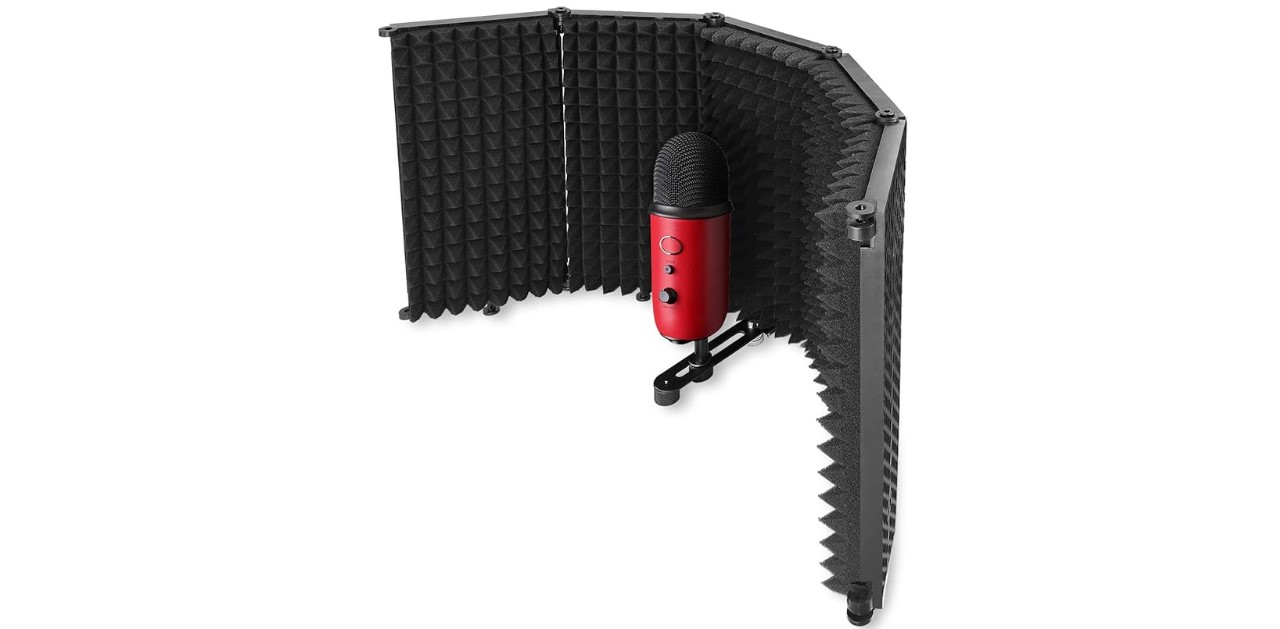
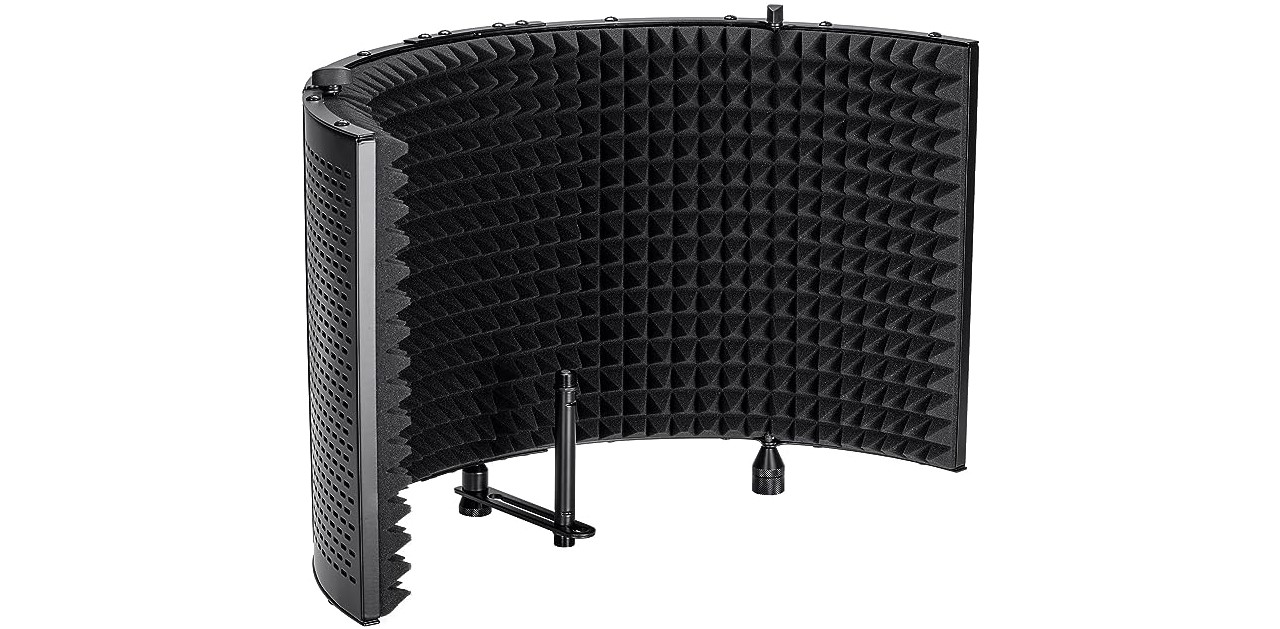
The studio vocal booth improve room isolation and absorption without dominating the room sound. Image Source.
You don’t need a fully stocked workshop, but you will need some basic tools:
- Saw: For cutting the hardboard or plywood to size.
- Measuring Tape: Precision is key, so a reliable measuring tape is a must.
- Marker or Pencil: To mark your measurements before cutting.
- Utility Knife: For cutting the acoustic foam with accuracy.
- Screwdriver: To tighten the brackets or hinges.
- Scissors: If you prefer, for trimming the foam.
With these materials and tools at the ready, you’re all set to start building your isolation shield. Remember, the quality of your materials will directly impact the quality of your recordings, so choose wisely!
Constructing A DIY Microphone Isolation Shield
Building your own microphone isolation shield is a straightforward process that requires some attention to detail. Follow these steps, and you’ll have a functional, effective shield in no time.
Step One: Designing Your Isolation Shield
The design phase is the blueprint of your project. Start by considering the dimensions of your microphone and the environment in which you’ll be recording. A larger shield will naturally absorb more sound, but it’s also crucial to keep in mind the limitations of your recording space and the need for portability. Once you’ve settled on the size, sketch out a simple design.
This could be a curved shield for partial coverage or a box-like design for full enclosure, depending on your needs. The design should not only be functional but also aesthetically pleasing, as it will become a permanent fixture in your recording setup.
Step Two: Cutting And Shaping Materials
With your design in hand, the next step is to bring it to life by cutting and shaping your materials. Begin with the hardboard or plywood that will form the backbone of your shield. Measure twice and cut once to ensure accuracy, and don’t forget to don safety gear to protect yourself from any flying particles.
Once the backing is cut to size, it’s time to shape the acoustic foam panel. It should match the dimensions of the backing precisely for a snug fit. A utility knife will give you the control needed for a clean cut, ensuring the foam fits perfectly against the wooden base.
Step Three: Assembling The Frame

The two outer panels can be folded inward for storage or for creating a tighter acoustic isolation chamber. Image Source.
The frame is what gives your isolation shield its structure. After cutting your materials to size, the next step is to attach the brackets or hinges to the wooden backing. These will be crucial for securing the shield to your microphone stand, especially if you’re using a Blue Yeti USB microphone. It’s important to ensure that the frame is not only sturdy but also that it doesn’t add too much weight, which could make it cumbersome to adjust or even topple a lighter stand.
Once the brackets are in place, do a trial run by attaching the frame to your stand, checking for both stability and ease of movement.
Step Four: Attaching The Sound-Absorbing Materials
Now comes the critical part of affixing the acoustic foam panels to the backing. A strong, even layer of adhesive will keep the foam in place, but be careful to apply it in a well-ventilated area. Position the foam carefully onto the backing, starting from one edge and working your way to the other to avoid any bubbles or creases.
Once in place, apply pressure evenly across the surface to bond the two materials securely. Allow ample time for the adhesive to cure, following the manufacturer’s recommendations for as clean a signal as possible.
Step Five: Adding The Finishing Touches
The final touches are what will set your DIY project apart. Any excess foam protruding beyond the edges of the backing should be trimmed for a neat appearance. Once the shield is fully assembled, give it a thorough once-over to ensure everything is tight and secure.
The last and most exciting step is to attach the shield to your microphone stand and conduct a test recording. This is where you’ll truly appreciate the fruits of your labor as you listen to the clear, crisp sound of your voice or instrument, free from the muddying effects of background noise.
With these steps completed, your DIY Microphone Isolation Shield is ready to take center stage in your recording setup.
Mounting And Positioning Your Isolation Shield
Once your DIY Microphone Isolation Shield is assembled, the next crucial step is to mount and position it correctly to maximize its sound-absorbing capabilities.
Choosing The Right Location
The location of your isolation shield can significantly impact its effectiveness. Look for a spot in your recording space that’s away from noise sources like windows, doors, and noisy electrical appliances. Consider the path of sound in the room; the shield should be positioned to intercept direct sound waves from your mouth to the microphone, as well as any reflections from hard surfaces. The goal is to create a ‘sweet spot’ where your voice or instrument is clearly captured while ambient noise is kept at bay.
Mounting Options
Mounting your isolation shield properly is essential for stability and sound quality. If your shield is designed to attach directly to the microphone stand, ensure that the brackets or hinges are tightly secured and that the stand can support the weight of the shield without tipping. For heavier shields, you might need a separate stand or mounting system to prevent any accidents or equipment damage.
The angle and height of the shield should be adjustable, allowing you to find the perfect position relative to the microphone. Remember, the shield should be easy to move without compromising its structural integrity, offering you flexibility as your recording needs change.
Testing And Tweaking Your Isolation Shield

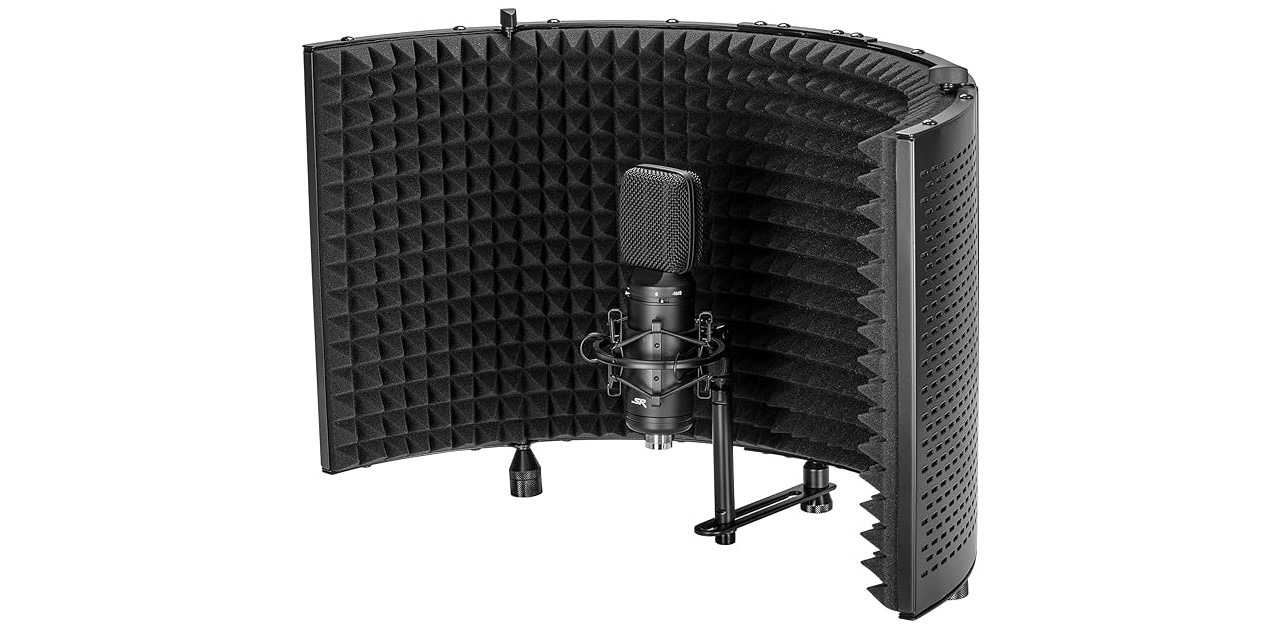
The Monoprice Microphone Stand includes all assembly and mounting hardware. Image Source.
The true test of your DIY Microphone Isolation Shield’s effectiveness comes when you make your first recording. This initial trial is crucial, as it will reveal any potential issues with sound clarity that may still exist.
Start by recording a piece that you’re familiar with, something that you’ve recorded before, so you have a clear point of comparison. Listen back to the recording with a critical ear, focusing on the presence of any echo, muddiness, or background noise that has slipped through the shield’s defenses.
If the sound isn’t as clean as you expected, don’t worry—this is all part of the process. Begin tweaking the setup by adjusting the shield’s position relative to the microphone. Sometimes, even a small change in angle or distance can significantly enhance the audio quality by better blocking out unwanted noise and reflections. Consider the environment of your recording space as well; hard surfaces nearby can reflect sound, so you may need to reposition your setup entirely for optimal results.
Another aspect to consider is the microphone’s settings. Different patterns and sensitivity levels can affect how sound is picked up, and your new shield may allow you to use settings that were previously unsuitable due to ambient noise. Experiment with these settings while using the shield to find the perfect balance for your recordings.
Remember that the acoustics of every room are unique, and what works in one space may not work in another. It may take several attempts to find the right configuration for your particular environment. Patience is key.
With each adjustment, make another test recording to evaluate the impact of the changes you’ve made. It’s a meticulous process, but each step brings you closer to achieving the professional-grade sound quality you’re aiming for.
Once you’ve dialed in the right setup, your recordings will have that crisp, clear sound that can usually only be captured in a well-equipped studio. Your DIY Microphone Isolation Shield isn’t just a tool; it’s a testament to your dedication to your craft. With every recording session, you’ll appreciate not just the sound it helps you capture but also the journey you took to build and perfect it.
Final Verdict
Crafting a DIY Microphone Isolation Shield is a rewarding endeavor that marries creativity with practicality. By taking the time to build, mount, and fine-tune your own shield, you’ve not only enhanced the quality of your recordings but also gained a deeper understanding of sound dynamics.
This project goes beyond mere cost savings; it’s an investment in your audio work that yields dividends with every note or word you record. The journey from gathering materials to making those final adjustments is as important as the destination—a studio space uniquely tailored to your needs.
So, as you put your new isolation shield to good use, take pride in the knowledge that your recordings are now as sharp as your skills, and your setup is truly one of a kind. If you ever need to make adjustments or reposition your shield, simple velcro tape can be an easy and effective way to attach additional elements or secure the shield to various surfaces for additional sound-dampening properties.
Related: Podcast Starter Kit