We’ve all been there. The incessant noise from the street, the neighbor’s dog that just won’t stop barking, or perhaps the hum of household appliances that disrupts your peace. You’ve considered soundproofing your entire room, but that’s a massive undertaking. So, why not start with something smaller, like your walk-in closet?
Not only is it a more manageable project, but a soundproof closet can serve multiple purposes – from a quiet space for recording a podcast to a peaceful reading nook. In this comprehensive guide, we’ll delve deep into how to soundproof a closet, offering you practical, research-backed methods to turn your closet into a sanctuary of silence.
Contents
Why Soundproof A Closet?
Before diving into the technicalities, it’s essential to understand the myriad benefits of soundproofing a closet. Here are more than seven compelling reasons:
Multipurpose Utility
Image by Freepik
In today’s digital age, content creation has become a significant part of many people’s lives. Whether you’re a budding musician trying to record your latest track, a podcaster discussing the latest trends, or a vlogger sharing life updates, having a space with pristine audio quality is crucial.
A soundproof closet provides an environment free from external disturbances, ensuring that recordings are clear and professional. The confined space, when soundproofed, offers excellent acoustics, eliminating unwanted echoes and background noises. This makes it an ideal, cost-effective alternative to a professional recording studio.
Increased Property Value
As cities grow and urbanize, the noise levels inevitably rise. The constant hum of traffic, construction sounds, and other urban noises can become a significant disturbance for many homeowners. Homes that offer soundproofed spaces, therefore, become a unique selling point in the real estate market.
Potential buyers or renters often see such features as a luxury, making them willing to pay a premium. Thus, investing in soundproofing not only enhances your living experience but can also offer a good return on investment when selling or renting out the property.
Privacy
In a world where open spaces and shared living are becoming increasingly common, privacy becomes a cherished commodity. A soundproof closet can serve as a private sanctuary. Whether you’re having a confidential phone conversation, practicing a musical instrument without disturbing others, or simply seeking a moment of solitude, a soundproof closet ensures that what happens inside stays inside. It acts as a barrier, preventing both incoming and outgoing noises and ensuring complete privacy.
Enhanced Concentration
Distractions are the bane of productivity. The slightest noise, be it a ringing phone, a conversation in the next room, or street noise, can break one’s concentration, especially when working or studying. A soundproof closet offers a solution.
By providing a noise-free environment, it allows individuals to focus entirely on their tasks, leading to increased productivity and efficiency. For students, writers, remote workers, or anyone needing undisturbed focus, this space can be a game-changer.
Therapeutic Space
Mental well-being is as crucial as physical health. In our hectic lives, finding a quiet space to relax, meditate, or simply breathe can be therapeutic. A soundproof closet can serve as this personal retreat. The silence can enhance meditation practices, making relaxation deeper and more effective.
For avid readers, it can be a haven where stories come alive without the disturbance of the outside world. The tranquility of a soundproof space can significantly contribute to mental peace and well-being.
Protection For Valuables
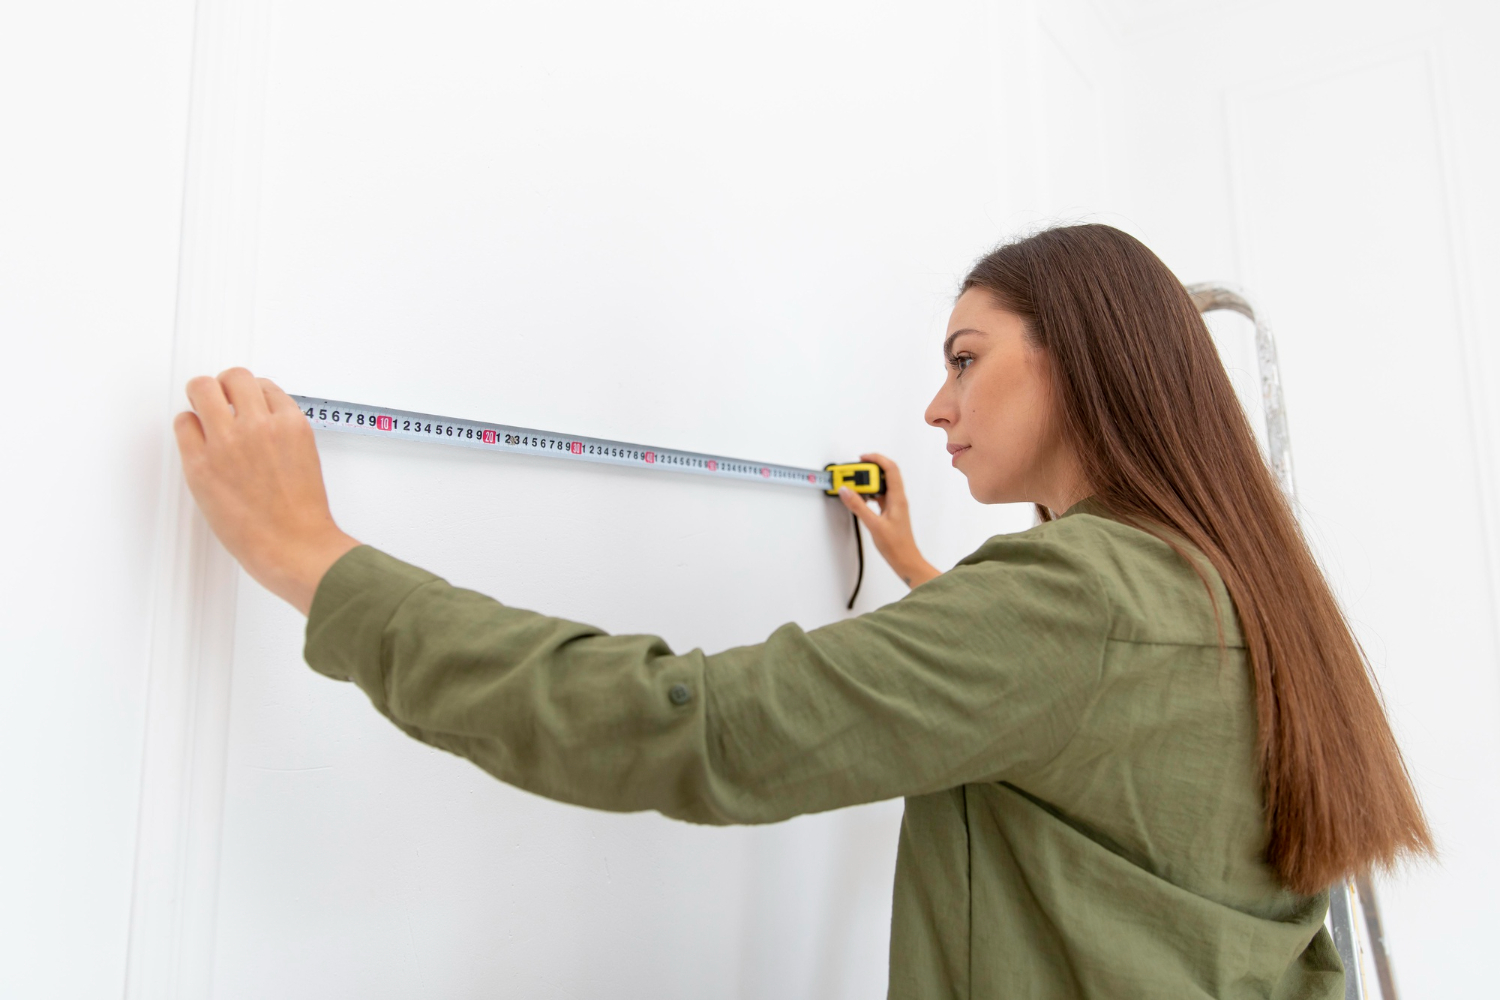
Image by Freepik
While the primary purpose of soundproofing is noise reduction, the materials used offer an added advantage. They can act as insulators, protecting valuables stored in the closet from temperature fluctuations.
Whether it’s vintage wine, old photographs, delicate fabrics, or any other temperature-sensitive item, the added insulation ensures they remain in optimal condition and safe from potential damage.
Reduced Stress
Numerous studies have shown the adverse effects of constant noise exposure on mental health. Chronic noise can lead to elevated stress levels, sleep disturbances, and even cardiovascular issues. By having a soundproof space in your home, you provide yourself with an escape from this constant noise barrage.
Even spending a short time in a quiet environment can help reduce stress, lower blood pressure, and promote overall health.
Customizable Space
One of the joys of having a soundproof closet is the flexibility it offers. Once the soundproofing is in place, the space can be tailored to fit various needs. For movie enthusiasts, it can be transformed into a mini-theater with a projector and comfy seating.
For families, it can become a child’s reading nook or play area where toys’ sounds don’t permeate the entire house. The possibilities are endless, limited only by one’s imagination.
Materials You’ll Need For Soundproofing
There are several materials you’re going to need when soundproofing your closet.
Acoustic Panels
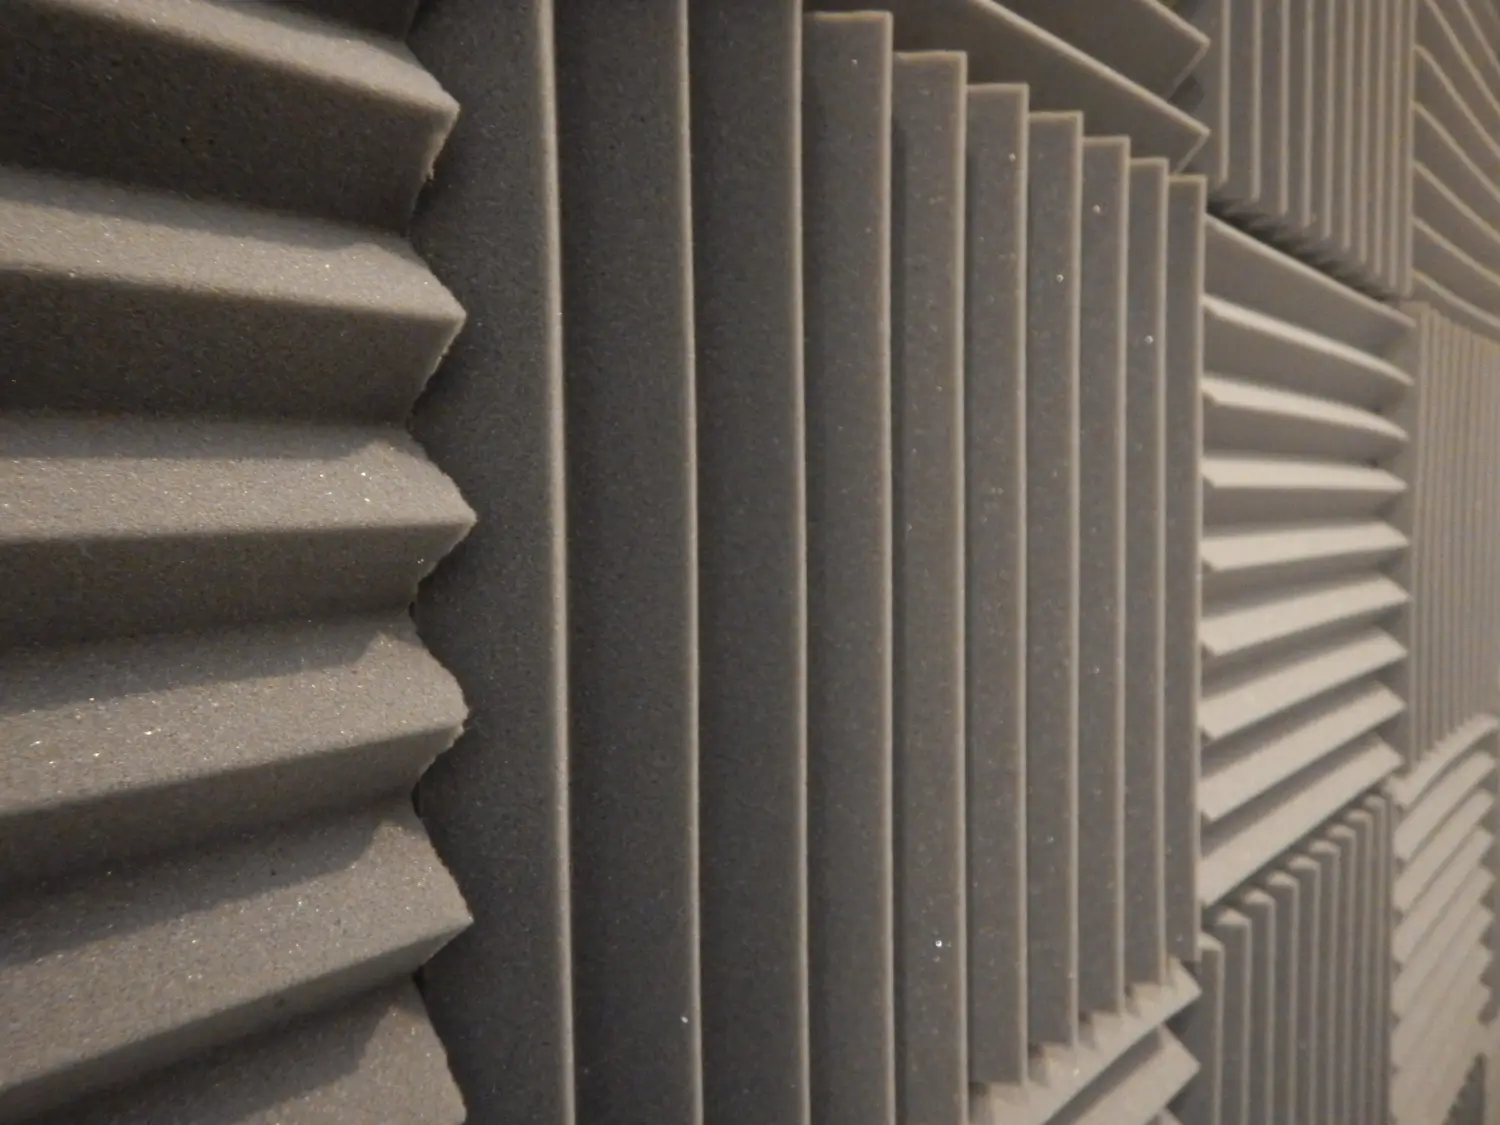
Image by sid4rtproduction on Freepik
Acoustic panels are specially designed to treat room acoustics by reducing echoes and reverberations. Made primarily from dense foam or fiberglass, these panels absorb sound waves as they come into contact, preventing them from bouncing back into the room.
This absorption property makes them particularly effective in treating mid to high-frequency sounds. Such acoustic foam panels come in various sizes, thicknesses, and even colors, allowing for customization based on aesthetic preferences and specific soundproofing needs. Installation is typically straightforward, with many panels featuring adhesive backs or requiring simple mounting hardware for walls and ceilings.
Mass Loaded Vinyl (MLV)
Mass Loaded Vinyl, commonly referred to as MLV, is a dense yet flexible material known for its sound-blocking properties. Unlike acoustic panels that absorb sound, MLV acts as a barrier, preventing sound waves from passing through it. Its density is what makes it particularly effective against low-frequency noises, which are often the hardest to block.
MLV sheets can be cut to fit specific spaces and are typically installed by attaching them directly to closet walls, ceilings, or floors. They can be concealed behind drywall or under carpets, ensuring that soundproofing doesn’t interfere with room aesthetics.
Weatherstripping
Weatherstripping is an adhesive material traditionally used to seal gaps around windows and doors to prevent drafts. In the realm of soundproofing, it serves a similar purpose but for noise. By sealing the gaps, especially around closet doors, weatherstripping prevents sound leaks, ensuring that the soundproofing inside the closet is effective.
It’s easy to install, usually involving peeling and sticking to the desired area, and is an affordable way to enhance soundproofing efforts.
Related: Acoustic Treatment For Windows
Acoustic Sealants
Acoustic sealants, sometimes known as acoustic caulks, are designed to seal gaps, cracks, and joints in walls, ceilings, and floors. Unlike regular sealants, acoustic sealants remain flexible after drying, ensuring that they don’t crack over time with the natural movement of buildings.
This flexibility is crucial in maintaining an effective sound barrier. They are typically applied using a caulking gun and are paintable, allowing them to blend seamlessly with room decor.
Soundproof Curtains
Soundproof curtains, as the name suggests, are heavy, dense curtains designed to reduce noise penetration. Made from specially designed fabrics, often layered, these curtains both absorb and deflect sound waves.
While they might not offer the same level of soundproofing as MLV or acoustic panels, they are a more aesthetically pleasing option and can be particularly effective when used in conjunction with other soundproofing methods. They are hung like regular curtains and are available in a variety of styles and colors.
Resilient Channels
Resilient channels are thin metal structures designed to decouple drywall from wall studs or ceiling joists. By creating a gap between the wall and the drywall, these channels interrupt the path through which sound waves travel, reducing sound transmission.
When sound waves hit the drywall, instead of passing directly to the wall studs (and subsequently to the other side), they dissipate in the gap created by the resilient channel, effectively reducing noise transmission. They are a more advanced soundproofing method and might require professional installation to ensure effectiveness.
How To Soundproof A Closet
Image by master1305 on Freepik
Following are the steps to soundproof your closet.
Step One: Assess The Situation
Before you start any soundproofing project, it’s crucial to understand the nature and source of the noise you’re trying to mitigate. Spend some time in and around the closet, listening carefully. Is the noise coming from the street, neighboring apartments, or within your own home?
Is it a constant hum, intermittent sounds, or both? Identifying the primary sources of noise will help you determine which soundproofing methods will be most effective. For instance, if the noise is primarily low-frequency, like the rumble of trucks, you might prioritize materials like MLV.
Step Two: Empty The Closet
To ensure the most effective soundproofing, you’ll need unobstructed access to the closet’s walls, floor, and ceiling. Remove all items, including shelves, if possible. This not only gives you a clear space to work in but also allows you to identify any hidden gaps or cracks that might be letting in noise. A thorough inspection of the empty closet can also reveal structural issues that might need addressing.
Step Three: Seal The Gaps
Sound, much like water, can seep through the tiniest of gaps. Before adding any soundproofing materials, it’s essential to ensure that the closet is as airtight as possible. Using acoustic sealants, seal any cracks or holes in the walls, ceiling, or closet floor.
For gaps around the door frame, weather stripping is an effective solution. This adhesive material can be easily applied around the door’s perimeter, ensuring a snug fit when the door is closed.
Step Four: Install The MLV
Mass Loaded Vinyl (MLV) is a dense, flexible material that acts as a formidable barrier against noise. Start by measuring the closet’s interior surfaces to cut the MLV to the right size. Attach the MLV directly to the walls, ceiling, and floor, ensuring there are no gaps.
Overlapping edges and sealing seams with acoustic sealant can enhance its effectiveness. The goal is to create a continuous barrier that leaves no room for sound waves to penetrate.
Step Five: Mount The Acoustic Panels
With the MLV in place, the next step is to initiate the installation of panels. These panels are designed to absorb sound waves, preventing them from echoing within the space. Depending on the type of panel, they can be attached using adhesive backs, mounting hardware, or even spray adhesives.
Ensure they cover all surfaces, including the back of the door. The more surface area these panels cover, the better the sound absorption.
Step Six: Consider The Door
The closet door can often be a weak point in soundproofing efforts. Most interior doors are hollow-core, making them poor barriers against noise. Consider replacing it with a solid core door, which offers better soundproofing.
If replacing the door isn’t an option, adding a layer of MLV can help. For added protection, consider hanging soundproof curtains on the inside of the door, further reducing noise leakage.
Step Seven: Install Resilient Channels
For those seeking advanced soundproofing, resilient channels are an excellent addition. These metal channels create a gap between the wall and the drywall, disrupting the path through which sound waves travel.
By reducing direct contact between the wall’s surface and the drywall, they significantly reduce sound transmission. It’s a more complex installation, often requiring the removal and reinstallation of drywall, but the results can be impressive.
Step Eight: Test The Space
With all the soundproofing measures in place, it’s time to test their effectiveness. Play loud music or noise outside the closet, then step inside and close the door. Listen carefully. Has the noise level reduced significantly?
If there’s still noticeable noise, try to identify where it’s coming from. It might require some adjustments, adding more materials, or sealing overlooked gaps. Remember, soundproofing is often about layering different methods to achieve the desired quiet.
Related: Soundproof Blanket For Door
Common Mistakes to Avoid While Soundproofing

Image by pressfoto on Freepik
Soundproofing might seem straightforward, but it’s easy to overlook certain aspects or make errors that can compromise the effectiveness of your efforts. Here are some common mistakes and how to avoid them:
Overlooking Small Gaps
One of the most common mistakes is neglecting tiny gaps or cracks. Sound waves are pervasive and can seep through the smallest of openings. While larger gaps are usually addressed, it’s the minor cracks around fixtures, outlets, or the edges of doors that often get overlooked. Always thoroughly inspect the space before and after soundproofing. Use acoustic sealants or weather stripping to ensure every potential sound leak is addressed.
Choosing The Wrong Materials
Not all materials that appear to be insulating are effective for soundproofing. For instance, regular insulation might be great for temperature control but may not be as effective against noise. Always opt for materials specifically designed for soundproofing, such as acoustic panels or MLV. Research and read reviews before purchasing.
Ignoring the Door
The walls and ceiling often get the most attention, but doors, especially hollow-core ones, can be significant culprits in letting in noise. Consider replacing hollow doors with solid-core ones. If that’s not feasible, adding layers like MLV or soundproof curtains can help reduce noise transmission through doors.
Inadequate Acoustic Treatment
While soundproofing keeps external sounds out, acoustic treatment is essential for managing the sound within the space. Without it, you might still face issues like echoes or poor sound quality. Along with soundproofing, invest in acoustic treatments like bass traps or diffusers to manage the sound quality within the space.
Not Testing Along The Way
Many people complete their soundproofing project and then test the space. If it’s not effective, they might not know where the issue lies. Test the effectiveness of your soundproofing after each significant step. This way, if there’s still noticeable noise, you can address the specific area or material causing it.
Skimping On Materials
Trying to save money by using fewer materials or spreading them too thin can reduce their effectiveness.
Ensure you’re using the recommended amount of each material. For instance, if using MLV, ensure it covers the entire surface without gaps. If using acoustic panels, ensure they’re of the recommended thickness for your specific needs.
Not Considering Frequency Ranges
Different noises have different frequencies. A material that’s effective against high-frequency sounds might not be as effective against low-frequency ones. Identify the primary types of noise you’re trying to block and choose materials that address those specific frequencies. For instance, MLV is particularly effective against low-frequency noises.
By being aware of these common mistakes and taking measures to avoid them, you can ensure that your soundproofing efforts are both effective and long-lasting.
FAQs
How Do You Use A Closet As A Vocal Booth?
Transforming a closet into a vocal booth is a popular choice for many budding artists and podcasters due to its confined space and potential for excellent acoustics. Here’s how you can set up your closet as a vocal booth:
- Clear the Space: Begin by emptying the closet to create a blank canvas. Remove any shelves or obstructions that might interfere with your recording setup.
- Soundproof: As discussed earlier, use materials like MLV, acoustic panels, and weather stripping to soundproof the closet. This ensures external noises don’t interfere with your recordings.
- Acoustic Treatment: While soundproofing keeps external sounds out, acoustic treatment ensures that the sound within the booth is clear and free from echoes. Install bass traps in the corners and foam panels on the walls to improve the sound quality.
- Setup Equipment: Place your microphone on a stand in the center of the closet. Use pop filters to reduce unwanted sounds like plosives. Ensure your recording equipment, like your laptop or audio interface, is set up outside the closet to reduce noise interference.
- Ventilation: Spending extended periods in a confined space can get stuffy. Consider adding a silent fan or taking regular breaks to ensure you’re comfortable while recording.
Can I Soundproof My Closet Without Major Renovations?
Absolutely! While some methods involve more extensive work, there are simpler ways to soundproof a closet:
- Acoustic Panels: These can be easily mounted on walls and ceilings without any structural changes.
- Weather stripping: An adhesive material, it can be applied around the door to seal gaps.
- Soundproof Curtains: Hang these inside the closet door for an added layer of sound protection.
- Rugs and Carpets: Placing thick rugs or floor coverings can facilitate to absorb the disturbing noises.
How Much Does It Typically Cost To Soundproof A Closet?
The cost can vary based on the materials used and the size of the closet. Here’s a rough breakdown:
- Acoustic Panels: Ranging from $20 to $100+ depending on size and quality.
- MLV: Typically costs between $1 to $2 per square foot.
- Weather stripping: A roll can cost anywhere from $5 to $20.
- Acoustic Sealants: A tube might set you back $10 to $20.
Remember, while professional-grade materials can be pricier, there are budget-friendly options that still offer decent soundproofing.
How Long Does It Take To Soundproof A Closet?
The duration largely depends on the methods used. Simple tasks like applying weather stripping or hanging acoustic panels can be done within a day. However, more involved processes like installing MLV or resilient channels might take a weekend or longer, especially if you’re new to DIY projects.
Are There Any Maintenance Tips For A Soundproofed Closet?
Yes, to ensure the longevity of your soundproofing:
- Regular Checks: Inspect the materials periodically for wear and tear. Ensure acoustic panels are still firmly attached and that there are no gaps in the MLV.
- Clean Gently: When cleaning the closet, be gentle with the soundproofing materials. Avoid using harsh chemicals on acoustic panels or MLV.
- Door Seals: Check the weather stripping around the door regularly. Over time, it might lose its adhesive quality and need replacement.
Conclusion
Soundproofing a closet is more than just a home improvement project; it’s an investment in peace, privacy, and versatility. Whether you’re aiming for professional-grade recording quality, a serene meditation space, or simply a quiet retreat from the world, a soundproof closet delivers on all fronts.
Moreover, the added benefits of energy efficiency and protection from external elements make it a holistic solution. However, like all projects, it’s essential to approach it with knowledge and caution, avoiding common pitfalls. With the right materials, methods, and a bit of patience, you can transform an ordinary closet into a sanctuary of silence.
