The Shure SM7B is a renowned microphone, celebrated for its versatility, durability, and exceptional sound quality. It has carved a niche for itself in the realms of broadcasting, podcasting, and music production, earning accolades from professionals and enthusiasts alike. However, what truly sets the SM7B apart is its unique set of switches that allow users to tailor its performance to suit their specific needs.
The Shure SM7B is not just a microphone; it is a tool, a companion in your audio journey. And like any tool, its effectiveness lies in how well you understand and utilize it. This guide is crafted with the intention of bridging that knowledge gap, providing you with specific, practical information that reflects the real-life applications of this incredible microphone.
So, buckle up as we embark on this journey together, exploring the intricacies of the Shure SM7B switches and unlocking the secrets to achieving audio perfection.
Related: Best Microphones For Recording in Podcasting
Contents
Unveiling The Shure SM7B Switches
The Shure SM7B is adorned with a set of switches that might seem inconspicuous at first glance, but they play a pivotal role in shaping the sound that this microphone is capable of capturing. These switches are your gateway to customizing the audio output, ensuring that you have the right settings for different recording scenarios.
Overview Of The Switches
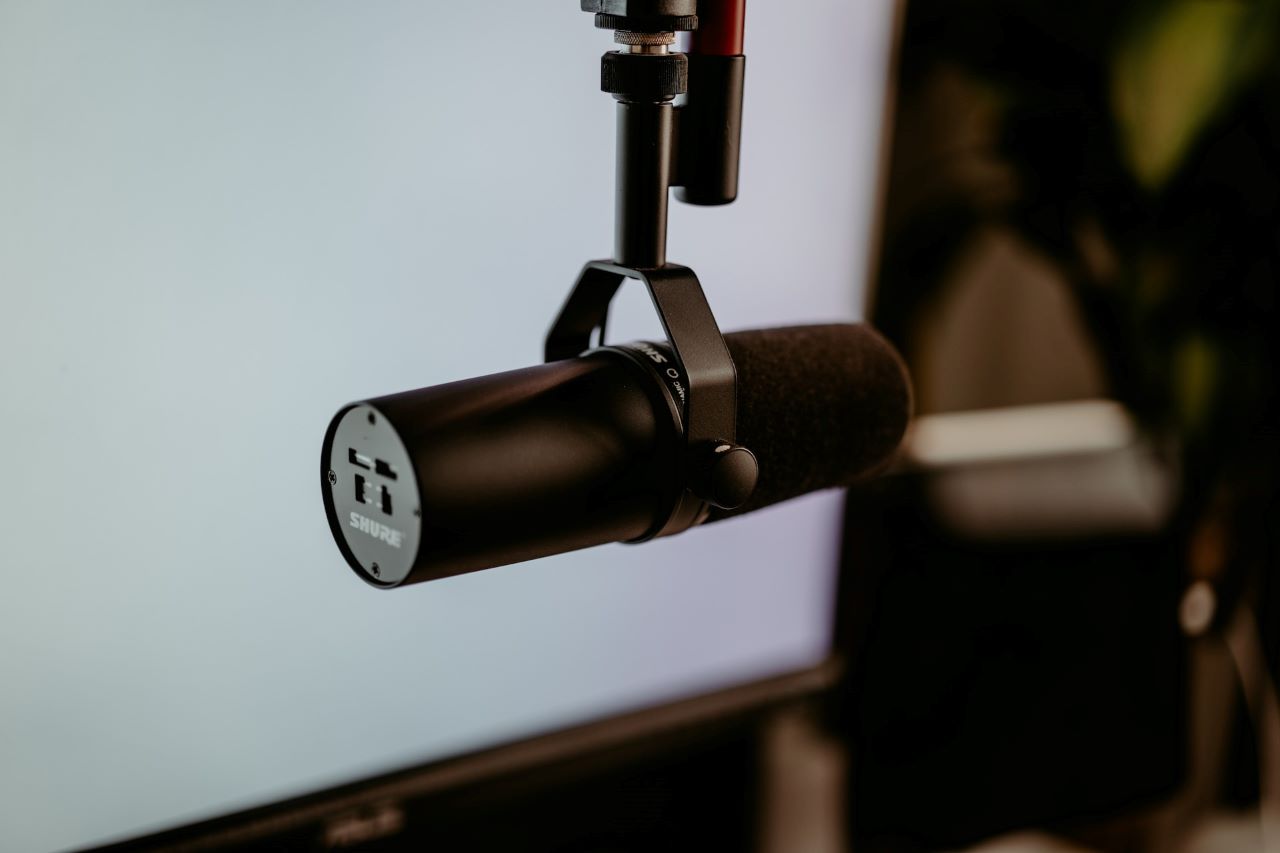
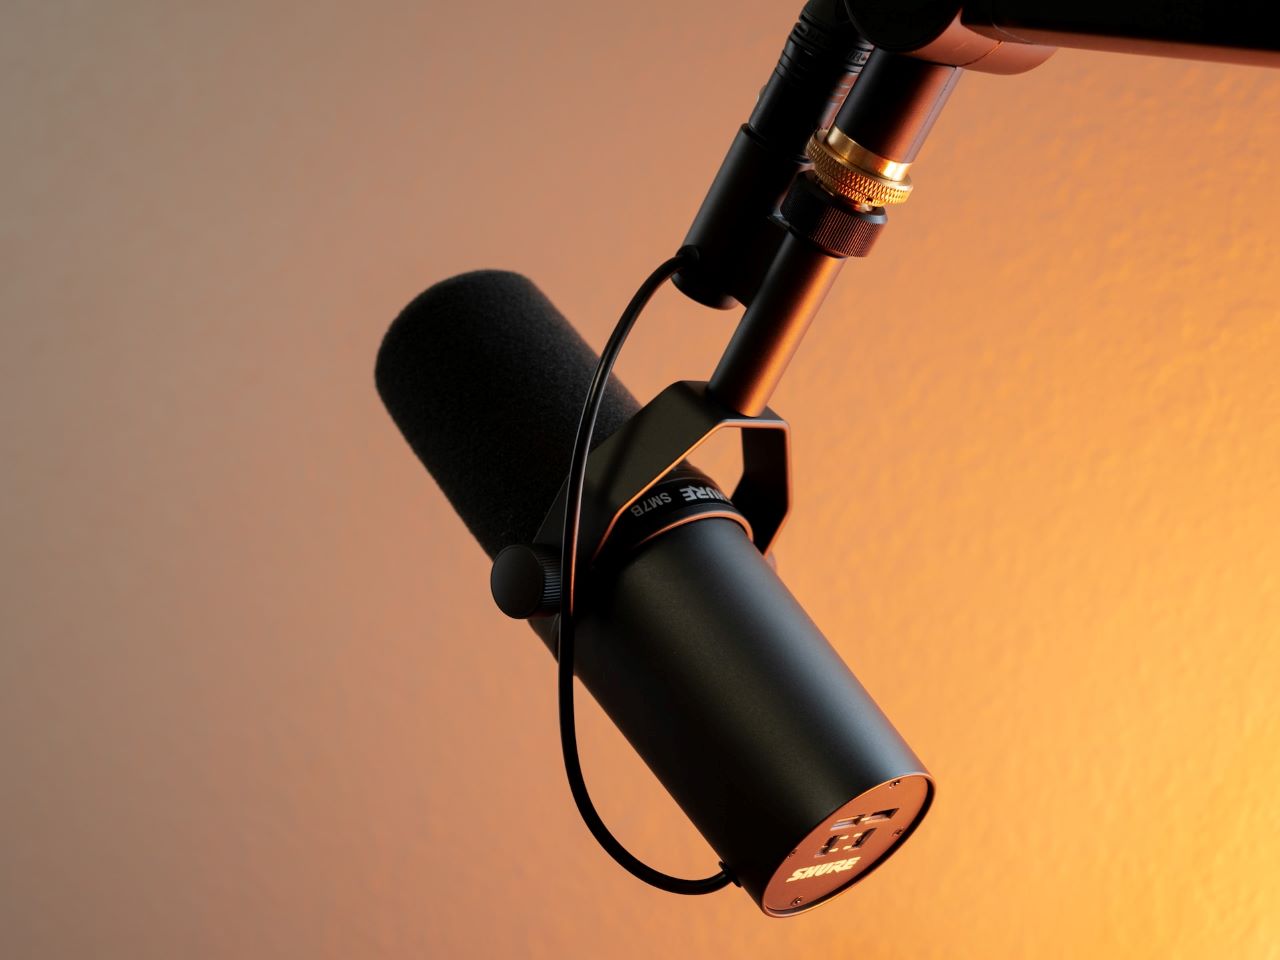
The SM7B houses three main switches on its rear side, each serving a distinct purpose. The first is the Bass Roll-off switch, which helps in reducing low-frequency unwanted background noise and proximity effects. The second is the Mid-range Emphasis switch, also known as the presence boost switch, designed to enhance clarity and warmth in vocal recordings. The third is the Air switch, which adds a subtle brightness to the sound, giving it a more open and airy quality.
Understanding the functionality of these switches is crucial, as it allows you to adapt the microphone to various recording environments and sound sources. Whether you are dealing with a boomy room, a nasal voice, or just looking to add some sparkle to your recording, these switches are your tools of trade.
How To Adjust The Switches?

Photo by Jonatan Balderas Cabañas on Unsplash
Adjusting the switches on the SM7B requires a careful and precise touch. The switches are recessed to prevent accidental changes, ensuring that your settings remain consistent throughout the recording session. To adjust them, you will need a small flathead screwdriver or a similar tool.
Recommended Tool: Small Flathead Screwdriver
A small flathead screwdriver is an ideal tool for making adjustments to the SM7B switches. Its slim profile allows you to easily access the recessed switches while providing enough control to make precise adjustments. Ensure that the screwdriver is in good condition, free of any rust or damage, as this could affect its performance and potentially cause damage to the microphone.
Step-By-Step Guide On Adjusting The Switches
- Step 1: Identify the Switches: Begin by locating the three switches on the rear side of the dynamic microphone. They are situated near the XLR connector, labeled as ‘Bass Rolloff’, ‘Mid-range Emphasis’, and ‘Air’.
- Step 2: Insert the Screwdriver: Gently insert the flathead screwdriver into the slot of the switch you wish to adjust. Ensure that the screwdriver is properly seated to avoid slipping and damaging the switch.
- Step 3: Make the Adjustment: Carefully toggle the switch to the desired position. The switches have clear markings indicating their positions and functions, so refer to these as you make your adjustments.
- Step 4: Test the Sound: After adjusting the switches, it’s crucial to test the sound and ensure that the changes have had the desired effect. Record a short clip, paying close attention to the aspects of the sound that you were aiming to alter.
- Step 5: Fine-tune if Necessary: If the initial adjustment hasn’t quite hit the mark, don’t hesitate to go back and fine-tune the settings. The key is to make incremental changes and continually test the sound until you achieve the desired result.
Understanding The Visual Indicators And Factory Default Settings
The SM7B’s switches come with visual indicators that display their current settings. These are invaluable for quick reference, ensuring that you know exactly how your microphone is configured at a glance.
The factory default settings of the SM7B are set to flat response, with all switches in the ‘off’ position. This is a great starting point for most recording scenarios, providing a clean and natural sound. However, don’t be afraid to venture beyond these settings and experiment with the switches to discover the vast sonic possibilities that the SM7B has to offer.
With this foundational knowledge of the Shure SM7B switches, you are now equipped to take full control of your audio recordings, molding the sound to perfection.
In-Depth Look At Specific Switches
Now that we have a foundational understanding of the Shure SM7B switches and how to adjust them, let’s dive deeper into each specific switch to explore their functionalities and applications in greater detail.
High Pass Filter / Low Cut Switch

Photo by Chris Lynch on Unsplash
The High Pass Filter, also known as the Low Cut Switch, is a powerful tool in shaping the tonal characteristics of your audio. It plays a crucial role in mitigating low-frequency noise and enhancing vocal clarity.
- Location and functionality of the switch: Located at the rear of the microphone, the High Pass Filter switch is easily accessible and can be adjusted using a small flathead screwdriver. When engaged, this switch attenuates frequencies below a certain threshold, effectively reducing rumble, wind noise, and other unwanted low-frequency sounds.
- Explanation of frequency roll-off and its aggressiveness: The frequency roll-off of the High Pass Filter is smooth yet effective, ensuring that the low-end reduction does not adversely affect the overall sound quality. The aggressiveness of the roll-off can be adjusted to suit different recording scenarios, providing flexibility and control in tailoring the audio output.
- Potential use cases and subjective preferences: The High Pass Filter is particularly useful when recording vocals, as it helps to reduce the proximity effect – a phenomenon where bass frequencies are boosted when the sound source is very close to the microphone. It is also beneficial in outdoor recording settings, where wind and environmental noise can introduce low-frequency interference. The use of this switch is subjective and depends on personal preferences and the specific requirements of the recording session.
Mid Frequency Boost Switch
The Mid Frequency Boost Switch, also known as the presence boost switch, is designed to enhance the clarity and warmth of vocal recordings.
- Location and purpose of the switch: Situated alongside the other switches at the back of the microphone, the Mid Frequency Boost Switch can be activated to emphasize the mid-range frequencies of the audio signal. This results in a richer, more present vocal sound, which can be particularly beneficial for speech and singing.
- Affected frequency range and potential benefits for clarity in vocals: The switch boosts frequencies in the mid-range, typically around 2-4 kHz, which is the frequency range where the human ear is most sensitive. This emphasis brings vocals to the forefront, making them stand out in the mix and ensuring that every word is heard clearly.
- Considerations based on individual voice characteristics: It’s important to note that the effectiveness of the Mid Frequency Boost Switch can vary depending on the individual characteristics of the speaker or singer’s voice. For those with naturally bright and clear voices, engaging this switch may result in an overly harsh sound. Conversely, for voices that are deeper or more muffled, the presence boost can provide a much-needed lift, enhancing intelligibility and warmth.
When To Avoid Using The SM7B’s Switches?
While the switches on the Shure SM7B offer a plethora of options for tailoring your sound, there are certain scenarios where it might be beneficial to leave them untouched. Understanding when not to use these switches is just as crucial as knowing how to use them, ensuring that you maintain the integrity of your audio and avoid unnecessary complications.
Issues With Frequencies

Photo by Chris Lynch on Unsplash
Engaging the switches on the SM7B without a clear understanding of their impact can lead to issues with frequencies in your recording. For instance, overusing the High Pass Filter might strip away too much of the low end, resulting in a thin and lifeless sound. Similarly, excessive use of the Mid Frequency Boost can make the audio sound nasal and overly pronounced in the mid-range.
It’s vital to approach these switches with a strategic mindset, considering the natural characteristics of the sound source and the acoustic properties of the recording environment. Blindly toggling the switches in hopes of a ‘better’ sound can lead to an imbalanced frequency response, making the post-production process more challenging and potentially degrading the final output.
Destructive Changes
The switches on the SM7B are powerful, and with great power comes great responsibility. Making drastic changes to the microphone’s settings can have destructive consequences, especially if you’re not monitoring the changes in real-time with high-quality headphones or speakers.
It’s important to remember that while these switches offer a convenient way to adjust the microphone’s response, they are not a substitute for proper recording techniques and acoustic treatment. Relying solely on the switches to fix issues with your audio can result in a compromised recording, with changes that are irreversible in post-production.
Scenarios For Using The SM7B Switches
On the flip side, there are numerous scenarios where the SM7B’s switches can be your best friend, helping you achieve the perfect sound straight out of the microphone.
A No Edit Workflow
For those looking to minimize their time spent in post-production, understanding how to effectively use the SM7B switches is key. By tailoring the microphone’s response to suit the sound source and recording environment, you can achieve a polished and balanced sound that requires little to no editing.
This is particularly beneficial for live recordings, broadcasts, and other situations where you need to deliver high-quality audio in real time. With the switches, you have the power to make on-the-fly adjustments, ensuring that your audio is always on point.
When The Settings Are Just Right

Image by Freepik
There are moments in the recording when everything just clicks—the sound source, the room, and the microphone work in perfect harmony. In these scenarios, the SM7B’s switches can be used to fine-tune the sound, enhancing its natural characteristics and bringing out the best in the performance.
Whether it’s adding a touch of brightness to a vocal, reducing the boominess of a room, or adding clarity to a speech, the switches offer a level of control that can transform a good recording into a great one. The key is to use them judiciously, making subtle adjustments and continually monitoring the changes to ensure that you are enhancing, not detracting from, the natural beauty of the sound.
Conclusion
Navigating the world of audio recording can be a complex journey, filled with technical nuances and intricate details. The Shure SM7B mic stand out as a beacon of quality and versatility in this landscape, offering a level of performance that is revered by professionals and enthusiasts alike. Central to its acclaim are the switches that adorn its robust frame, providing users with the ability to tailor its sound to perfection.
Throughout this comprehensive guide, we have delved deep into the intricacies of the SM7B’s switches, exploring their functionalities, applications, and the scenarios in which they shine the brightest. We’ve uncovered the mysteries of the High Pass Filter, the Mid Boost, and the Air switches, providing practical insights and step-by-step instructions on how to harness their potential.
However, with great power comes great responsibility. We’ve also navigated the scenarios where restraint is key, highlighting the importance of understanding when to leave the switches untouched to preserve the integrity of your audio. This dynamic mic is a tool of precision, and like any tool, its effectiveness lies in the hands of the user.
As we wrap up this journey, it’s clear that the Shure SM7B is more than just a vocal microphone; it’s a companion in your audio adventures, a tool that, when understood and utilized correctly, can elevate your recordings to new heights. Whether you’re a seasoned audio engineer, a budding podcaster, or anyone in between, the knowledge and insights provided in this guide are designed to empower you, providing you with the confidence to explore, experiment, and ultimately excel in the art of audio recording.
Related: How To Set Up Shure SM7B