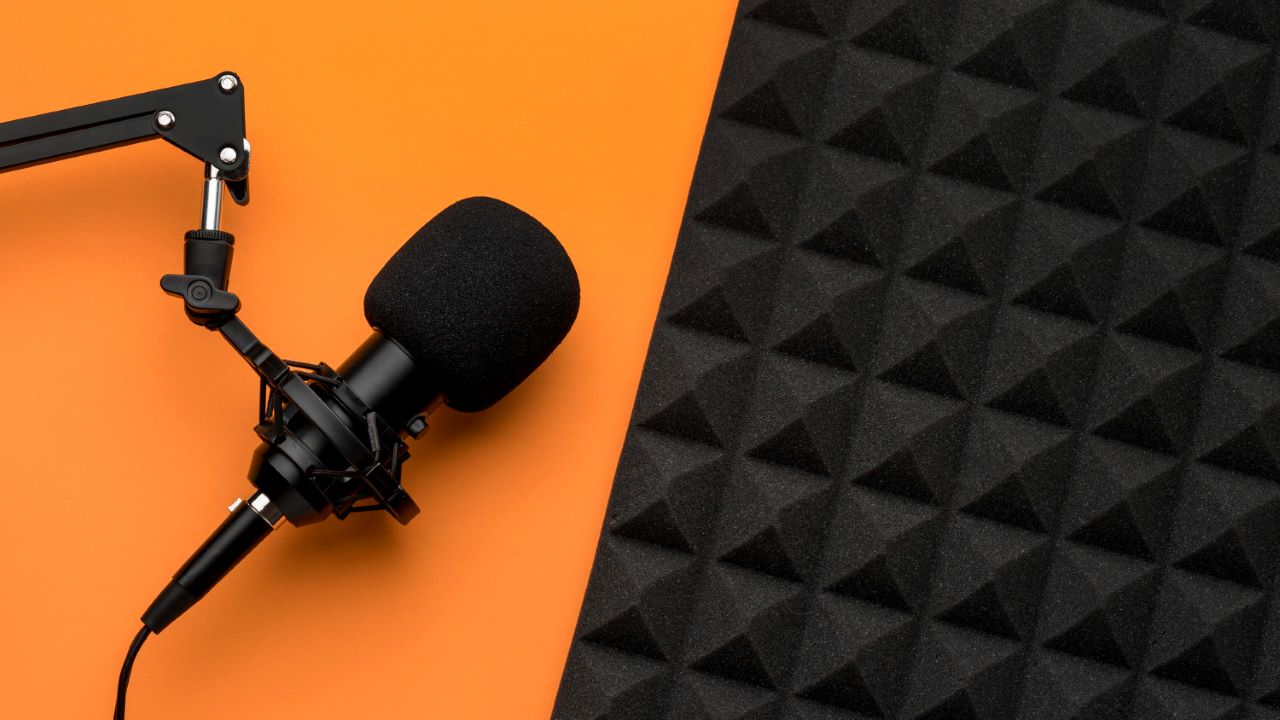
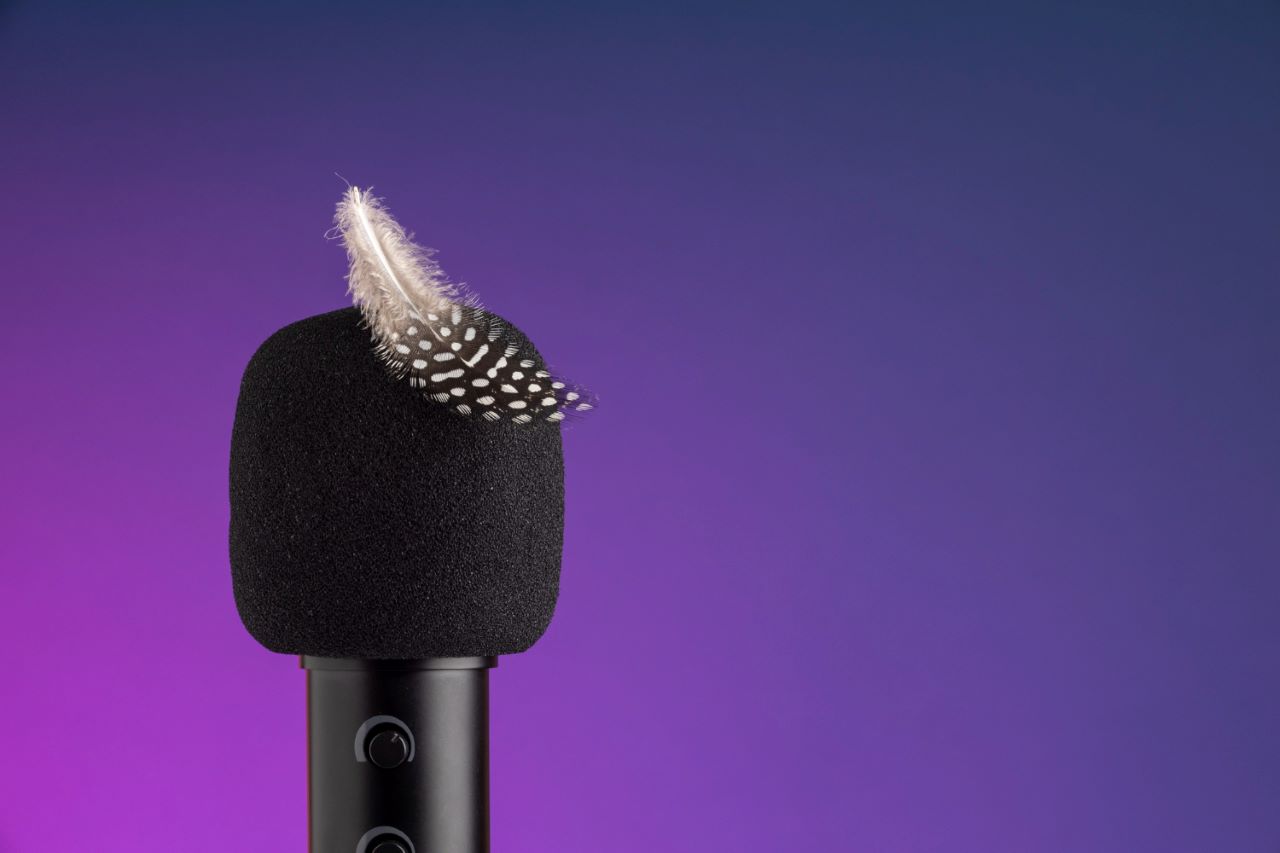
You’ve likely encountered a microphone foam cover at some point, whether you’re a musician, a podcaster, or someone who enjoys karaoke nights. These nifty little covers, also known as a microphone windscreen, are vital for protecting your microphone from moisture, dust, and the plosive sounds of singing or speaking.
But here’s the deal: while they’re working hard to shield your mic, they’re also collecting all sorts of dirt and grime. This makes cleaning them not just a matter of hygiene but a crucial step in maintaining the quality of your recordings. Let’s dive into the best practices for keeping your microphone foam covers in tip-top shape.
Related: Best Pop Filters
How To Clean Microphone Foam Cover
Cleaning Essentials: The Basics
Before diving into the cleaning process, it’s important to understand the nature of your microphone foam cover. Typically made from open-cell foam, these covers are porous and delicate. Their structure is designed to trap and reduce wind noise and plosives, but this also makes them prone to accumulating dirt, saliva, and oils.
Pre-Cleaning Preparation
- Choosing the Right Environment: Clean your foam cover in a dust-free, well-lit area. This allows you to spot dirt and handle the cover with more precision.
- Gathering Supplies: You’ll need:
- Luke-warm water: Hot water can damage the foam structure, while cold water is less effective at cleaning.
- Gentle liquid soap: A mild detergent or baby shampoo is ideal. These soaps are effective yet gentle on the foam’s delicate structure. Remember, do not use dish soap.
- Clean towel or soft damp cloth: Used for drying the cover without leaving lint.
- Initial Inspection: Before washing, inspect the foam cover for any tears or damage. If it’s significantly torn or degraded, consider replacing it.
The Cleaning Process

Image by Freepik
Let’s move on to the cleaning process.
- Initial Rinse: Gently rinse the foam cover under lukewarm running water. This helps in loosening surface dirt. Avoid submerging the cover completely at this stage.
- Applying Soap: Apply a small amount of soap directly onto the foam. Gently massage the soap into the foam in a circular motion, covering all areas.
- Spot Cleaning: For uncompromising stains or buildup, use a soft-bristled toothbrush to scrub the contrived areas gently. Be careful not to press too hard.
Deep Cleaning: The Soapy Solution
Soaking is a crucial step, especially for foam covers used frequently or in dusty environments. It allows for a thorough cleaning by letting the soap penetrate deep into the foam pores.
- Preparing the Solution: Mix a teaspoon of mild soap in a bowl of warm soapy water. The water should be sudsy but not overly soapy.
- Soaking: Submerge the foam cover completely in the soapy solution. Let it soak for 5-10 minutes. This duration allows the soap to break down oils and grime without oversaturating the foam.
- Agitation: After soaking, use your fingers to gently massage the foam. This action helps dislodge any remaining dirt particles. Do not twist or wring the foam, as this can cause irreversible damage.
- Rinsing Thoroughly: Rinse the foam under lukewarm water until all soap is washed out. Squeeze the foam gently to help remove the soap. The water should run clear when all the soap is removed.
Drying: The Final Step
Proper drying is as important as cleaning. Incorrect drying can lead to mold or degradation of the foam.
- Pressing Out Water: After rinsing, lay the foam cover on a clean towel. Gently press it to remove excess water. Do not twist or squeeze too hard.
- Air Drying: Place the foam on a dry towel in an airy, shaded area. Avoid direct sunlight and heat sources, as they can degrade the foam. Do not use artificial heat like hairdryers.
- Time Factor: Depending on the environment, drying can take several hours. It’s important to ensure the foam is completely dry before reattaching it to prevent moisture damage to your handheld microphones.
- Final Inspection: Once dry, inspect the foam for any residue or dampness. If the foam and clean pop filters are fully dry and clean, they’re ready to be placed back on the microphone.
- Reattachment and Storage: Carefully slide the foam cover back onto the microphone, ensuring it fits snugly without stretching. If the foam is not in use, store it in a clean, dry place away from direct sunlight to prevent degradation.
Preventative Maintenance: Safeguarding Your Foam Cover

Image by Freepik
While regular cleaning is crucial, integrating preventative measures can significantly reduce the frequency and intensity of these cleaning sessions. By understanding and implementing effective maintenance strategies, you can extend the lifespan of your microphone foam cover and maintain its efficacy.
- Dust and Humidity: Store your microphone and its foam cover in a low-dust, low-humidity environment. Excessive moisture can lead to mold growth, while dust can clog the foam’s pores, affecting its functionality.
- Protective Storage: When not in use, keep the foam cover in a breathable yet protective case. This reduces exposure to environmental elements without trapping moisture.
- Careful Handling: Always handle the foam cover gently. Avoid squashing, stretching, or compressing it, as these actions can deform the foam and diminish its protective qualities.
- Avoid Direct Contact: Where possible, prevent direct mouth contact with the foam cover during use. This reduces the amount of saliva and oils absorbed, minimizing the need for frequent cleaning.
- Regular Checks: Inspect the foam cover regularly for signs of wear and tear. Look for discoloration, tears, or changes in texture, which indicate it’s time for a replacement.
- Timely Replacement: Foam covers are not designed to last indefinitely. Regularly replacing them ensures optimal performance and hygiene. The frequency of replacement depends on usage; however, a general rule is to replace them every 6-12 months for heavy use or every 1-2 years for occasional use.
- Routine Cleaning: Establish a routine cleaning schedule based on your usage. For heavy use, consider cleaning the foam cover monthly with the cleaning fluids. For less frequent use, a quarterly cleaning may suffice.
- Post-Event Cleaning: If you’ve used the microphone in a particularly dusty environment or during a performance that involved a lot of speaking or singing, consider cleaning the foam cover shortly afterward.
Conclusion
Taking the time to clean your microphone foam cover is a small but significant step towards better audio quality and longevity of your equipment. Not only does it ensure a hygienic setup, but it also preserves the clarity and crispness of your recordings.
By following these simple yet effective steps, you’re ensuring that your microphone remains a reliable partner in all your audio adventures. So go ahead, treat your mic with the care it deserves, and revel in the enhanced sound quality that comes with a clean and well-maintained foam cover.
Related: Pop Filter Vs Foam Cover