In today’s digital age, podcasting has emerged as a powerful medium for storytelling, education, and entertainment. Whether you’re a seasoned podcaster or just starting out, the quality of your audio can make sure your show stands out. Background noises, echoes, and poor acoustics can distract your listeners and detract from your content.
Enter the sound booth—a sanctuary for high-quality audio recording. But instead of investing in a pricey pre-made booth, why not craft one tailored to your needs? This guide will walk you through the process of building your very own DIY sound booth for podcast recording, ensuring that your voice reaches your audience in the purest form possible.
Contents
What Is A Sound Booth?
A recording studio booth, often referred to as an isolation booth, is a space designed to keep out external noises like those from a busy street while minimizing internal sound reflections. It’s a controlled environment where sound waves are managed to produce clear and consistent audio recordings. These booths are commonly used in professional recording studios, radio stations, and by voice-over artists for audiobook narrations.
The walls, ceiling, and floor of a sound booth are typically lined with sound-absorbing materials that prevent unwanted noises from entering and stop the sound from bouncing around inside. Think of it as an enclosed space, where the only sound that matters is the one you’re creating.
Why DIY Over Buying Pre-Made?
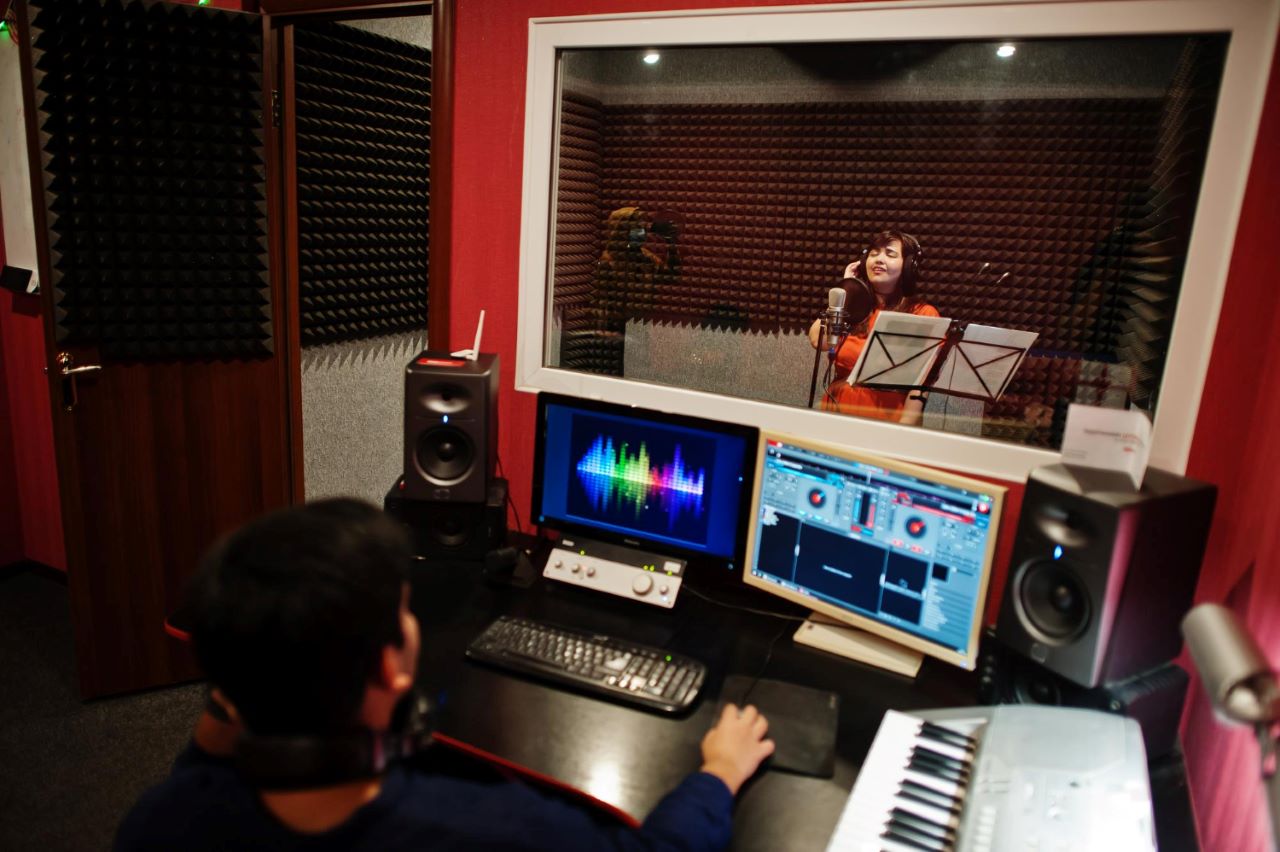
Image by ASphotofamily on Freepik
At first glance, setting up a home studio might seem like the most straightforward solution. After all, it’s ready to use, professionally designed, and promises optimal sound quality. However, there are compelling reasons to consider the DIY route:
Cost-Effectiveness
Building your own sound booth can be significantly more affordable than buying a pre-made one. Commercial sound booths can range from hundreds to thousands of dollars, depending on their size and features.
On the other hand, with a DIY approach, you have the flexibility to choose materials that fit your budget. By sourcing materials locally or even repurposing items you already have, you can save a considerable amount.
Customization To Your Needs
Every podcaster has unique needs. Maybe you require a larger space to accommodate multiple hosts, or perhaps you need a compact booth for a small apartment. When you build your own sound booth, you have complete control over its dimensions, design, and features. This means you can tailor it precisely to your recording needs and personal preferences.
Satisfaction Of Building Your Own
There’s a certain pride and satisfaction that comes from building something with your own two hands. Crafting your sound booth allows you to immerse yourself in the project, understand the intricacies of soundproofing, and appreciate the effort that goes into creating a professional recording environment. Plus, the skills you acquire can be invaluable for future projects or upgrades.
DIY Sound Booth For Podcast: Materials Needed
Embarking on the journey to build your own sound booth is exciting, but it’s essential to be well-prepared. Gathering the right materials beforehand will ensure a smoother construction process and a more effective end result. Let’s break down the materials you’ll need into two main categories: soundproofing materials and construction materials.
Soundproofing Materials
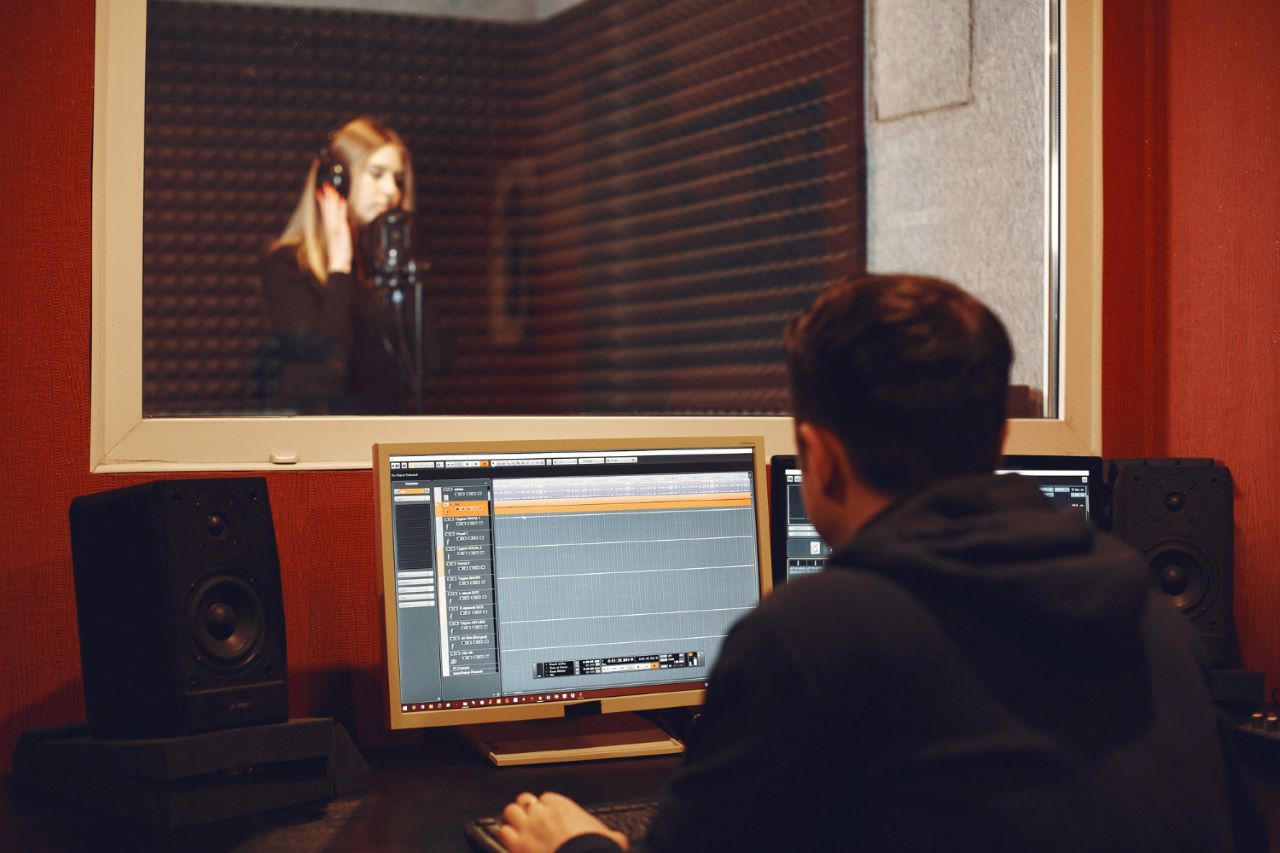
Image by prostooleh on Freepik
Soundproofing is the heart of any sound booth. These materials are designed to absorb, deflect, or block sound waves, ensuring that your recordings are free from external noises and unwanted echoes.
Acoustic Foam Panels
Acoustic foam panels are the cornerstone of any soundproofing project. These panels, often seen in recording studios, are designed to absorb sound waves, particularly the mid to high-frequency sounds.
- Composition and Design: Made primarily from polyurethane foam or melamine foam, these panels come in various patterns like wedges, pyramids, and egg crates. Each design has its own unique sound-absorbing properties, with some being more effective at trapping certain frequencies than others.
- Placement: For optimal sound absorption, it’s crucial to cover as much of the booth’s interior as possible. This includes not just the walls but also the ceiling and the back of the door. The goal is to prevent sound waves from reflecting off hard surfaces and creating echoes.
- Thickness Matters: The thicker the foam, the more effective it is at absorbing lower frequencies. If your primary concern is voice recording, 2-inch thick panels should suffice. However, if you’re recording music or dealing with deeper tones, you might want to consider thicker panels.
Related: DIY Sound Dampening Panels
Bass Traps
Bass sounds, or low-frequency sounds can be particularly challenging to control. They tend to linger and can create a muffled or boomy sound in your recordings.
- Why They’re Essential: Bass traps are designed to target these stubborn low-frequency sounds. They absorb and dissipate the energy of the sound wave, preventing it from reflecting back into the room.
- Placement: Bass sounds tend to accumulate in corners. Therefore, bass traps are typically triangular and are placed in the top and bottom corners of a room. For a sound booth, it’s a good idea to have them in every corner.
- Materials: While many bass traps are made of the same foam as acoustic panels, there are also specialized traps made from denser materials like rock wool or fiberglass. These tend to be more effective at trapping very low frequencies.
Diffusers
Diffusers serve a different purpose than absorbers. Instead of capturing sound waves, they scatter them, ensuring a more even distribution of sound throughout the booth.
- How They Work: By breaking up the sound waves and sending them in different directions, diffusers prevent specific frequencies from becoming too prominent. This creates a more balanced and natural sound.
- Designs: Diffusers come in a variety of designs, from simple stepped panels to intricate mathematical patterns. The design determines how the sound is scattered, with some diffusers targeting specific frequency ranges.
- Placement: For a podcasting booth, placing a diffuser on the rear wall, opposite the microphone, can help prevent voices from sounding too “flat” or “dead.”
Mass Loaded Vinyl (MLV)
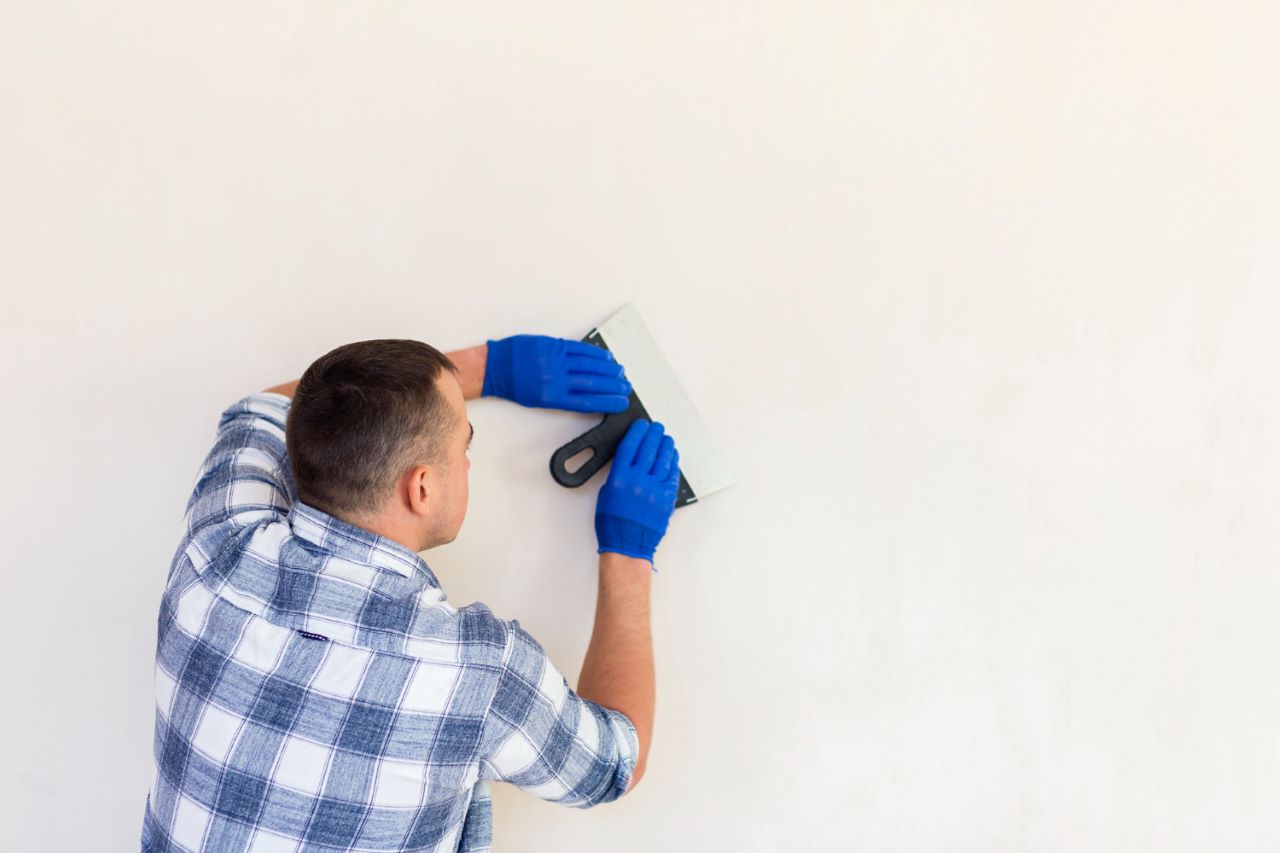
Image by Freepik
MLV is a heavyweight soundproofing material that’s known for its exceptional ability to block out external noises.
- Composition: MLV is made from vinyl material that’s been loaded with additional mass, often in the form of metal particles or salts. This added weight gives it its unique sound-blocking properties.
- How It Works: Unlike foam panels and bass traps, which absorb sound, MLV acts as a barrier. It’s so dense that sound waves have a hard time passing through it. This makes it particularly effective against low-frequency noises, like the rumble of traffic or the hum of appliances.
- Installation: MLV is typically installed on walls, ceilings, and floors. It can be sandwiched between layers of drywall or plywood to create a soundproof barrier. Due to its weight, it’s essential to ensure it’s securely fastened, often using adhesive and screws or nails.
- Versatility: One of the advantages of MLV is its flexibility. It can be cut to fit any space, and it’s thin enough that it doesn’t take up much room, making it ideal for smaller booths.
Weatherstripping and Door Seals
Even the tiniest gaps can compromise your sound booth’s effectiveness. That’s where weatherstripping and door seals come in.
- Purpose: These materials are designed to seal gaps and cracks, ensuring that your booth is airtight. This not only prevents sound from leaking in or out but also improves the booth’s overall acoustic properties.
- Types of Weatherstripping: There are various types, including adhesive-backed foam tape, V-strip, and door sweeps. The choice depends on where you’re placing it and the size of the gap you’re sealing.
- Installation: Weatherstripping is typically applied around the door frame, ensuring a tight seal when the door is closed. Door sweeps are attached to the bottom of the door, preventing sound from escaping underneath.
- Additional Benefits: Beyond soundproofing, these materials also offer insulation, keeping your booth warmer in the winter and cooler in the summer.
Construction Materials
While soundproofing materials ensure audio quality, construction materials provide the structure of your booth.
Plywood or MDF Boards
The structural integrity of your sound booth largely depends on the materials you choose for its framework. Plywood and MDF (Medium Density Fiberboard) are popular choices.
- Plywood: Plywood is a versatile material made by gluing together multiple thin layers of wood veneer. Its cross-grained structure gives it strength and stability, making it resistant to cracking, twisting, and warping.
- MDF Boards: MDF is an engineered wood product made from wood fibers combined with wax and resin. It’s denser than plywood and has a smooth surface, free from knots.
Screws and Nails
Fasteners are essential to hold your booth together securely.
- Screws: Screws provide a strong, long-lasting bond. They’re especially useful for attaching heavy materials, like MLV or thick boards. Wood screws, in particular, are designed to grip wood securely.
- Nails: While not as strong as screws, nails are quicker to install and can be used for lighter materials or areas where the fastener won’t be under much stress.
Green Glue or Acoustic Sealant
Sealants play a dual role: they seal gaps to make the booth airtight and add an extra layer of soundproofing.
- Green Glue: This is a viscoelastic compound designed to dampen sound. When sandwiched between two layers of material, like drywall or plywood, it converts sound energy into heat, reducing the transmission of sound.
- Acoustic Sealant: This is a flexible sealant designed to maintain its elasticity over time. It’s used to seal gaps and seams, ensuring no sound can leak through.
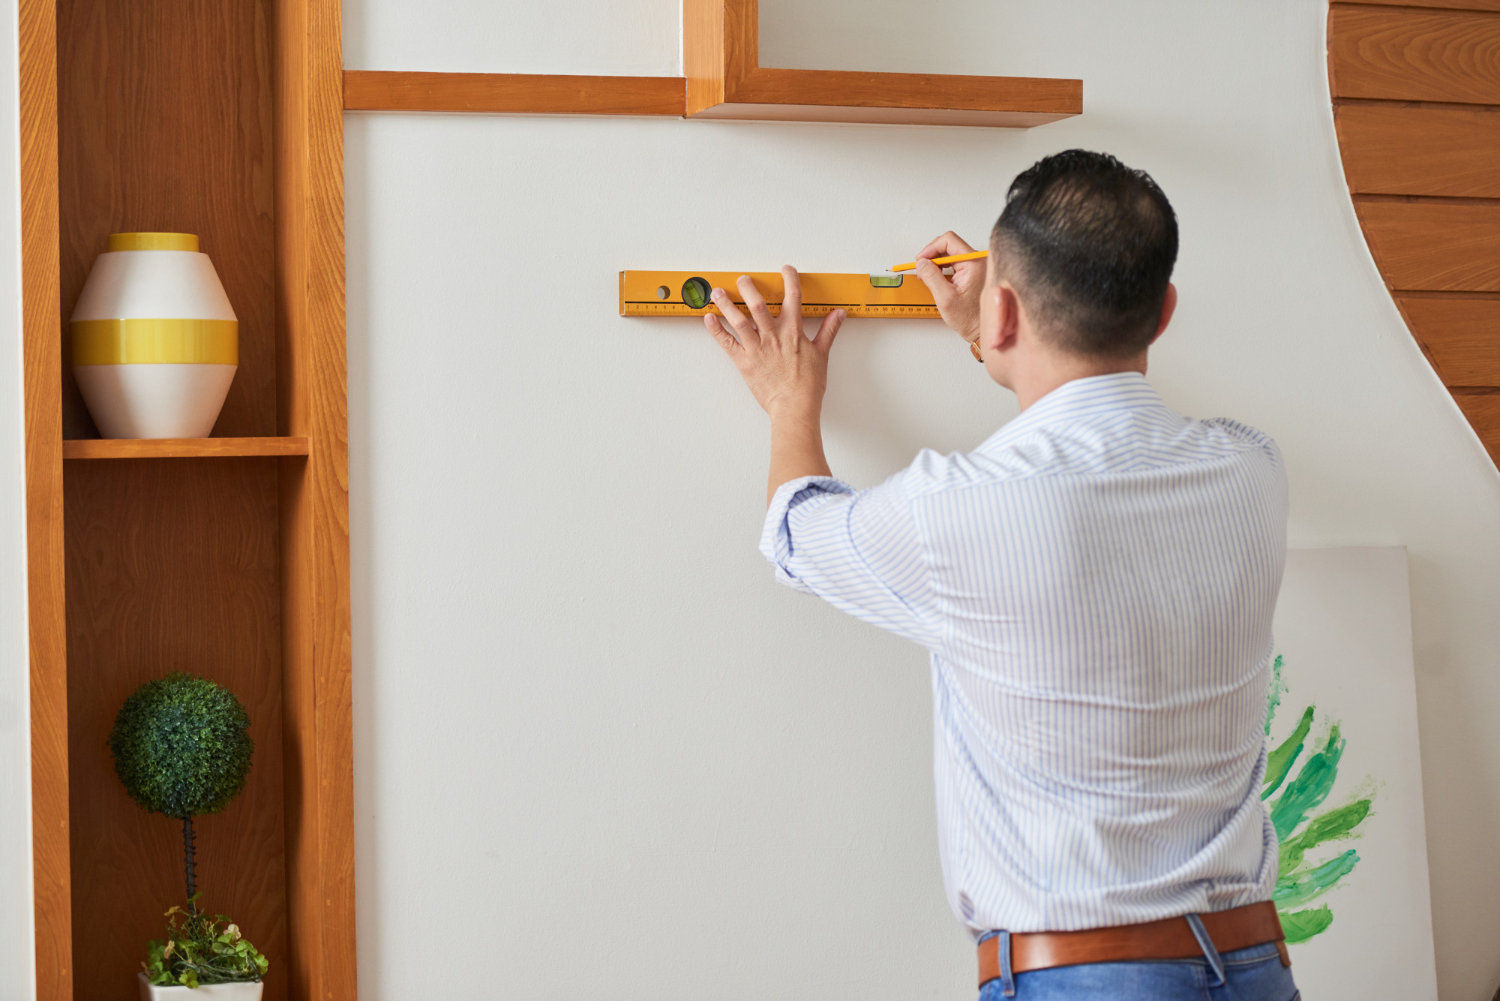
Measuring Tape and Level
Accuracy is crucial when building your sound booth.
- Measuring Tape: Ensures that your materials are cut to the right size and fit perfectly together. A retractable tape measure that’s at least 25 feet long should suffice for most projects.
- Level: A level ensures that your booth’s walls, floor, and ceiling are perfectly horizontal or vertical. This not only ensures a professional finish but also guarantees that your booth is stable and safe.
Related: Recording Studio Glass
Step-By-Step Guide To Building DIY Sound Booth For Podcast
Constructing a vocal booth might seem like a daunting task, but with the right approach and materials, it’s a project that’s well within reach for most DIY enthusiasts. Here’s a detailed guide to help you through the process:
Step One: Choosing The Right Location
Selecting the ideal location for your sound booth is the first crucial step in the construction process. A walk in wardrobe filled with hanging clothes can be an unconventional yet effective option due to its sound-absorbing properties. It’s essential to consider both the physical space and the ambient noise levels. Ideally, you’d want to position your booth in a part of your home or studio that’s naturally quiet.
Basements, spare rooms, or secluded corners often make excellent choices. Avoid areas close to busy streets or noisy household appliances. The goal is to start with a location that already has minimal disturbances, making the soundproofing process even more effective.
Step Two: Constructing The Booth Frame
Once you’ve settled on a location, the next step is to design and construct the frame of your booth. Begin by sketching out the dimensions, taking into account the height, width, depth, and thickness of the materials you’ll be using. Using your chosen construction material, whether it’s plywood or MDF boards, start by laying out the floor.
Once the floor is set, erect the walls, ensuring they are securely fastened to the floor. The ceiling comes next, completing the basic structure of your booth. Throughout this process, it’s vital to ensure all joints and connections are robust and stable, using screws for added durability.
Step Three: Applying Soundproofing Techniques
With the frame in place, the focus shifts to soundproofing. This involves lining the interior of your booth with various sound-absorbing materials. Acoustic foam panels should be evenly attached to the walls, ceiling, and door, ensuring maximum coverage. Bass traps, specifically designed to capture low-frequency sounds, should be positioned in the corners of the booth.
For added soundproofing, consider adding layers of Mass Loaded Vinyl (MLV) to the walls, ceiling, and floor. This dense material acts as a formidable barrier against external noises. To ensure the booth remains airtight, gaps or seams should be sealed using Green Glue or a specialized acoustic sealant.
Additionally, while soundproofing is paramount, it’s equally important to ensure proper ventilation. Consider incorporating a silent exhaust fan, but remember to cover any vents with soundproofing materials to maintain the booth’s integrity.
Step Five: Final Touches And Testing
With the construction and soundproofing complete, it’s time to focus on the finishing touches. The door, an often-overlooked component, plays a vital role in soundproofing. It should be solid, fit snugly, and be devoid of gaps. Weatherstripping around the door frame can help achieve an airtight seal. If the door has windows, ensure they are double-glazed and well-sealed.
Once everything is in place, conduct a series of tests. Record audio inside the booth and playback to listen for any external noises or echoes. You might even try a temporary blanket booth, using acoustic blankets, to compare the quality.
If you ever find yourself in a bind while traveling, even a hotel room or an improvised cardboard box setup with some adhesive spray can act as an impromptu recording space, although it won’t match the quality of a dedicated space.
Conclusion: The Value Of A DIY Sound Booth
Building your own sound booth is more than just a DIY project; it’s an investment in your podcasting journey. Whether you use a mic stand or prefer holding your microphone, the sound quality remains pivotal.
Not only does it provide a professional recording environment, but it also offers the satisfaction of creating something tailored to your needs. With every recording, you’ll appreciate the clarity and quality that your DIY sound booth brings, making every episode a testament to your dedication and craftsmanship.
