Audacity is an incredible piece of audio editing software that can be used for various tasks, especially podcasts. Being able to record in Audacity while the track is playing is one of its many advantages, and it’s easier than you think!
In this guide, we’ll walk you through the steps you need to take in order to successfully record your podcast in Audacity while the track is playing so that you can get started as quickly as possible. We’ll also provide you with some tips and tricks that will help the recording process go smoothly.
Related: How To Edit A Podcast In Audacity
Contents
How To Record In Audacity While Track Is Playing
Step One: Set Up Overdubbing
Before you start recording in Audacity while the track is playing, you must first make sure that overdubbing is enabled. To do this, head to the Transport tab and click on ‘Transport Options’. From there, enable ‘Overdub (on/off)’ so that it’s set to On.
This will ensure that your recording won’t be interrupted by previously-recorded material, and it will also prevent any existing tracks from being overwritten.
Step Two: Set Levels
Once overdubbing is set up correctly, the next step is to adjust the levels of both your input device (microphone or instrument) and the existing audio track. This is an important step, as it will ensure that your recording doesn’t end up distorted or too quiet.
To do this, you’ll need to go to the drop-down menu of the Preferences menu and select Device > Recording. From there, you can adjust the input level of your microphone or instrument until it’s at a level that won’t overpower the existing track.
After you’ve adjusted the levels, you can then adjust the level of the existing track so that it’s audible throughout your recording. To adjust this, simply go to the Mixer Board and drag the volume slider for each track up or down as necessary.
Step Three: Begin Recording
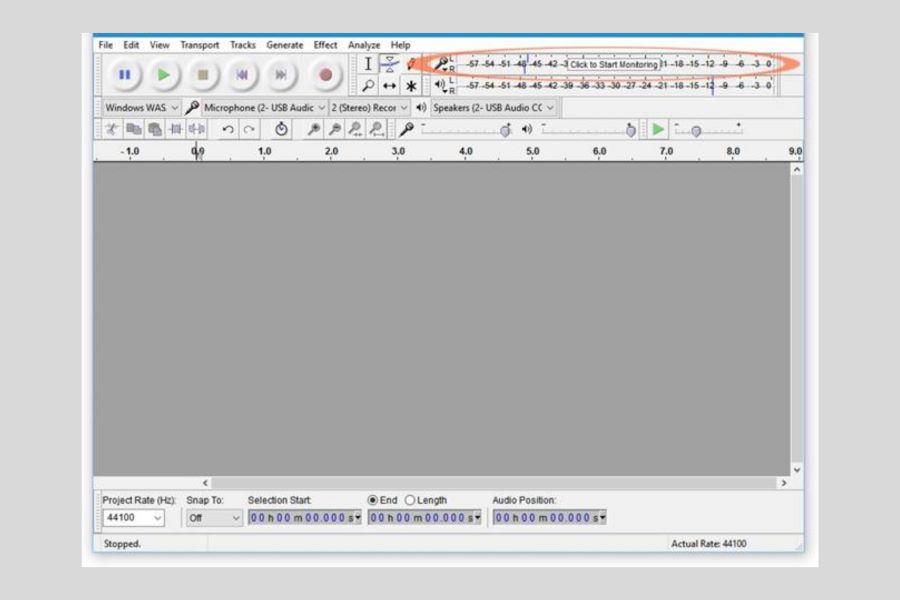
After going through the second step, you’re ready to begin recording. To do this, simply press the Record button and start playing your instrument or singing into the microphone. Make sure that you keep an eye on the meters located in the Transport window to ensure that your levels are where they should be during recording.
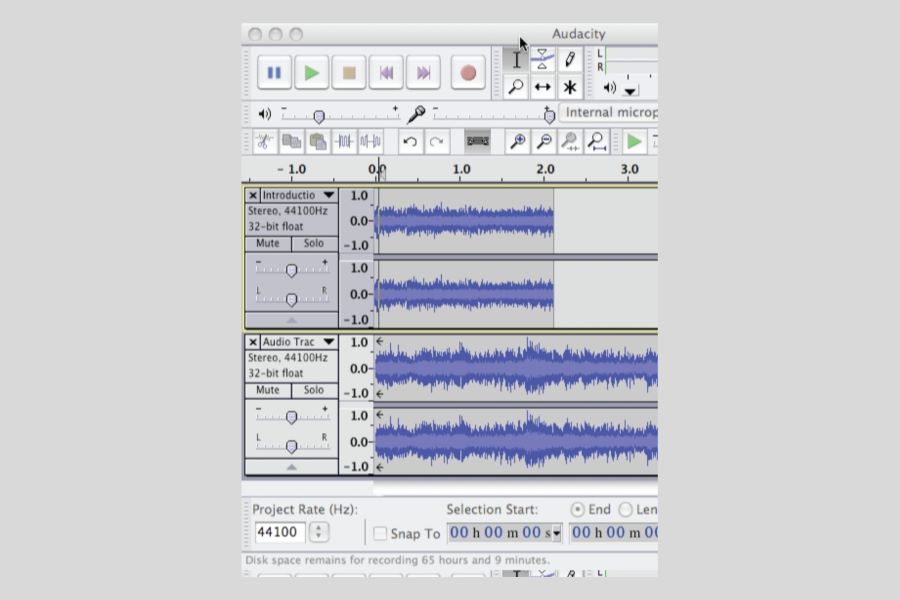
Once you’re finished, press the Stop button and you’ll have successfully recorded in Audacity while the track is playing. The new track will appear underneath the existing one in the timeline.
Step Four: Clean Up Your Recording
After you’re finished recording, you may want to clean up your track. This can be done by using the noise reduction and other effects tools available in Audacity. By doing this, you’ll be able to make sure that your recording sounds as good as possible before exporting it. Some of the most useful tools for this are the Equalization, Compression, and Noise Reduction effects.
Step Five: Export Your Recording
The final step is to export your newly-recorded track. This can be done by selecting File > Export and then choose the file format that you’d like to save project as (e.g., WAV or MP3). You can then choose a location where you’d like to save the recording, give it a name, and click ‘save’. While export times will vary depending on the file format, size, and computer speed, you should now have a high-quality recording of your track.
And that’s it – you’ve just learned how to record in Audacity while the track is playing. With a bit of practice, a good computer’s sound card, and the right settings, you’ll soon be able to make recordings that sound great!
Related: How To Sync Audacity With Video
Tips And Tricks To Remember While Recording
Now that you know how to record in Audacity while the track is playing, here are a few tips and tricks that will help make your recordings even better:
1. Record With A Click Track
The click track is a metronome that helps you keep the right tempo tracks while recording. This will make sure that your recordings stay in time with the existing track and avoid any issues when it comes to synchronization. To record while the track is playing, make sure that you enable the click track in Audacity. You can do this by clicking on ‘Edit’ > ‘Preferences’ and selecting the ‘Tracks’ tab. Under ‘Recording’, check the box next to ‘Enable Click Track’.
Once the click track is enabled, start playing your existing track and hit the record button. This will then ensure that the click track plays along with the existing track so you can stay on time while recording. You can also adjust the tempo of the click track to match the tempo of your existing audio files by going to ‘Generate’ > ‘Click Track’. From there, you can choose the tempo, audacity playback volume, and length of your click track.
When you’re finished recording, you should ensure that everything is synced up properly. To do this, go to ‘Edit’ > ‘Align Tracks’ and make sure to check the box for ‘Synchronize Audio with Clicks’. This will ensure that all the recordings you made will stay in sync with the original track.
2. Utilize Noise Gates And Filters
Noise gates help reduce background noise and filter out unwanted frequencies, giving your recording even more clarity. To apply noise gates and filters to your audio recording, simply click the ‘Effects’ tab in Audacity and select the type of filter or gate you want to use. Then adjust the settings as necessary and preview your changes before applying them.
Using noise gates and filters can help make sure that all your recordings sound great, no matter how noisy the environment is. It’s also a great way to make sure that you’re only recording what needs to be recorded, making the whole process easier and more efficient.
Related: How to Remove Background Noise & Static in Audacity
3. Experiment With Different Settings
Don’t be afraid to experiment with different recording settings. Different microphones and preamps will sound differently, so it’s important to try out a few different ones to find the one that works best for you. You can also adjust the gain level of your microphone in Audacity to get better results.
By experimenting with different settings, you’ll be able to get the most out of your recordings and make sure that they sound as good as possible. With the right setup, you’ll be able to achieve professional-level recordings without too much difficulty. So don’t skimp out on trying different settings– it will pay off in the end!
Related: How to Fix Latency In Audacity
4. Use A Pop Filter
Using a pop filter will help reduce any plosives (those sharp, popping sounds that can occur when you speak too close to the microphone) that may interfere with your recordings. To use a pop filter, simply mount it onto the end of your microphone and adjust the distance between it and your mouth.
A pop filter can also help reduce any background noise, like a fan or air conditioner. It will absorb some of the sound waves that would otherwise travel directly to your microphone. Using a pop filter is an essential step if you want to record clear and professional-sounding audio in Audacity. The sound will be more balanced and polished if you use a pop filter.
Note: Pop filters come in various shapes and sizes, so make sure you choose one that is appropriate for the type of microphone you are using. Some microphones along with microphone jack already come with integrated pop filters. You can also buy an external pop filter that attaches to the end of the microphone.
Related: Best Pop Filters For Podcasting
5. Adjust The Levels
The last tip for recording in Audacity is to adjust the levels. This will help ensure that your recordings sound as good as possible by making sure everything is at the right volume level.
To adjust the input and output levels, go to ‘Edit’ > ‘Preferences’ and then select the ‘Devices’ recording tab. From there, you can adjust the input and output levels as necessary. Make sure to listen to your recordings while making adjustments so you can hear exactly how your changes are affecting the sound.
These are just a few tips for recording in Audacity. With a little bit of practice, you can create professional-quality recordings that sound amazing.
Related: How to Normalize Audio in Audacity?
FAQs
Q: What is noise gating?
Noise gating is a technique used to reduce background noise and filter out unwanted frequencies. By applying noise gates and filters to your audio recordings and other tracks, you can make sure that all your recordings sound great, no matter how noisy the environment is.
Q: Do I need a pop filter?
Using a pop filter is essential if you want to record clear and professional-sounding audio of any single or multiple tracks in Audacity. The sound will be more balanced and polished if you use a pop filter, as it helps reduce plosives (sharp, popping sounds) and background noise.
Q: What if an already-playing track is not in Audacity?
If an already playing track is not in Audacity, you can use the ‘record’ feature to capture it. Simply select the input and output levels you want, hit record, and start playing the track. The recording will then be saved to your computer as an Audacity project.
Conclusion
This is how you can use Audacity to record while a track is playing. Now that you know this technique, you’ll be able to make professional recordings with ease. With the right gear and the right setup, recording in Audacity shouldn’t be too difficult.
Make sure to experiment with different settings and create backups of your recordings – just in case something goes wrong. Have fun making your audio recordings!


