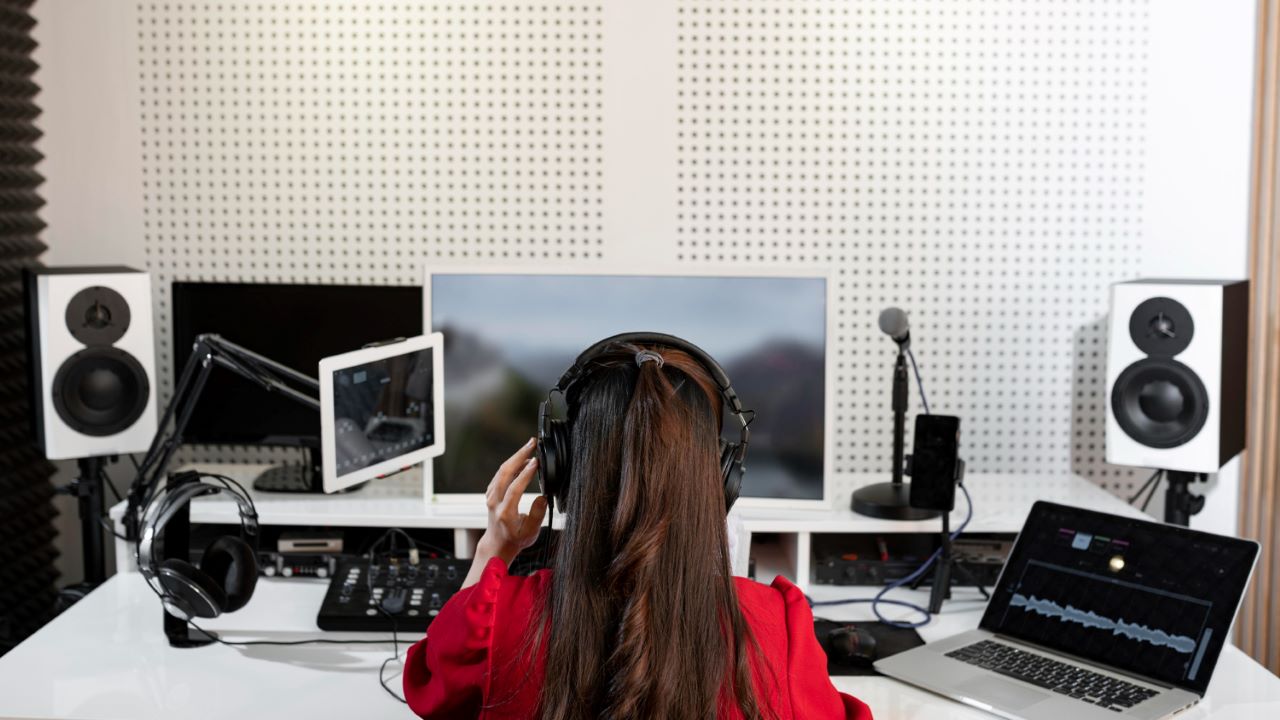
Welcome to the noisy world of urban living, bustling streets, and shared spaces. Don’t you often wish you could hit a mute button on the outside clamor? If you’ve ever faced the challenge of noisy neighbors or loud city life, you understand the desire for some peace and quiet. The best part? You don’t need to relocate to a mountaintop or invest in pricey soundproof room dividers.
Temporary soundproof wall panels might be the answer to your problems. As you navigate this guide, we’ll reveal why temporary soundproofing is a viable option, how to choose the right components, and a step-by-step guide to building one. Ready for some serenity?
Contents
Why Opt For Temporary Soundproofing?
While there are multiple ways to soundproof a space, temporary soundproofing offers a blend of benefits that permanent solutions might not. Here’s why you should consider it:
Cost-Effectiveness
A dollar saved is a dollar earned. When it comes to soundproofing, permanent solutions, like restructuring the entire wall, can be a heavy strain on the wallet. Portable soundproof wall solutions, on the other hand, are usually a fraction of the cost.
This means you can enjoy a quieter environment without burning a hole in your pocket. Additionally, they can be reused in different spaces or locations, further amplifying their value.
Flexibility
Life changes, and with it, our living arrangements might as well. Be it moving homes, redecorating, or simply wanting to change the purpose of a room divider – the flexibility of temporary soundproof walls can be a real boon. They’re easily adjustable, reconfigurable, and can be tailored to fit various spaces.
Non-Invasive
Renters, this one’s for you! With portable walls solutions, you can easily avoid upsetting your landlord or compromising your security deposit. No need to drill holes, change the structural elements, or make irreversible changes to your living space. It’s soundproofing without the strings attached.
Portability
Imagine wanting to move your quiet zone to a different room or even a new apartment. Temporary walls allow this transition without the need to invest all over again. Easily disassemble, move, and reassemble your acoustic panels wherever you need them.
Multi-Functional
Beyond just soundproofing, these walls can act as sound-absorbing materials dividers or aesthetic elements. With a variety of finishes and designs available, you’re not just buying silence; you’re enhancing your room’s functionality and appearance. Add some soundproof curtains to complement the ambiance and further reduce excess noise.
Related: Best Material For Acoustic Panels
Key Components Of A Temporary Soundproof Wall
If you’ve ever built anything, you know the importance of choosing the right materials. And when it comes to soundproofing, it’s no different. The efficiency of a temporary soundproof wall largely depends on its components.
Soundproofing Materials
In the world of soundproofing, some materials have proven their mettle time and time again. These are the warriors in your battle against unwanted noise:
Mass Loaded Vinyl (MLV)
Widely recognized for its soundproofing capabilities, Mass Loaded Vinyl, or MLV, is a flexible, thin sheet packed with dense mass. What makes it special? Its density! It effectively blocks sound waves from passing through. Additionally, it’s easy to install. MLV can be hung, stapled, or nailed. While slightly more expensive than other materials, its effectiveness makes it a top choice for many.
Acoustic Foam
Not just for recording studios! Acoustic foam works by breaking down the sound waves, preventing echo and noise reflections. It’s available in various sizes and shapes, which means you can customize it based on your needs. Easy to cut and mold, acoustic caulk foam panels can be attached directly to the wall or integrated into the temporary wall’s design.
Green Glue
No, it’s not actually green. Green Glue is a viscoelastic compound designed to dampen sound. When sandwiched between two rigid panels, like drywall, it converts sound energy into negligible heat. For those who are more DIY-inclined, this can be a go-to option to increase the efficacy of your soundproof panels.
Wall Construction
Once you’ve got your materials ready, it’s time to dive into the nitty-gritty of wall construction.
Panel Design
Your wall’s panel design will largely determine its overall effectiveness. Opt for panels with multiple layers, integrating different materials. A common design might include a layer of MLV, followed by Green Glue, and then a layer of drywall. The multiple layers ensure maximum sound absorption and reflection.
Joining Methods
How you join your panels can make or break your soundproofing project. Tight seams are crucial to prevent sound leaks. Some popular joining methods include:
- Overlap Seams: Here, one panel’s edge overlaps the other, creating a tight seal.
- Tongue and Groove: This method offers a snug fit where one panel’s protruding edge fits into the groove of the adjacent panel.
- Magnetic Seals: These seals use magnets to ensure a tight closure, making assembly and disassembly a breeze.
Step-By-Step Guide To Building Your Temporary Soundproof Wall
Embarking on the journey to erect a temporary soundproof wall can be a gratifying experience. With meticulous attention to detail and an organized approach, you’ll be well on your way to creating a tranquil oasis free from unwanted noise. Here’s a detailed breakdown of the process:
Step One: Measuring Your Space Thoroughly
The initial step is undeniably crucial as it sets the groundwork for everything that follows. Before you even think about materials or designs, dedicate time to measuring the area you wish to soundproof. Arm yourself with a reliable measuring tape and note down the height and width.
Make sure to also account for any anomalies or distinct features in the room, such as alcoves or inbuilt features, as they will play a role in the design and installation of your wall. A detailed blueprint of your space ensures that you’re prepared and prevents any wastage or last-minute changes.
Step Two: Deliberate Selection Of Soundproofing Materials
Now, with measurements in hand, you can focus on the pivotal task of selecting the best materials for your unique situation. This choice largely hinges on the specific type of noise problem you’re encountering. For instance, if your primary concern is echo within the room, materials adept at absorbing sound, like acoustic foam, might be your best bet.
Alternatively, if the noise originates externally, you’d want denser materials, such as Mass Loaded Vinyl (MLV), that block sound effectively. Embrace the freedom to combine various materials for a solution tailored to your needs. Remember, there’s no one-size-fits-all; what’s essential is that the materials align with your specific requirements.
Step Three: The Comprehensive Installation Process
Preparing the Canvas
Before introducing any soundproofing structures, it’s paramount to prep the area. This means dedicating time to decluttering. Move away furniture pieces, take down wall hangings, and clear the room of any other potential obstructions. Furthermore, give the floor and walls a thorough cleaning. This ensures a smooth installation process devoid of unforeseen challenges.
Laying the Foundation
Think of this as setting a robust foundation for a house. At the base of where your temporary wall will stand, spread a generous strip of your chosen material, such as MLV or foam. This foundational layer plays a critical role by sealing off potential sound leakages from the bottom.
Constructing the Wall
With the base firmly in place, it’s time to bring your wall to life. Start by placing your first panel. While doing so, be doubly sure that it stands vertically and exudes stability. Once you’re satisfied with its positioning, fasten it securely to the foundational layer. Methodically introduce additional panels, making sure to attach them using the joining method you’ve decided upon. A crucial point to remember during this stage is to remain vigilant for gaps or spaces between panels. Such lapses can compromise the soundproofing efficacy.
Fortifying the Summit
The top of your wall, much like the base, can become an Achilles’ heel if overlooked. To ensure you have a foolproof sound barrier, layer the top with a strip of your soundproofing material, thereby sealing it. This acts as a lid, preventing any noise from sneaking in or out.
Step Four: Rigorous Testing And Refinement

Image by Image by prostooleh on Freepik
With the physical structure in place, the real test of its efficiency commences. Begin by generating noise on one side of the wall. This could be through a speaker, a musical instrument, or any other sound source. Now, position yourself on the opposite side and critically evaluate the sound quality and intensity. This exercise gives a clear picture of the wall’s performance.
Should you detect any areas where sound seeps through or if the noise reduction isn’t up to mark, it’s time for some fine-tuning. Seal any detectable gaps, reinforce weak spots, or add supplementary layers of material until you achieve the desired level of soundproofing.
Related: Soundproof Blanket For Door
Maintenance And Care For Your Temporary Soundproof Wall
A well-maintained soundproof wall will last longer and function better. Here’s how to keep it in top shape:
- Cleaning: Dust and dirt can degrade the performance of soundproofing materials over time. Regularly dust your wall using a soft cloth. For deeper cleaning, use a damp cloth with mild soap for materials like MLV.
- Minor Repairs: Be vigilant! Over time, there might be small gaps or tears. Use soundproofing tape or sealants to patch up any minor damages.
- Disassembly and Storage: If you’re moving or need to store your wall, disassemble it carefully. Roll materials like MLV and store them in a cool, dry place. Label all parts to make reassembly easier.
Precautions And Safety Tips
Safety first! Building and maintaining your soundproof wall requires some caution.
- Wall Stability: Ensure your wall is stable and not at risk of tipping over. This might mean securing it to adjacent walls or using support beams.
- Fire Safety: Some soundproofing materials can be flammable. Always check the fire rating of the materials you’re using and keep them away from heat sources.
- Moisture Resistance: Certain areas, like basements, can be humid. Ensure your materials are moisture-resistant or take measures to prevent mold growth.
- Avoiding Toxic Materials: Beware of materials that might release toxic fumes or particles. Always choose non-toxic, safe options for your space.
- Regular Inspection: Every few months, inspect your wall for any damages or issues. Early detection can prevent larger problems down the road.
Conclusion

Image by Freepik
In today’s bustling urban environment, finding a pocket of tranquility can be a significant challenge. But with the rise of temporary soundproof walls, achieving that oasis of silence has become more attainable than ever. Not only do these walls offer a cost-effective alternative to more permanent soundproofing measures, but they also provide unparalleled flexibility, making them ideal for renters, frequent movers, or those with evolving space needs.
By focusing on choosing the right soundproofing materials, meticulous construction, and diligent maintenance, anyone can harness the benefits of these walls and carve out a serene space in the midst of the urban cacophony. In essence, temporary soundproof walls are a testament to the idea that you don’t have to compromise your peace for convenience. Embrace the serenity they offer and navigate your urban life with newfound calmness.


