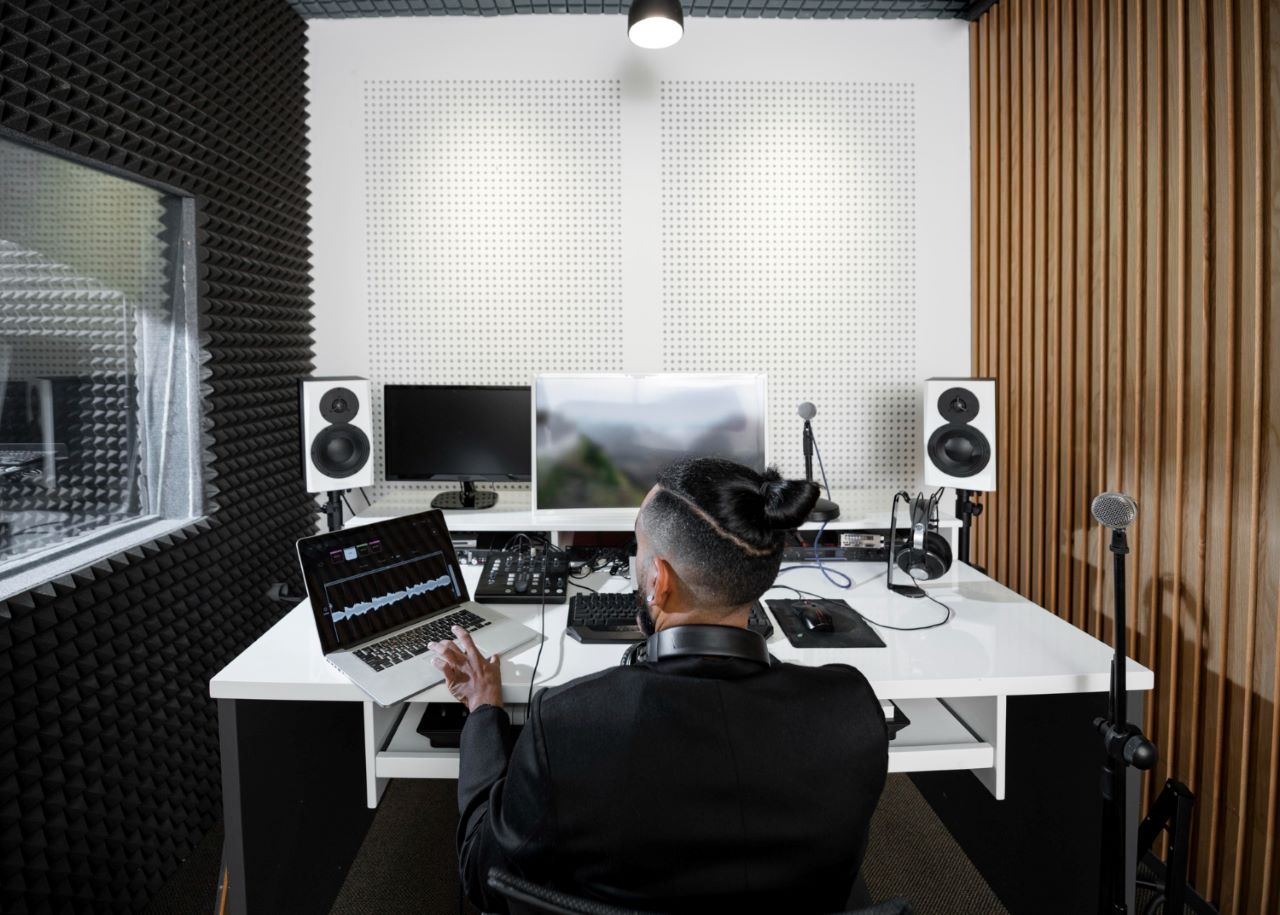
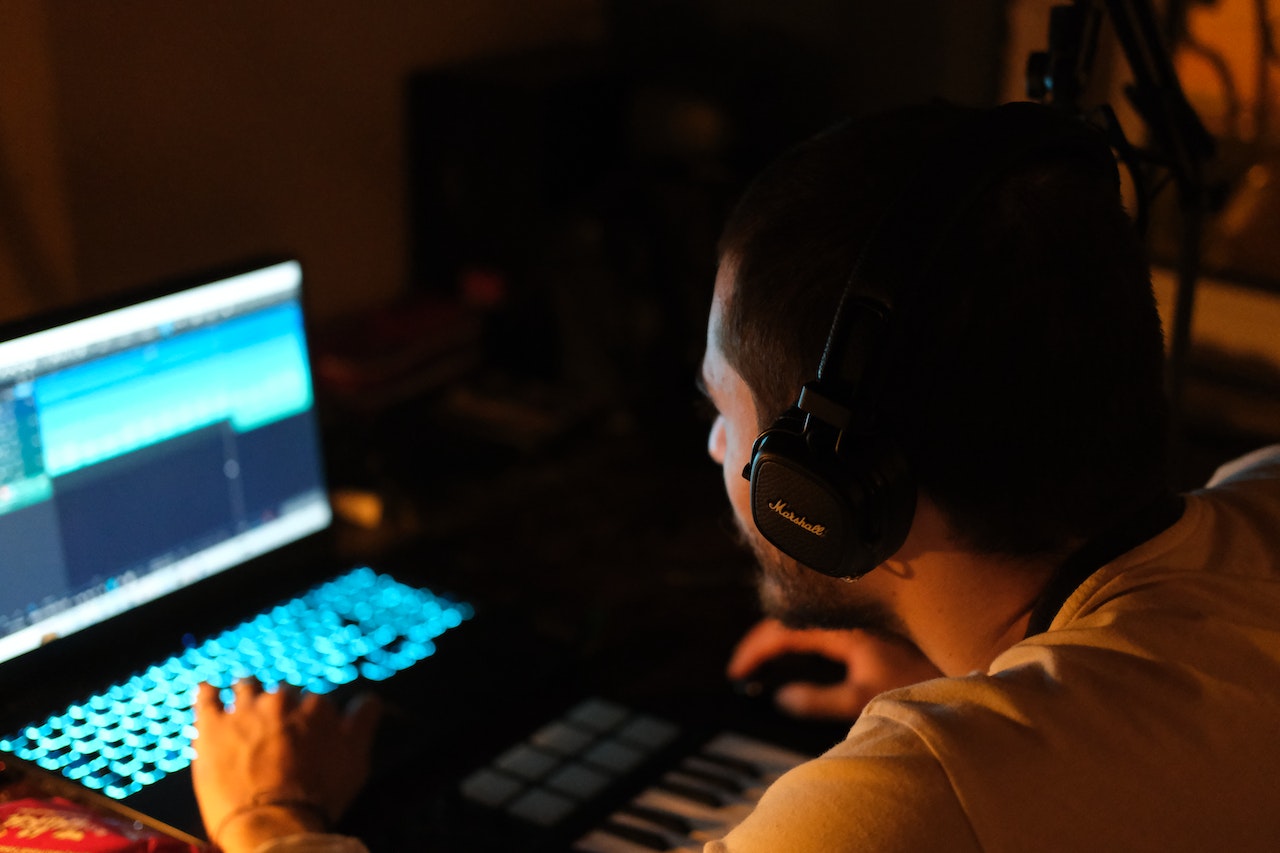
In the symphony of the digital age, podcasts are the rising solos that captivate audiences worldwide. Whether it’s the gripping suspense of a storytelling masterpiece or the dynamic exchange of ideas on a talk show, podcasts have carved out a space in the hearts and ears of millions. You’re here because you’ve felt the pull to join this vibrant community, to share your voice, your vision, and your unique content with an eager audience. But where do you begin?
Building a podcast isn’t just about having something to say; it’s about being heard with clarity and professionalism. The right equipment can transform your podcast from an amateur endeavor to a polished production. This is where the Essential Podcast Starter Kit comes into play. Think of it as your trusted companion on this auditory adventure, a bundle of tools meticulously curated to ensure that your message isn’t just heard but felt.
In this article, we’ll guide you through the core components of a podcast bundle, offering practical advice and specific recommendations to help you make informed decisions. We’ll explore the nuances of microphones, the comfort and quality of headphones, and the technical prowess of audio interfaces. By the end of this journey, you’ll be equipped not just with knowledge but with the confidence to create a podcast that stands out in the ever-expanding universe of digital storytelling.
So, take a breath, imagine the stories you’re about to tell, and let’s embark on this journey to build the best podcast bundle for you.
Related: Podcast Starter Kit
Contents
Best Podcast Bundle [Core Components]
Embarking on your podcast journey is akin to setting up a studio—an intimate space where your voice is the main instrument. The core components of your podcast bundle are the tools that will capture, refine, and amplify your message to the world. Each piece of equipment plays a pivotal role in the quality and success of your podcast.
Let’s delve into the essentials, ensuring you have a comprehensive understanding of what you need to create a podcast that resonates with clarity and professionalism.
Choosing The Right Microphone
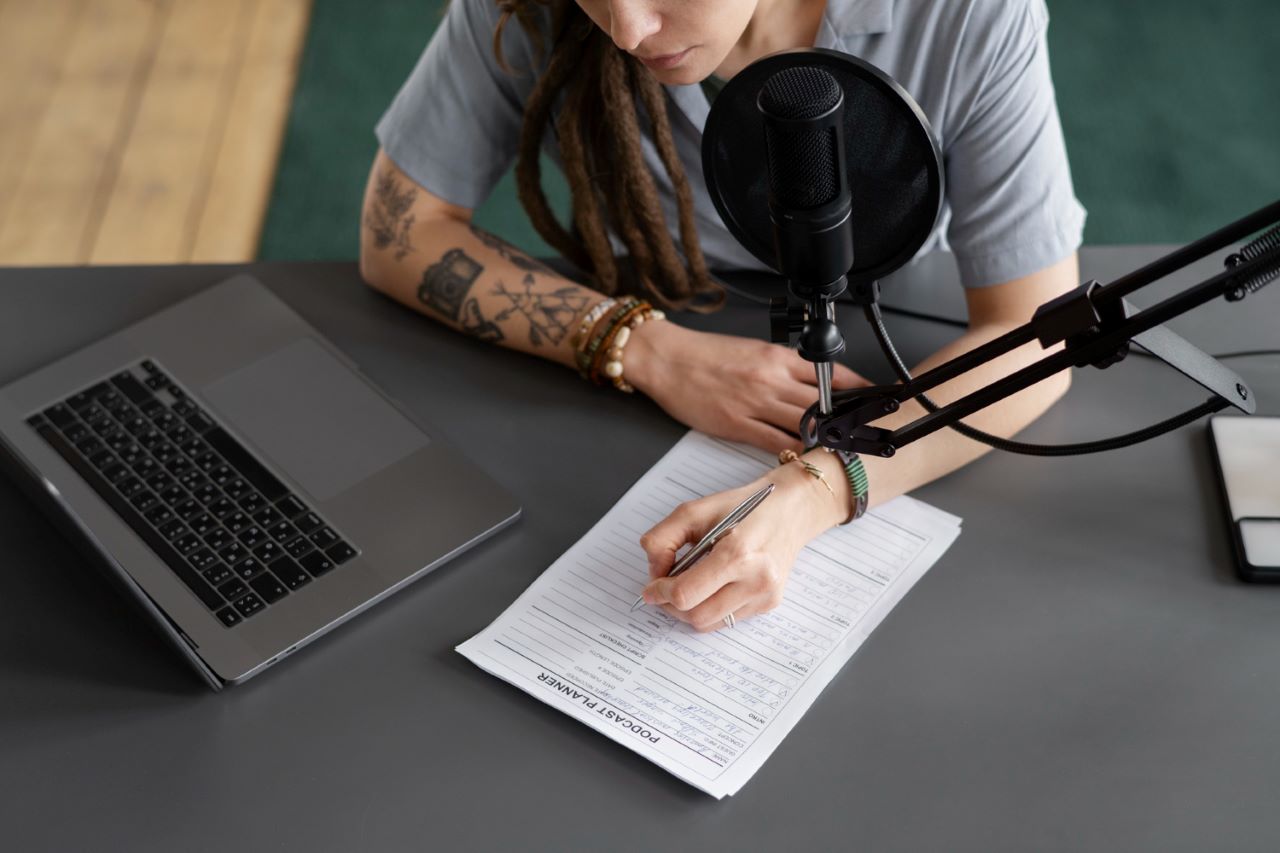
Image by Freepik
Your microphone is the gateway between you and your listeners. It’s the first checkpoint of quality, the guardian of your voice. In the realm of podcasting, the microphone you choose can greatly influence the intimacy and clarity of your content. But before we dive into the specifics, let’s understand why the microphone deserves your utmost attention.
Condenser vs. Dynamic Microphones
- Condenser Microphones: Renowned for their sensitivity and high-fidelity audio, condenser microphones are the studio darlings. They capture the voice with a level of detail that brings out the nuances of your speech, making them ideal for podcasters who record in controlled environments. However, this sensitivity means they can pick up unwanted background noise, so they’re best paired with a quiet, acoustically-treated space.
- Dynamic Microphones: The road warriors of microphones, dynamic models are robust and less sensitive to ambient noise, making them suitable for environments that aren’t soundproofed. They might not catch every subtle detail like their condenser counterparts, but they forgive the odd car horn or air conditioner hum, allowing you to focus on your content without fretting over every background sound.
USB vs. XLR Microphones
- USB Microphones: The plug-and-play convenience of USB microphones makes them a favorite among beginner podcasters. They are easy to use, often requiring no additional equipment—just connect them to your computer, and you’re ready to record. While they offer decent quality, they may limit your ability to upgrade and expand your setup in the future.
- XLR Microphones: For those looking to invest in long-term quality and versatility, XLR microphones are the standard. XLR mic require an audio interface or mixer to connect to your computer, but this extra step brings with it a world of control over your sound. With XLR mics, you can fine-tune your audio, add multiple microphones to your setup, and generally achieve a superior sound quality.
Headphones For Podcasting
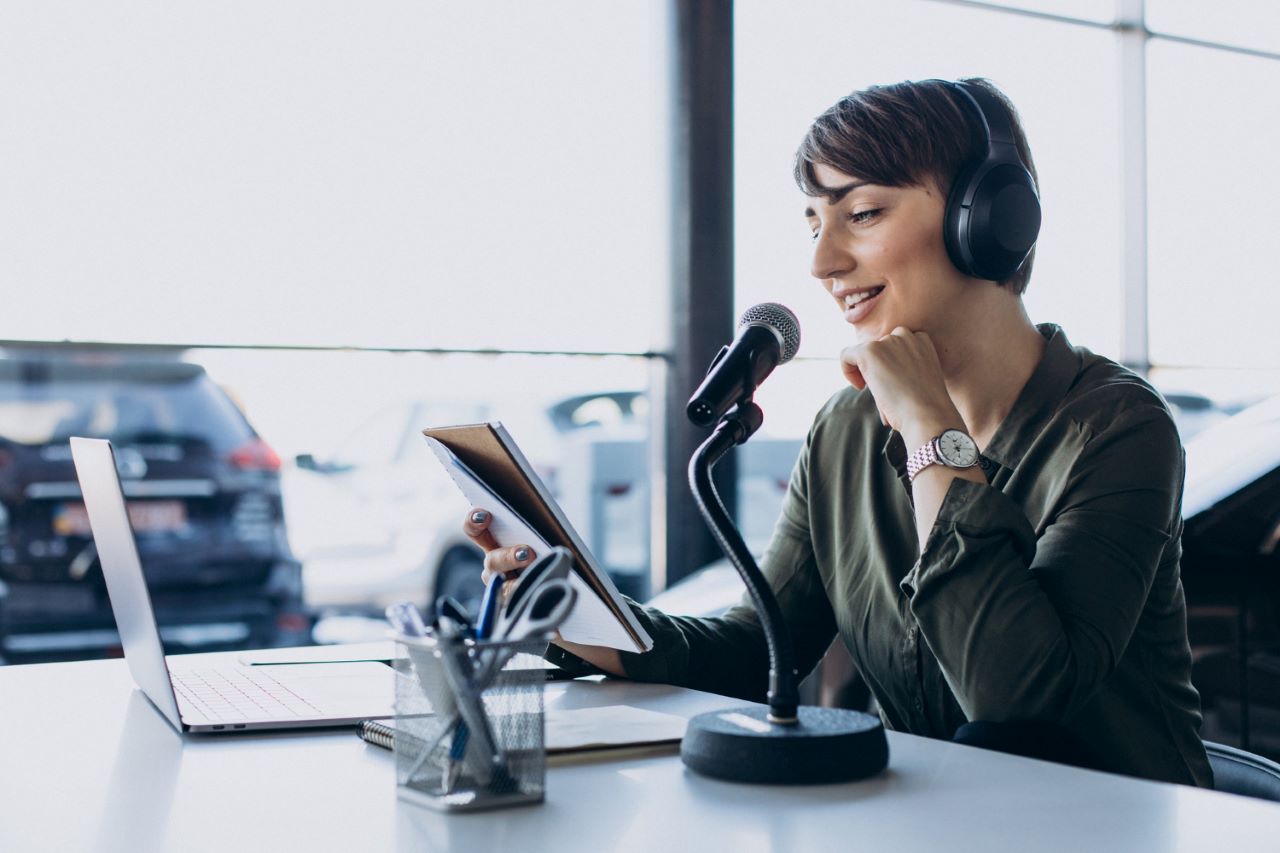
Image by senivpetro on Freepik
The right pair of headphones is your window into the audio world you’re creating. They allow you to monitor your recording in real time, catch mishaps, and ensure your voice is coming through just as you intend. But before we get into the specifics of what to look for, let’s consider why good studio headphones are non-negotiable in your podcasting kit.
- Closed-back Headphones: Designed to keep your recording environment as isolated as possible, closed-back headphones are the go-to for podcasters. They prevent sound from leaking into your USB mic and ensure that you can hear your audio clearly without interference from outside noise.
- Open-back Headphones: While open-back headphones offer a more natural sound experience, they are not typically recommended for podcast recording due to their sound leakage. They can be an excellent choice for editing, however, when you want to get a sense of how your podcast will sound in a typical listening environment.
Importance of Comfort and Sound Isolation
- Comfort: Podcasting often involves long hours of recording and editing, making comfort an essential factor in choosing your headphones. Look for headphones with cushioned ear pads and an adjustable headband to avoid fatigue during those marathon sessions.
- Sound Isolation: Effective sound isolation ensures that you can concentrate on your podcast without distractions. It also prevents the microphone from picking up audio from your headphones, which can be crucial when recording in the same room with co-hosts or guests.
Audio Interfaces For Crystal Clear Sound
The audio interface is the unsung hero of your podcast setup. It’s the bridge between your microphones, headphones, and computer, converting analog signals into digital ones and vice versa. But what exactly should you be looking for in an audio interface?
An audio interface does more than just connect your XLR microphone to your computer. It provides power to your microphone, controls audio levels, and ensures that the sound you capture is as true to life as possible. It’s a critical component for anyone looking to produce professional-quality audio.
Key Features to Look For
When selecting an audio interface, consider the following features:
- Preamp Quality: A good preamp will provide clean gain without adding noise to your signal, ensuring your voice is captured clearly.
- Latency: Look for interfaces with low latency to avoid delays that can be distracting during monitoring.
- Connectivity: Ensure the interface has enough inputs and outputs for your microphones and headphones and that it’s compatible with your computer.
- Durability: Since the audio interface is the centerpiece of your setup, you want something that’s built to last.
- Portability: If you plan to record on the go, a compact and rugged interface can be very beneficial.
Recording And Editing Software
The recording and editing software you choose is your digital studio, a place where your voice and creative vision come alive. It’s not just about capturing audio; it’s about crafting an experience for your listeners. With the right software, you can ensure that every pause, every inflection, and every word is communicated just as you intend.
Selecting The Best Podcasting Software
Selecting the best podcasting software is a critical decision that can influence the quality of your podcast and the ease with which you can produce it. The ideal software should offer a seamless recording experience, intuitive editing tools, and the flexibility to accommodate your growing needs as your podcast evolves.
For beginners, software that simplifies the recording process and offers basic editing tools is often the best choice. As you become more experienced, you may require advanced features such as integrated sound effects, sophisticated mixing capabilities, and support for various audio formats.
Additionally, consider the software’s compatibility with your operating system and hardware, as well as the availability of support resources like tutorials, forums, and customer service.
Essential Editing Features
When it comes to editing, the software you choose should empower you to create a polished final product. This means having a robust set of tools at your disposal to cut, splice, and enhance your audio. Essential editing features include the ability to easily trim segments, adjust levels, and balance sound across different tracks.
A good editing suite should also provide options for adding music and sound effects, which can help in setting the tone and improving the overall listening experience. Furthermore, the ability to save and export your project in various audio formats ensures that your podcast can be easily distributed across multiple platforms.
Noise Reduction and Audio Enhancement Tools
In the realm of audio editing, noise reduction and enhancement tools are vital. Here are some specific tools to look for:
- A noise gate to help eliminate background noise during silent passages.
- A de-esser to reduce harsh sibilance from speech.
- An equalizer to fine-tune the frequency balance, making your voice sound richer and more present.
- A compressor to even out the audio levels, ensuring a smooth and professional sound.
Multitrack Recording Capabilities
Multitrack recording is a feature that cannot be overlooked for podcasters who plan to include interviews, co-hosts, or panel discussions. This capability allows you to record each voice on a separate track, giving you greater control during the editing process.
You can adjust levels, apply effects, or edit content on one track without affecting the others. This is particularly useful for balancing the audio, removing crosstalk, and creating a cohesive and engaging podcast episode.
Enhancing Your Podcast Bundle With Accessories
No podcast setup is complete without the right accessories. These seemingly minor components can drastically improve the quality of your recordings and provide your audience with the best possible listening experience.
Pop Filters And Windscreens
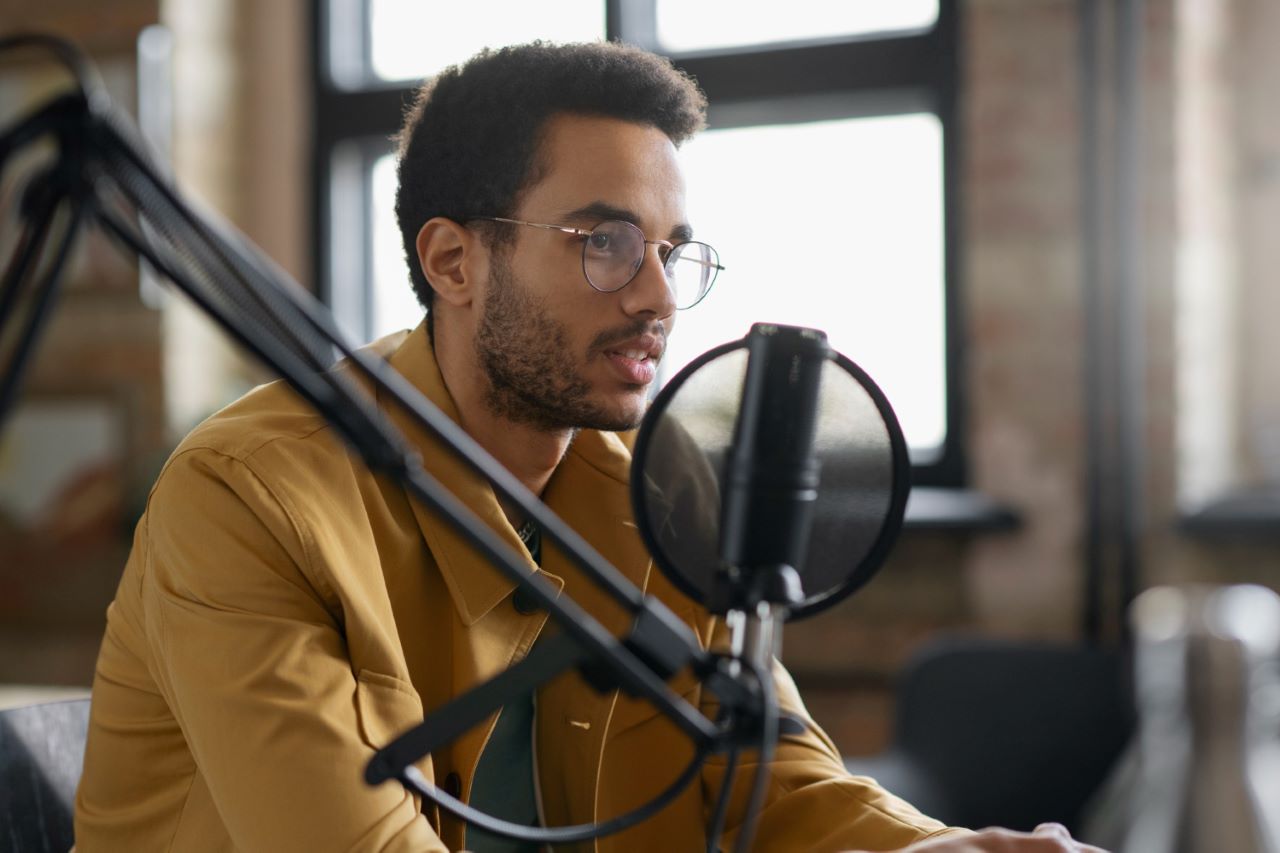
Image by Freepik
Pop filters and windscreens are crucial for maintaining audio clarity. A pop filter is placed between you and the microphone to mitigate the impact of plosive sounds—those hard ‘P’ and ‘B’ sounds that can produce a pop in the audio.
Windscreens, on the other hand, are designed to reduce wind noise and are particularly useful if you’re recording in less controlled environments. Both are simple yet effective tools for ensuring that your voice is captured as clearly and cleanly as possible.
Stands And Mounts
Stands and mounts are the unsung heroes of any podcasting setup. They not only hold your microphone in the optimal position but also contribute to the overall ergonomics of your recording environment. A well-chosen stand or mount can reduce the strain on your posture during long recording sessions and can also help minimize unwanted noise from your movements.
Whether you opt for a boom arm for its flexibility or a desk, stand for its compact footprint, ensure that it’s sturdy and adjustable to suit your specific needs.
Shock Mounts To Prevent Vibrations
Finally, shock mounts are an essential accessory for any podcaster looking to achieve professional sound quality. They effectively dissociate the mic from vibrations and impacts that can travel through the stand, which might otherwise result in low-frequency rumbles in your recording.
By suspending the mic in a cradle of elastic bands, shock mounts absorb any vibrations before they can reach the microphone diaphragm. This is especially important in environments where incidental contact with the microphone or its stand is likely.
Connectivity Solutions For Podcasting
Every piece of equipment in your podcasting arsenal needs to communicate seamlessly to capture and deliver the crisp, clear audio that listeners expect. This is where connectivity solutions come into play, ensuring that all your gear works together in harmony. From the right cables to the perfect audio mixer, each component plays a crucial role in the symphony that is podcast production.
Cables And Adapters
The unsung heroes of any podcast setup are the cables and adapters that tie everything together. They are the lifelines of your equipment, carrying the precious cargo of sound from one device to another. Quality cables can mean the difference between clear, unimpeded sound and audio plagued by interference or degradation.
It’s essential to choose cables that are not only compatible with your equipment but also durable and capable of preserving the integrity of your audio signal. Adapters, on the other hand, are the peacekeepers, ensuring that devices with different connection types can work together without issue. They allow you to expand your setup and incorporate various types of gear, making them indispensable in a podcaster’s toolkit.
Audio Mixers For Multi-Person Podcasts
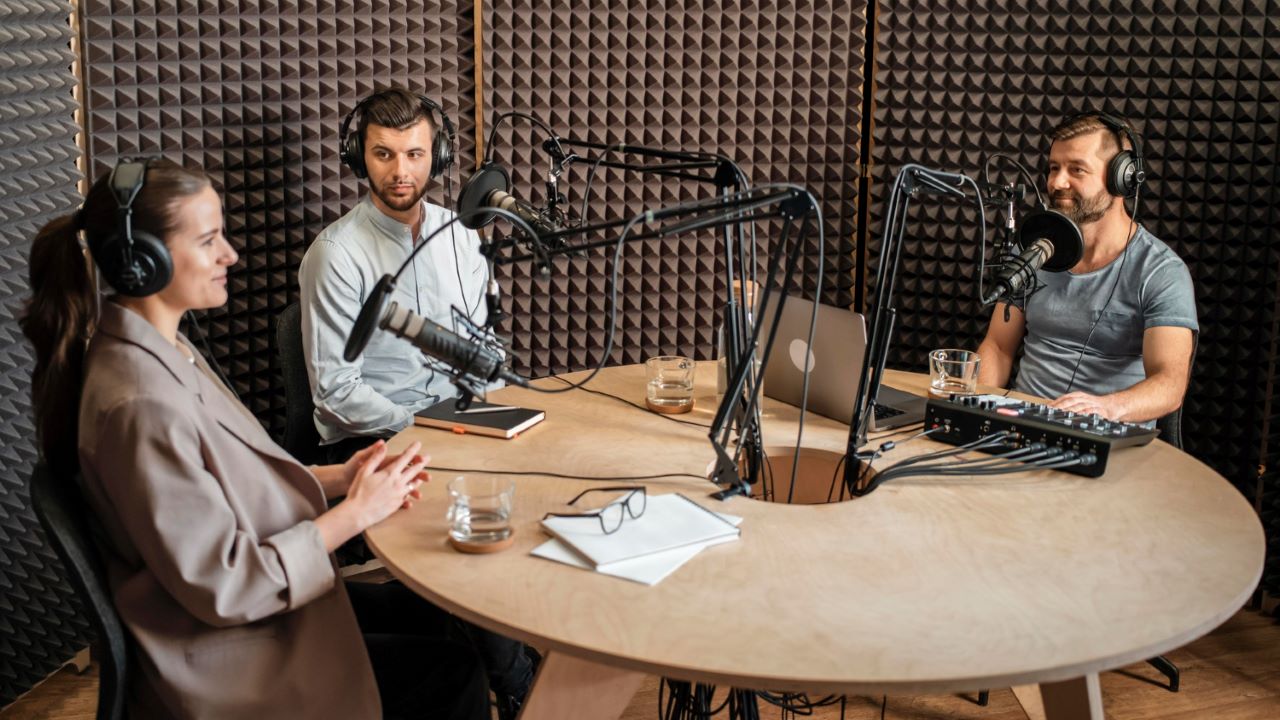
Image by Freepik
When your podcast features multiple hosts or includes guest interviews, an audio mixer becomes an invaluable part of your setup. It allows you to manage multiple audio sources, adjusting levels and EQ settings on the fly to ensure balanced sound.
A mixer can also add versatility to your podcast, allowing for live mixing, integration of sound effects, and even the inclusion of phone calls or remote guests into your show. The right mixer can elevate a multi-person podcast, giving you the control to blend voices and sounds into a cohesive and engaging narrative.
Features to Consider for Podcasting
When selecting an audio mixer for podcasting, consider the following features:
- Multiple XLR inputs for accommodating several microphones.
- Built-in preamps to ensure high-quality sound from each mic.
- USB connectivity for easy integration with your computer and recording software.
- Onboard effects and processing to enhance audio without post-production work.
- Compact size for a smaller footprint in your recording space.
Portable Podcasting Kits
The podcasting landscape is ever-changing, and with it, the need for mobility and flexibility in how and where you record. A portable podcasting kit is the answer for the podcaster on the go, ensuring that you’re ready to capture your stories whether you’re at home, in a studio, or on the road.
The ability to pack up and set up quickly without compromising on quality is what makes a portable podcasting kit an essential tool for the modern content creator.
Building A Mobile Podcast Studio
Building a mobile podcast studio is about balancing portability with functionality. The goal is to have a setup that’s lightweight and compact yet still capable of producing high-quality audio. This means selecting equipment that’s designed for travel, such as portable recorders, foldable stands, and travel-friendly microphones.
It also means considering how you’ll power your equipment, opting for devices with good battery life or those that can be easily charged on the go. The flexibility of a mobile studio allows you to capture the ambiance of different environments, conduct in-person interviews anywhere, and bring a fresh and dynamic feel to your podcast.
Cases And Protection For Your Gear
Protecting your gear is critical when building a portable podcasting kit. The right cases can safeguard your equipment from the bumps and bruises of travel, as well as from the elements. Look for cases that offer a snug fit for your specific equipment, with padded interiors to absorb shocks and hard exteriors to resist impacts.
Waterproof and dustproof options can be a wise investment, especially if you plan to record in a variety of locations. Additionally, consider the size and weight of your cases, as they should be easy to carry and not add unnecessary bulk to your setup.
Conclusion: Crafting Your Custom Podcast Bundle
As we’ve journeyed through the essentials of assembling the ultimate podcast starter kit, it’s clear that the art of podcasting is as much about the tools you use as it is about the stories you tell. Crafting your custom podcast bundle is a personal and critical step towards ensuring that your voice is not only heard but also resonates with the quality and professionalism your content deserves.
It’s about finding that sweet spot where functionality meets quality, where ease of use aligns with versatility, and where the technical meets the practical in a harmonious blend. So, gather your gear, set the scene, and let the tape roll. Your podcasting journey awaits, and the world is eager to listen.
