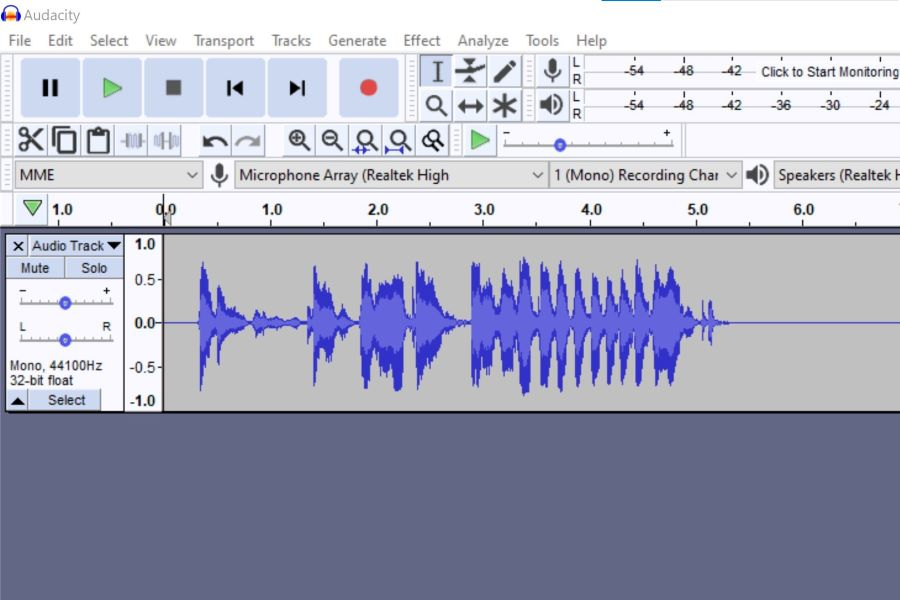
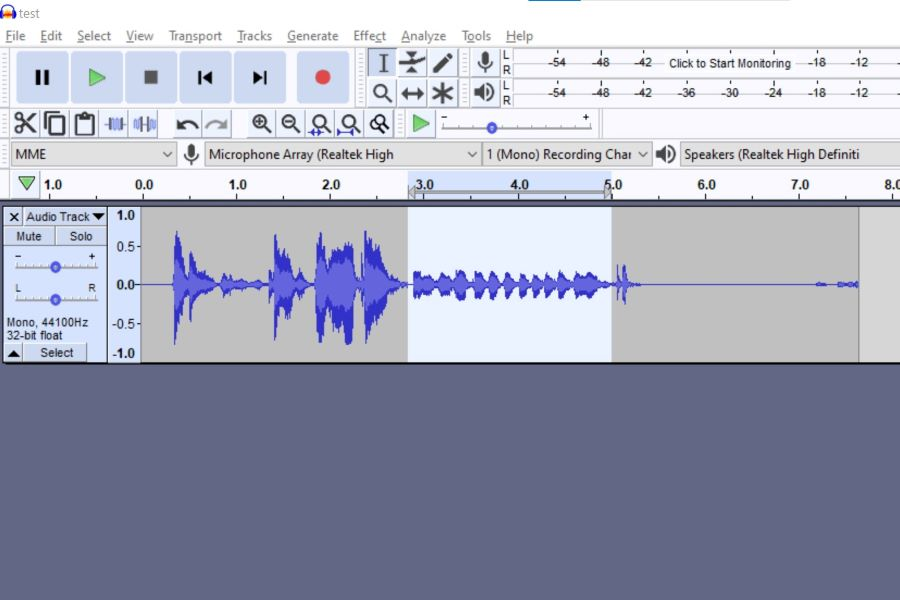
If you need to lower the volume of a section in an audio recording, Audacity can help. This guide will show you how to use the software to make the necessary adjustments.
This can be useful if you have a recording with one or more sections that are too loud. By lowering the volume of just those sections, you can bring the overall volume of the recording down to a more acceptable level. Read on to learn how it’s done!
Related: How To Edit A Podcast In Audacity
Contents
Methods to Lower the Volume of a Section in Audacity
Here are the different ways to lower the audio volume of a section of your audio clips when audio editing in Audacity:
- Use the envelope tool
- Use the amplified Effect
- Normalize the audio
- Fade in and out
Let’s go through these methods one by one.
Using Envelope Tool
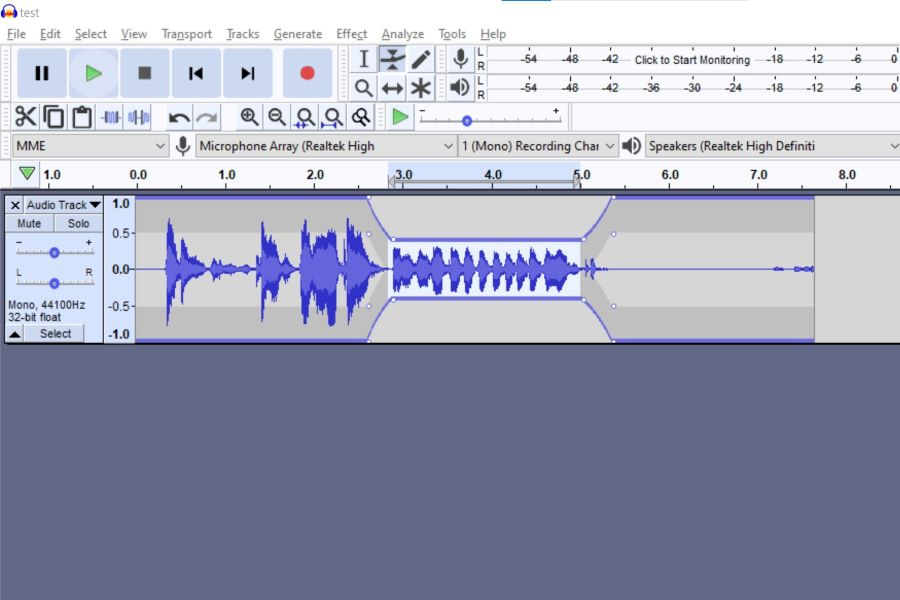
The envelope tool is a powerful way to make volume adjustments in Audacity. It gives you greater control over how the volume changes over time. To do this, click on the “envelope” tool, which looks like two arrows pointing to a point in a line.
When you select the envelope tool, you’ll notice a thick blue border surrounding your audio track. This is called an “envelope.” Click on the blue line at the point where you want to make a change to create a handle. Once you have created more than one handle you can change the volume between handles by dragging them up or down.
The further you drag a point up, the louder the volume will be at that specific point in time. Similarly, the further you drag a point down, the quieter the volume will be. To remove the handle, simply click on it and drag it off the blue line. The envelope tool is a great way to make precision volume adjustments.
Use the Amplify effect:
You can also use the Amplify effect to lower or increase volume of a selected audio section. This is helpful if you only need to make a small adjustment and don’t need fine control. To use the Amplify effect, follow the following steps:
1. Open the single audio file in the Audacity audio software and find the section where you want to lower the volume.
2. Select that audio section by clicking and dragging or by using the edit menu.
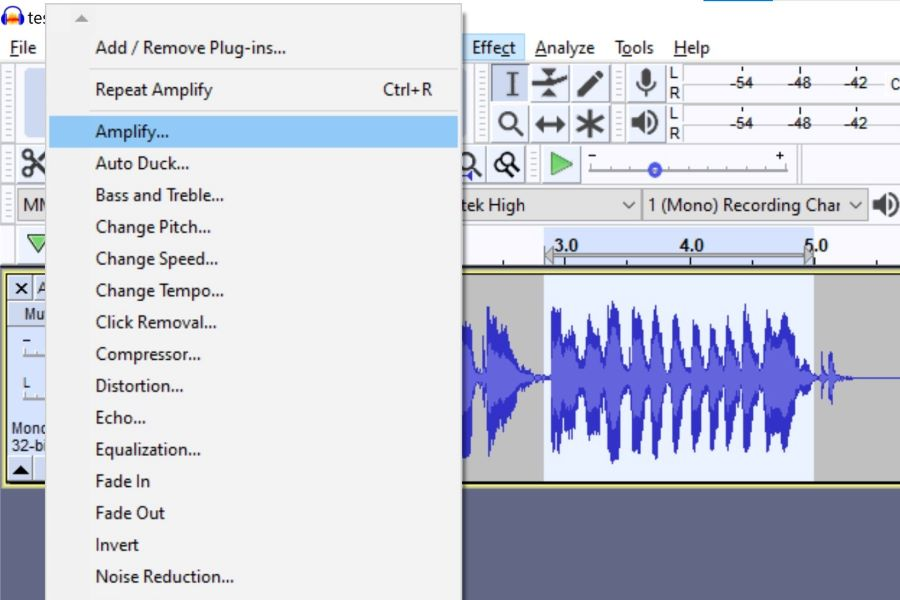
3. Once the audio section is selected, open the Effects menu and select Amplify.
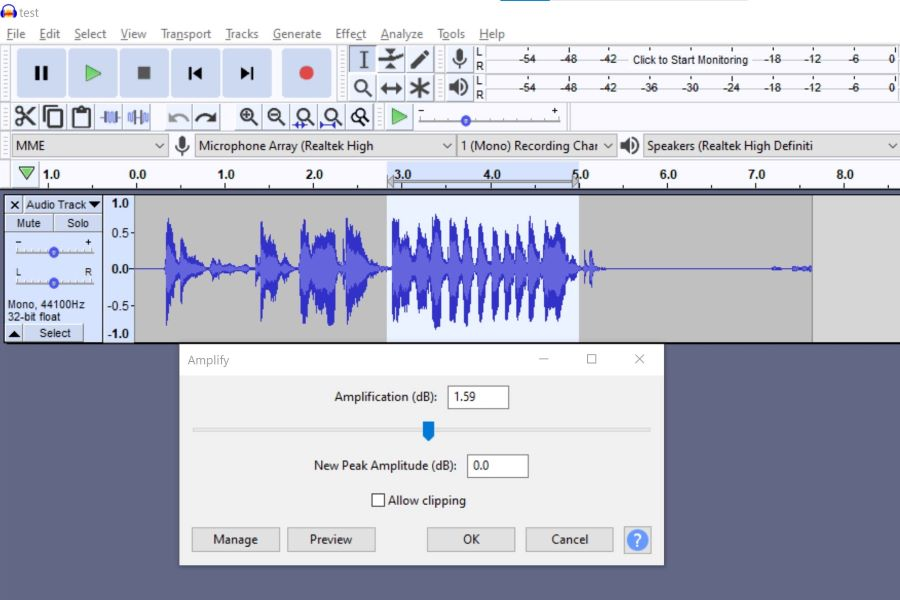
4. You will see a new window with a slider that controls the volume of the selected portion of the audio file. Use said slider to adjust the volume.
5. To decrease the volume, pull the slider left or enter a smaller number in the Amplification (dB) field than the current one. The further the slider goes to the left, the more pronounced the Effect will be.
6. Click OK when you’re done, and you should see the results in the audio selection.
7. You can also use this method to raise the volume of a section in your audio track, although it’s usually best to avoid amplifying audio too much as it can start to sound distorted.
8. If you need to make further adjustments, you can always undo your changes by going to Edit > Undo Amplify or pressing CTRL+Z on your keyboard. You can also adjust the background noise with amplify Effect.
9. By following these simple steps, you can easily lower the volume of any section in an audio recording.
Normalize the Audio
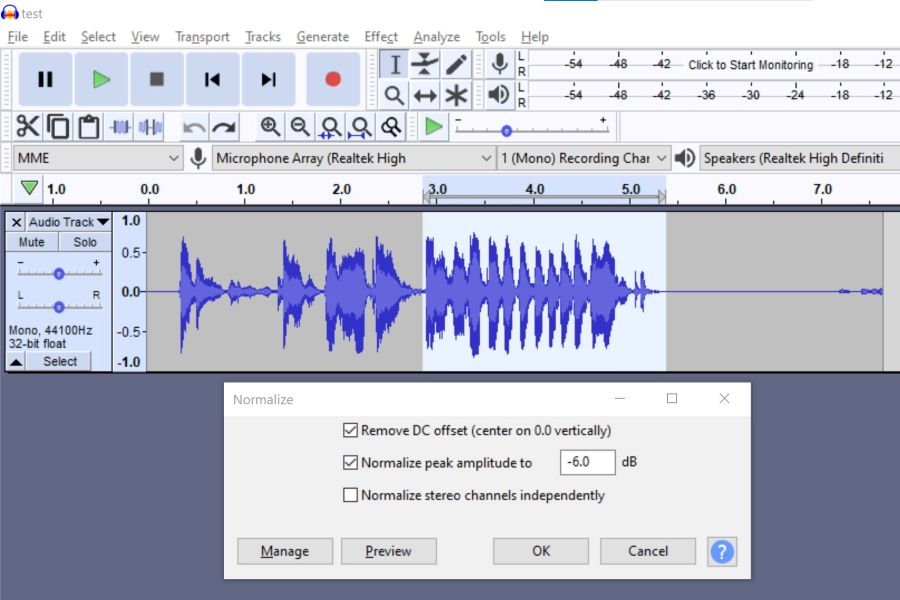
If you want to lower the volume of an audio recording without affecting the overall level, you can use the Normalize effect. To do this:
1. Select the section you want to lower the volume for using the selection tool.
2. Go to Effects > Normalize.
3. In the new window that pops up, ensure the “Remove any DC offset” and “Normalize maximum amplitude to” options are checked.
4. In the “Normalize maximum amplitude” text field, input a lower number (normally lower than zero). This will be the new peak amplitude once you hit OK.
5. Click OK.
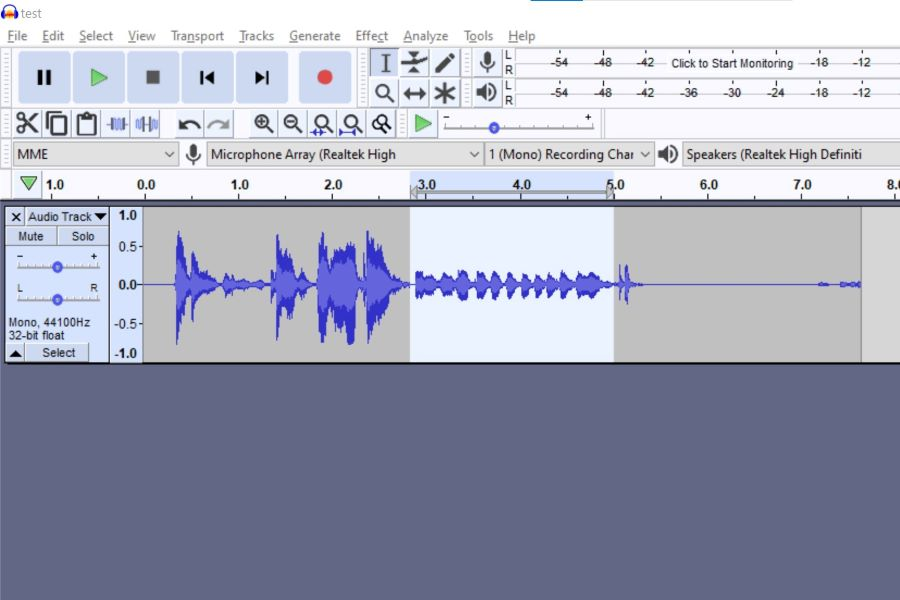
This will make the overall volume level of your audio file quieter without changing the relative levels of the different parts.
Fading In and Out
You can also use the Fade In and Fade Out effects to gradually lower a section’s volume. To do this, select the section you want to fade out. Then, go to Effects > Fade Out.
A dialogue box will appear, asking you how long you want the fade-out to be. Choose a length of time, then click “OK.” The selected audio section will now fade out over the chosen length.
You can also use the Fade In Effect to lower the volume at the beginning of a recording.
To use the Fade In Effect, select the section that you want to fade in. Then, go to Effects > Fade In.
All these methods can lower the volume of an entire track or just a section of a track. Experiment and see which method works best for your needs.
Related: How To Splice Audio In Audacity
How to increase the volume of sections in Audacity
To increase the volume of a section in Audacity, you can use the amplify Effect. First, select the section you want to amplify and then click on Effect> Amplify. In the Amplify dialogue box, enter the amount you want to increase the volume by in dB.
You can also check “Preview” to hear what the amplified sound will sound like before you apply the Effect. When satisfied with the result, click “OK” to apply the Effect.
You can also use the envelope tool to increase the volume of a section. In contrast to lowering the volume of the section, you will click and drag upwards on the part of the waveform that you want to increase the volume of.
Conclusion
Audacity allows you to edit single or multiple audio files simultaneously. It is one of the most popular audio editing software with many features and functions.
Lowering the volume of a selected section in an Audacity recording is easy. This guide walks you through each step so that you can make the changes you need without difficulty. We hope this blog post has helped show you how to lower the volume of a section in Audacity. Experiment with different settings until you get the results that you’re looking for. You can also check out how to make your voice sound better in Audacity.
FAQs
How do I gradually decrease the volume in Audacity?
You can use the envelope tool to create a custom fade Effect. To do this, select the portion of the audio clip you want to fade out. Then, click on the envelope tool and draw a line from the top of the track to the bottom. This will create a fade-out Effect.
How to convert a stereo track to mono in Audacity?
To convert a stereo track to mono in Audacity, go to the track drop-down menu and select “Split Stereo Track.” This will create two identical mono tracks. Next, click on the track drop-down menu and select “Mono” for each track. Finally, click “File > Export > Export as MP3” to save the file in mono.
How to create fades in Audacity?
There are a few different ways to create fades in Audacity. The simplest way is to use the Fade In and Fade Out effects. To do this, select the section of audio you want to fade in or out, then click the “Effect” menu and choose “Fade In” or “Fade Out”.
Related: Audacity Editing Guide: How To Delete an Audio Section
Can I use the Gain Slider to lower the volume on a section?
No, you can’t use gain control on a section, you can only use it on the whole track. To lower the volume of a section, you’ll need to use one of the other methods described in this blog post.
Related: How to Remove Background Noise & Static in Audacity
