Are you excited about leveling up your podcast game with the HyperX Quadcast? You may want to consider first how to make HyperX Quadcast sound better. This comprehensive guide is going to walk you through how to harness the full potential of this Quadcast mic. Whether you’re a content creator, a gamer, or just someone looking to improve your microphone sound, buckle up! We’re about to dive deep.
It’s all about striking the perfect balance between the physical setup and the digital settings. Both play a significant role in capturing that crisp, clean sound you’re after. And guess what? You don’t need to be a tech guru to get this right!
By heading to your computer’s sound control panel and with a sprinkle of dedication and a pinch of attention to detail, you’ll sound better than ever.
Related: Best Microphones For Recording in Podcasting
Contents
How to Make HyperX Quadcast Sound Better [Optimize Physical Setup]
Before delving into the nitty-gritty of physical setup, it’s essential to understand its overarching importance. The positioning and environment of your HyperX Quadcast have a profound impact on the quality of sound it captures. Think of it this way: if your microphone were a camera, its physical setup would be analogous to focusing and framing the shot.
Adjusting the microphone volume and ensuring no unwanted noise interferes can make a huge difference. A slight misalignment or a wrong angle can mean the difference between crisp, clear audio and a muddled mess. This section provides actionable insights to help you nail that perfect setup every time.
Positioning Your Microphone Correctly

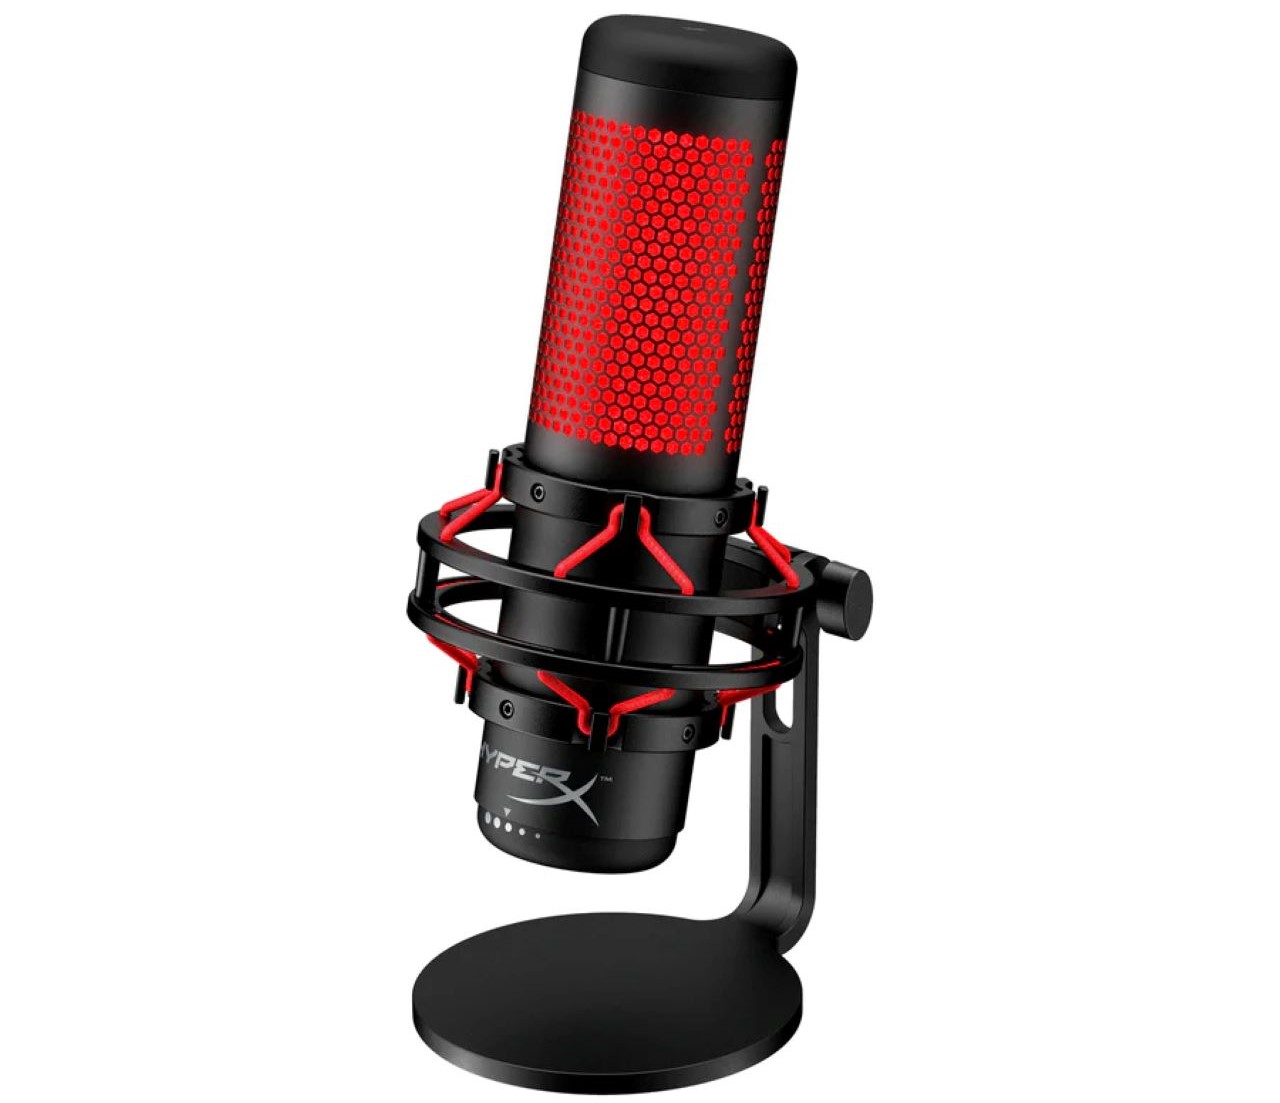
QuadCast comes with its own anti-vibration shock mount and a built-in pop filter. Image Source.
Position, position, position! You could have the best USB microphone in the world, but if it’s not positioned correctly, especially on its mic stand, the sound quality could still suffer.
Angle And Distance From The Mouth
Ensure the microphone is at a 45-degree angle from your mouth, ideally positioned 6-8 inches away. This captures your voice most naturally, emphasizing the richness of your tone without the popping sounds that “P’s” and “B’s” sometimes produce in cardioid mode.
Utilizing The Built-in Pop Filter
The Quadcast’s built-in pop filter is fantastic, but are you using it to its full advantage? Ensure that the filter isn’t obstructed and that you’re speaking into it directly for best results.
Adjusting For The Type Of Content (Gaming, Podcasting, Singing)
Depending on your use case, you may need to adjust your microphone’s position. Using a boom arm, like the blue compass boom arm, gives you that flexibility. For gaming, clarity is crucial; podcasting requires a more natural tone, while singing might benefit from a slight distance to capture a fuller sound.
Addressing The Room Acoustics
Ever noticed how different a recording sounds in a bathroom compared to a carpeted bedroom?
The Significance Of Sound Treatment
Sound treatment is all about controlling reflections. The walls in your room can cause your voice to bounce around, creating echoes. Treating your space helps to absorb or diffuse these unwanted sounds, leading to a cleaner recording.
Quick Tips: Rugs, Curtains, Foam Panels
- Rugs and Curtains: They can absorb sound and prevent it from bouncing off hard surfaces.
- Foam Panels: Placing them strategically around your room, especially at reflection points, can drastically improve audio quality.
The Role Of A Reflection Filter Or Portable Vocal Booth
Reflection filters, sometimes called portable vocal booths, surround your microphone, ensuring that it captures only your voice and not the room’s ambient noise. This is especially useful if comprehensive room treatment isn’t an option.
How to Make HyperX Quadcast Sound Better [Adjust Digital Settings]

Image by Freepik
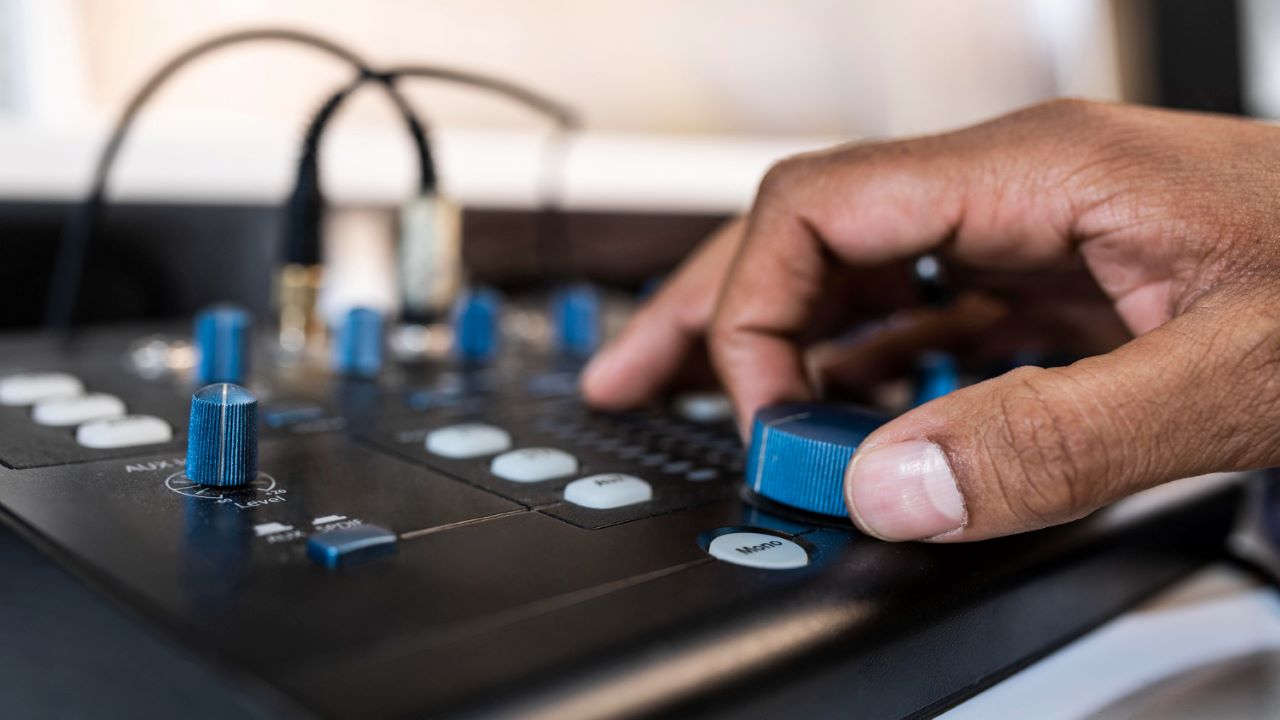
Now, once you have your microphone’s physical setup spot-on, it’s time to fine-tune its digital settings. This is akin to post-processing in photography. Even with the best shots, a touch of enhancement can take it to the next level. The digital landscape of your microphone consists of various settings that shape the sound it captures and outputs.
From cardioid polar pattern to gain adjustments, this section will guide you in mastering the digital intricacies of your HyperX Quadcast, ensuring that the sound resonates with clarity and precision.
Selecting The Right Polar Pattern
Different situations call for different polar patterns. But what does that even mean?
- Cardioid for solo content: Perfect for solo podcasters or streamers. This pattern picks up sound directly in front of the mic and is excellent for isolating unwanted background noise.
- Omnidirectional for group discussions: Captures sound from all directions, ideal for round-table discussions or when you have multiple people around the mic.
- Bidirectional for interviews: Captures sound from the front and back, perfect for face-to-face interviews.
- Stereo for immersive audio experiences: Provides a sense of space, making it ideal for ASMR or binaural recordings.
Manipulating Gain Settings
Gain, in simple terms, is the sensitivity of your microphone.
- Striking a balance between loudness and distortion: Too much gain can lead to distortion, while too little can make your audio inaudible. Aim for a setting where your voice is clear and loud without any clipping.
- Monitoring audio in real-time to avoid peaking: Most software allows you to monitor your audio levels in real-time. Ensure that the levels stay in the green or yellow range, never hitting the red.
Exploring Third-Party Software For Enhancements
Taking your sound to the next level often requires some software magic.
- EQ adjustments: Adjust frequencies to emphasize the warmth and clarity of your voice.
- Noise reduction and gating: Eliminate background noises and ensure that the mic only picks up sound when you’re speaking.
- Compression settings for consistent levels: Ensure that your voice remains consistent, even when you get excited and raise your voice.
Related: How To Make A Microphone Sound Better
How to Make HyperX Quadcast Sound Better [Maintenance]

Image by Freepik
While the initial setup is crucial, maintaining your microphone ensures its longevity and consistent performance. Think about a car: it may run perfectly when it’s new, but without regular oil changes and maintenance, its performance will degrade over time. Similarly, your HyperX Quadcast, being a piece of precision-engineered equipment, requires periodic attention to keep it in top-notch shape. In this section, we’ll guide you through the essential practices and routines to keep your Quadcast sounding as fresh as the day you got it.
Regular Cleaning Routines
Like any tech, your Quadcast requires regular maintenance.
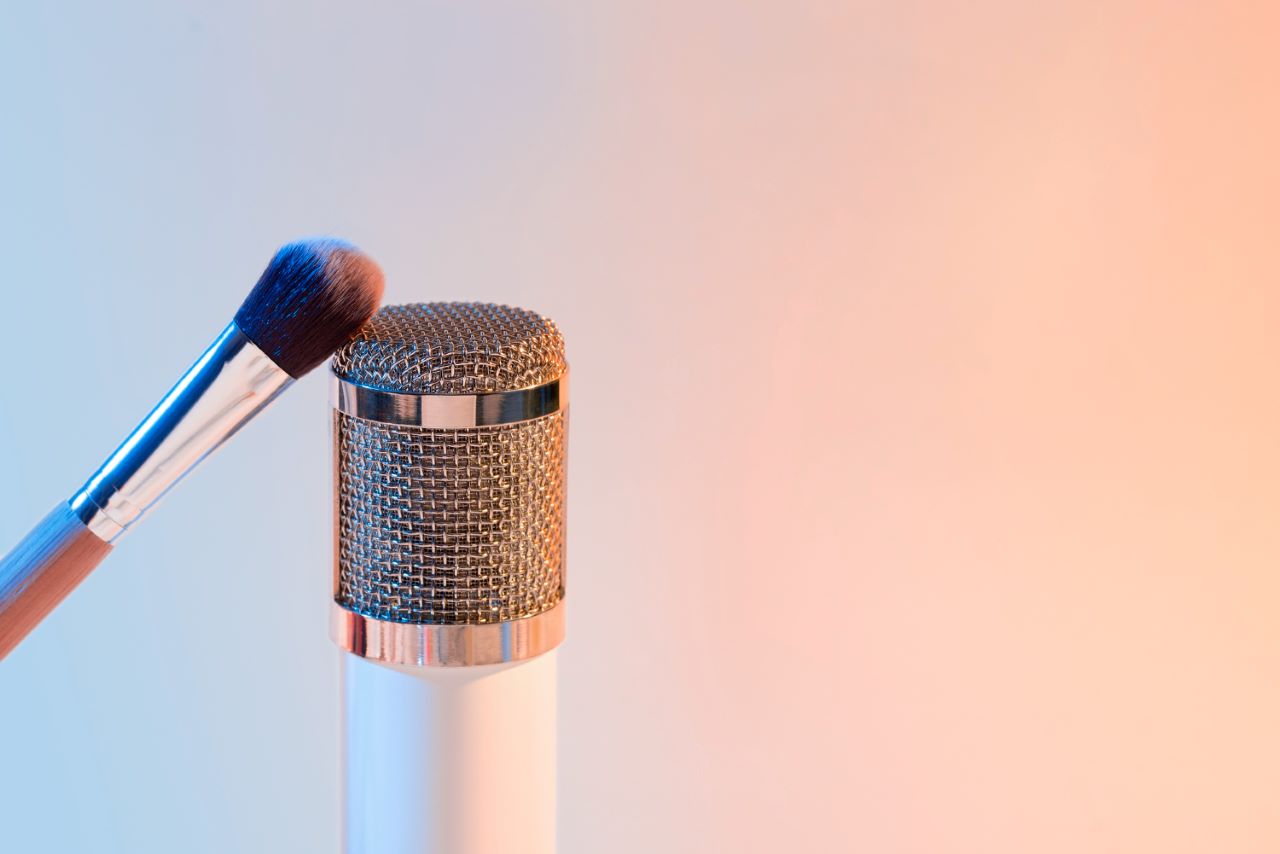
- Cleaning the grille: Use a soft brush to clean the grille gently. This not only maintains aesthetics but also ensures no dust interferes with sound quality.
- Dusting and ensuring a dry environment: Dust can be a microphone’s worst enemy. Regularly dust your equipment and ensure your environment isn’t too humid.
Updating Firmware
Staying updated can transform your audio experience.
- Keeping track of updates from HyperX: HyperX periodically releases updates to improve microphone performance. Keep an eye on their official website or subscribe to newsletters.
- The benefits of staying updated: bug fixes, sound improvements: Updated firmware can address various issues, from minor bugs to significant improvements in sound quality.
Additional Equipment To Improve Sound Quality

Image by Freepik
Alright, so you’ve set up your microphone perfectly, adjusted its digital settings, and are regularly maintaining it. What’s next? Elevating your audio game even further! Just as a photographer might invest in additional lenses or filters, there’s supplementary equipment available for your microphone setup to enhance the sound quality. These aren’t strictly necessary, but if you’re looking to push your audio quality to professional studio levels, then this section will introduce you to some game-changing tools and additions.
External Pop Filters
Although the Quadcast has a built-in filter, an external one can provide an additional layer of protection against plosive sounds.
Shock Mounts
Protect your audio from vibrations or accidental table knocks. A shock mount suspends your mic, isolating it from these disturbances.
Acoustic Shields And Portable Vocal Booths
While we touched on these earlier, it’s worth emphasizing their importance. They can drastically improve the clarity of your recordings by minimizing room noise.
Related: Best Microphone Arms for a Flawless Recording
Conclusion
The HyperX Quadcast is a phenomenal piece of equipment, but like any tool, its potential is fully realized only when used correctly. By optimizing your physical setup, tweaking the digital settings, regularly maintaining the device, and considering additional equipment, you’ll be well on your way to achieving impeccable sound quality. Ready to sound better than ever? Dive in, experiment, and happy recording!