In today’s digital age, where virtual communication and content creation have become integral parts of our daily lives, achieving pristine audio quality has never been more crucial. Whether you’re a podcaster, a streamer, or simply someone attending regular video conferences, you’ve likely faced the common challenge of keyboard noise infiltrating your microphone’s audio feed.
This not only distracts your audience but also diminishes the overall quality of your communication. In this comprehensive guide, we delve deep into practical solutions and expert strategies to help you create a serene audio environment, ensuring your microphone picks up nothing but your clear, uninterrupted voice.
By the end of this journey, you’ll be equipped with the knowledge to transform your audio setup, knowing how to make microphone not pickup keyboard noise.
Related: Best Microphones For Recording in Podcasting
Contents
Understanding The Issue
Before diving into the solutions, it’s crucial to grasp why keyboard noise becomes a prominent issue in audio recordings and live communications.
The Challenge Of Keyboard Noise In Recordings
Keyboard noise infiltrates recordings and live audio due to its proximity to the microphone and the mechanical nature of keyboard switches. When keys are pressed, they create vibrations and sound waves that travel through the air and any solid connections between the keyboard and microphone, such as a desk.
This noise can be picked up by the microphone, especially if it’s sensitive or not properly isolated. The challenge here is twofold: reducing the noise at the source (the keyboard) and preventing the microphone from picking it up.
Why It’s Important To Isolate Microphone And Keyboard Sounds?

Photo by ConvertKit on Unsplash
Isolating microphone and keyboard sounds is paramount for several reasons. For content creators, clear audio ensures that your message is delivered without distraction, maintaining professionalism and engagement.
Virtual meetings aid in effective communication, preventing misunderstandings and the need for repetitions. For gamers and live streamers, it enhances the viewer experience, keeping the focus on the game or conversation. In essence, isolating these sounds is about creating a seamless and clear auditory experience for your audience, regardless of the context.
How To Make Microphone Not Pickup Keyboard Noise
Achieving audio clarity is not just about having the right equipment; it’s also about optimizing the placement of your microphone and keyboard. The way you position these devices can significantly impact the amount of keyboard noise your microphone picks up.
Optimal Microphone Placement
Strategic microphone placement is key to minimizing unwanted noise. Here’s how you can optimize it:
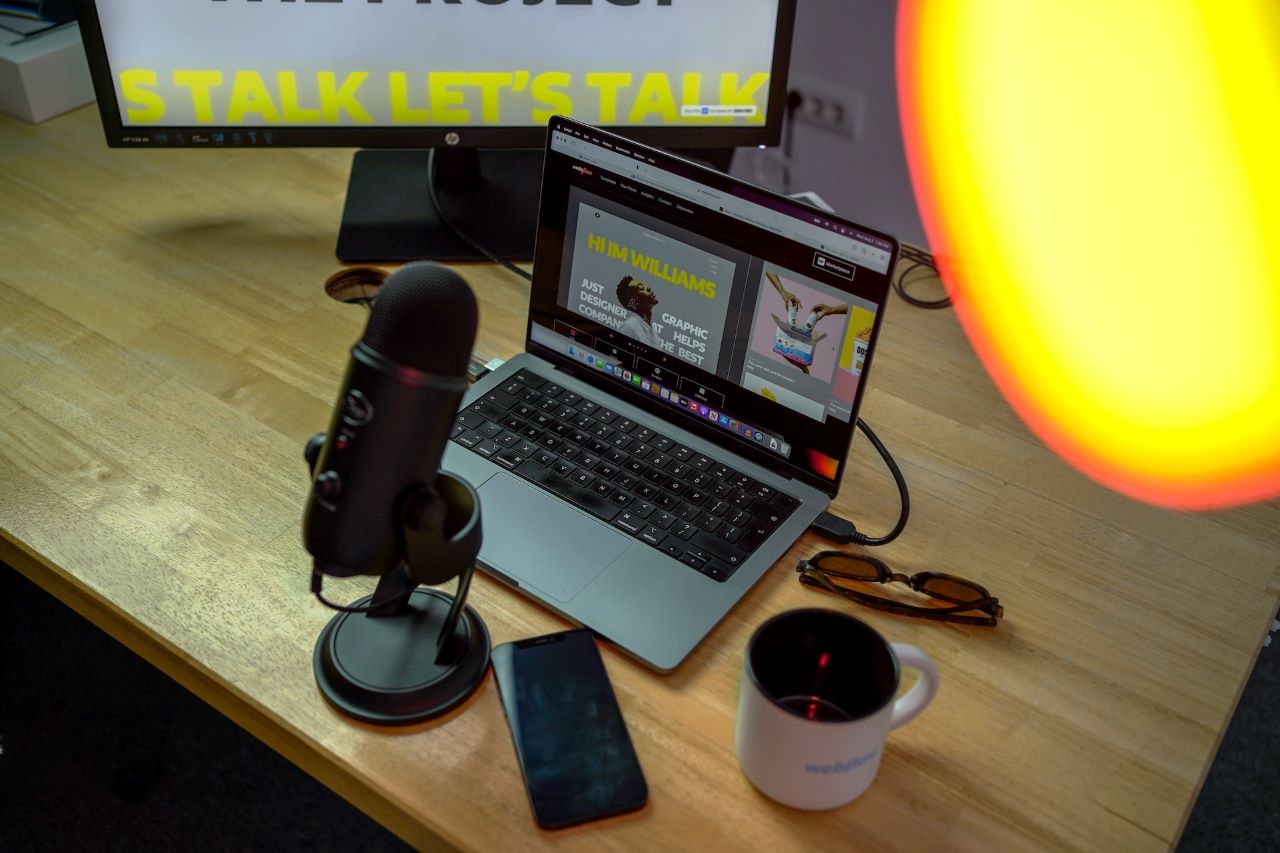
- Distance from the Keyboard: Positioning the microphone at an adequate distance from the keyboard is crucial to reduce keyboard noise. The closer the microphone is to the keyboard, the more likely it is to pick up keystrokes. Aim for a distance that allows your voice to be captured clearly while minimizing the reach of keyboard noise.
- Angle and Direction: The angle and direction of the microphone also play a vital role. Microphones tend to pick up keyboard sound more from certain directions, depending on their pickup pattern. Position the microphone so that its least sensitive side is facing the keyboard. This often means angling the microphone away from the keyboard and towards your mouth.
Keyboard Placement And Type
The placement of your keyboard and the type of keyboard you use are equally important in managing noise levels.
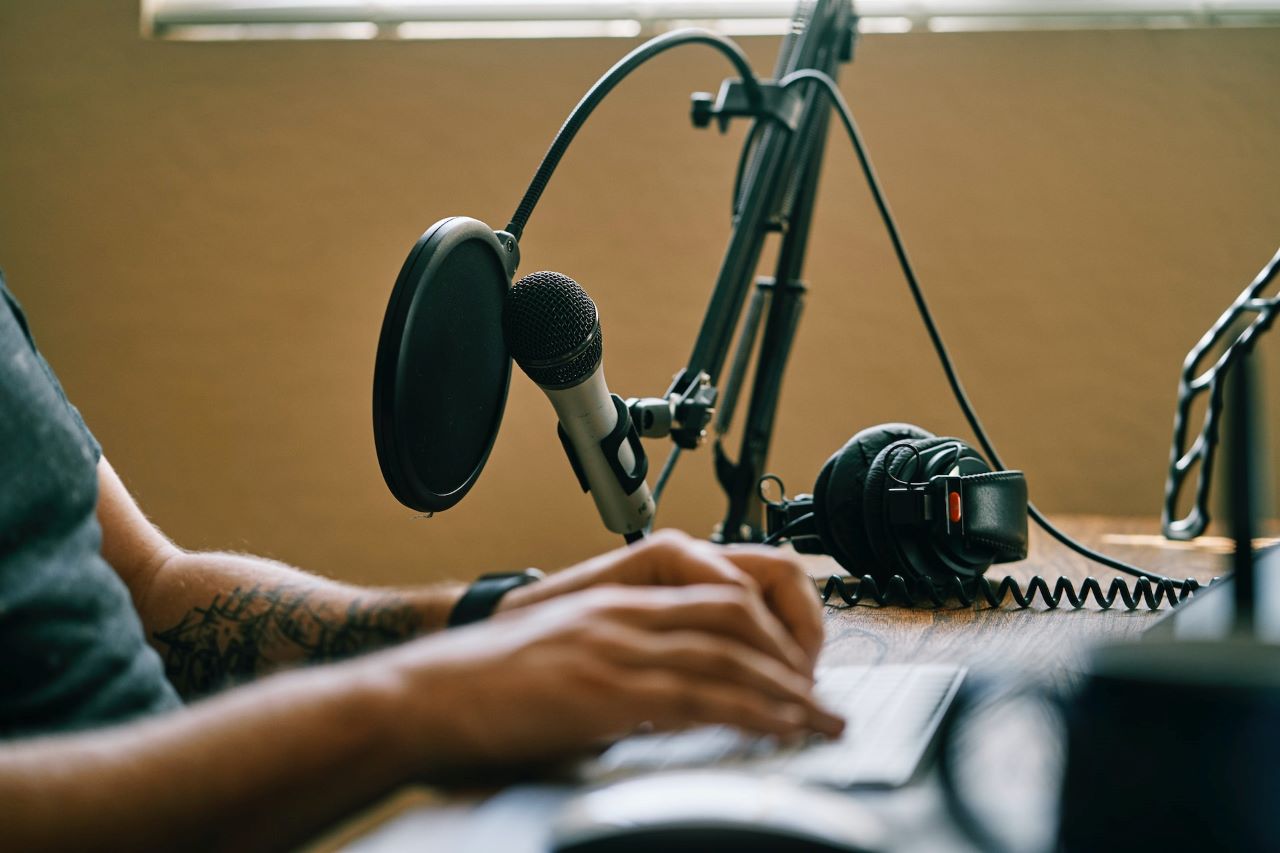
- Keyboard Placement: Ensure that there is some space between the keyboard and the microphone. Avoid placing the microphone directly on the same surface as the keyboard, as vibrations can travel through the desk and be picked up by the microphone. Using a shock mount for the microphone can also help in isolating it from vibrations.
- Keyboard Type: The type of keyboard you use can significantly impact the amount of noise it generates. Mechanical keyboards, while popular for their tactile feedback, tend to be noisier than membrane keyboards. If keyboard noise is a significant issue, you might want to consider switching to a quieter keyboard or using o-ring dampeners to reduce the impact noise of the keys.
By paying attention to both microphone and keyboard placement, as well as the type of keyboard you use, you can create a setup that minimizes keyboard noise and ensures clear audio quality.
Selecting The Right Microphone

Photo by Onur Binay on Unsplash
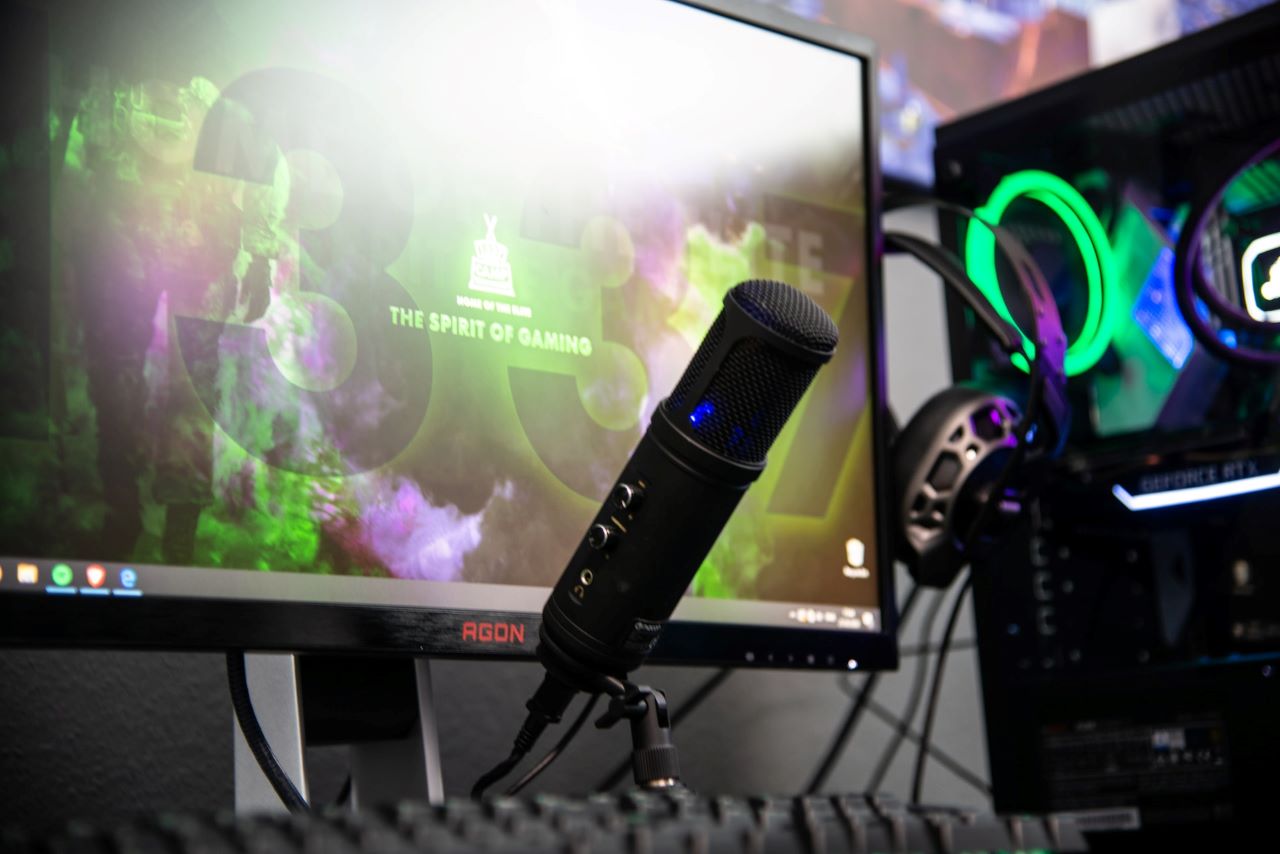
The type of microphone you choose plays a pivotal role in determining how much keyboard noise is captured during recordings or live sessions. Understanding the different types of microphones and their pickup patterns can guide you to make an informed decision tailored to your specific needs.
Types Of Microphones
Different microphones are designed to capture sound in various ways, making some more suitable for isolating voice from keyboard noise than others.
- Dynamic Microphones: Dynamic microphones are known for their durability and ability to handle high sound pressure levels. They are less sensitive than condenser microphones, which can be an advantage when trying to avoid keyboard noise. They tend to have a limited frequency response, which means they might not capture the full richness of your voice, but they excel in isolating it from surrounding noise.
- Condenser Microphones: Condenser microphones are highly sensitive and capable of capturing a wide range of frequencies, resulting in a richer and more detailed sound. However, this sensitivity also means they can pick up more background noise, including keyboard strokes. They are ideal for controlled environments where you can manage other noise sources.
- Shotgun Microphones: Shotgun microphones have a highly directional pickup pattern, capturing sound from a narrow area in front of the microphone. This makes them excellent for isolating your voice from background noise, including keyboard strokes, as long as they are properly aimed.
Pickup Patterns
Understanding microphone pickup patterns is crucial in choosing a microphone that best suits your needs.
- Cardioid and Super-Cardioid: Cardioid microphones pick up sound primarily from the front, with some sensitivity at the sides and very little at the back. Super-cardioid microphones have a narrower area of sensitivity at the front, offering even better isolation from side and rear noise. These patterns are ideal for isolating your voice from your keyboard.
- Omnidirectional: Omnidirectional microphones pick up sound from all directions. While they offer a natural sound, they are not the best choice for isolating keyboard noise as they will pick up sound from all around, including from your keyboard.
- Bidirectional: Bidirectional microphones pick up sound from the front and back but not the sides. They can be used to isolate keyboard noise if positioned correctly, but they require precise placement and are generally less versatile than cardioid or super-cardioid microphones for this purpose.
By carefully selecting a microphone with the right characteristics and understanding how to leverage its pickup pattern, you can significantly reduce the impact of keyboard noise on your recordings and live sessions.
Related: Best Microphone With Noise Cancellation
Utilizing Acoustic Treatment

Photo by Azwedo L.LC on Unsplash
Creating an environment conducive to clear audio recording is a critical step in minimizing keyboard noise. Acoustic treatment plays a vital role in achieving this, enhancing the overall sound quality and ensuring that your microphone captures your voice as purely as possible.
Importance Of Acoustic Treatment
Acoustic treatment is a game-changer when it comes to achieving professional-level audio quality in your recordings. It’s not just about reducing keyboard noise; it’s about creating an environment where sound behaves predictably and is under your control. When you speak or record audio, sound waves travel in every direction, bouncing off surfaces and creating reflections that can muddy your recording.
Acoustic treatment is the strategic placement of materials that absorb, reflect, or diffuse sound waves, ensuring that what your microphone picks up is as close to the original source as possible. This is crucial for content creators, podcasters, musicians, and anyone who relies on clear audio communication. It transforms amateur setups into professional workspaces, providing a noticeable improvement in audio clarity and reducing the need for extensive post-production fixes.
How Acoustic Treatment Works?
Acoustic treatment works by controlling sound reflections within a room, minimizing echo, and reducing ambient noise. It involves strategically placing materials that absorb, diffuse, or redirect sound waves, leading to a cleaner and more controlled audio environment. This is crucial for isolating keyboard sounds as it prevents the keystrokes from bouncing around the room and being picked up by the microphone.
Benefits in Isolating Keyboard Sounds
By dampening sound reflections and reducing ambient noise, acoustic treatment significantly contributes to isolating keyboard sounds. It ensures that the microphone picks up less of the keyboard noise and more of your clear, direct voice. This results in a more professional and pleasant auditory experience for both content creators and their audience.
Types Of Acoustic Treatment
Acoustic treatment comes in various forms, each serving a unique purpose in shaping the sound environment of your recording space. The goal is to strike the right balance between absorption, diffusion, and reflection to create a space that supports clear audio capture.
Whether you’re dealing with a small home studio or a larger recording space, understanding the different types of acoustic treatment available is key to making informed decisions that will have a tangible impact on your audio quality. From panels and diffusers to bass traps, each type of treatment plays a role in minimizing unwanted noise, such as keyboard strokes, and enhancing the overall clarity of your recordings.
- Acoustic Panels: Acoustic panels are designed to absorb sound waves, reducing reflections and echo. They are typically made of porous materials like foam or fiberglass and are placed on walls and ceilings. Positioning them strategically around your recording space can help in isolating keyboard sounds effectively.
- Diffusers: Diffusers scatter sound waves, reducing the focus of reflections and creating a more even sound field. They help in maintaining a lively sound environment without the harshness of direct reflections, contributing to a cleaner audio capture.
- Bass Traps: Bass traps are designed to absorb low-frequency sounds and are usually placed in the corners of a room. They help in managing the overall acoustic environment, ensuring that low-frequency noises, including some keyboard sounds, are minimized.
DIY Acoustic Treatment Solutions
Acoustic treatment doesn’t always have to be expensive. There are various DIY solutions that can be effective in improving your recording environment.
- Homemade Acoustic Panels: You can create your own acoustic panels using materials like rockwool or fiberglass insulation wrapped in acoustically transparent fabric.
- Carpeting and Soft Furnishings: Using carpets, curtains, and other soft furnishings can help in absorbing sound and reducing reflections.
- Bookshelves: A well-stocked bookshelf can act as a diffuser, scattering sound waves and reducing focus reflections.
By investing time and effort into acoustic treatment, you can create a recording space that significantly minimizes keyboard noise, ensuring that your microphone captures your voice in its purest form.
Software Solutions And Settings
In addition to optimizing your physical recording environment, software solutions and settings play a crucial role in minimizing keyboard noise. Adjust software settings can also be an essential step to ensure that all available tools and features are properly configured to achieve the best audio quality.
Digital Audio Workstations (DAWs)
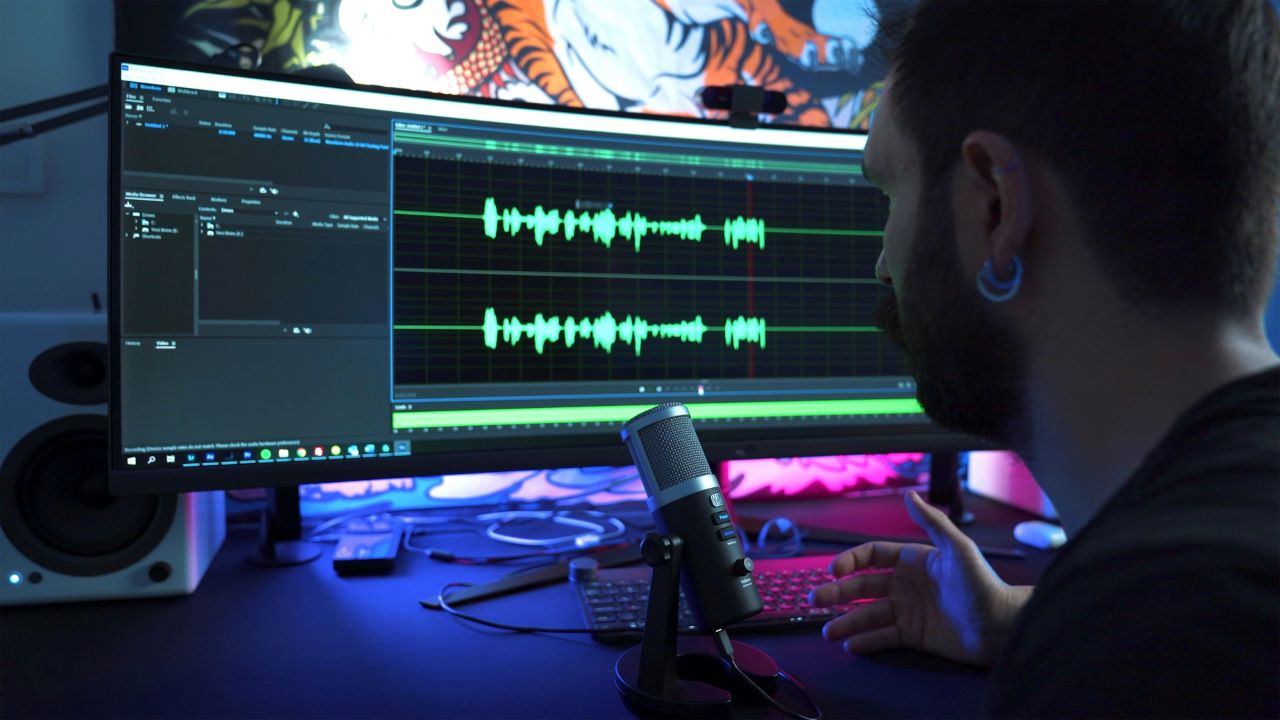
Digital Audio Workstations are powerful tools for managing and enhancing audio quality. They offer a range of features and settings that can be utilized to minimize keyboard noise. This includes equalization to reduce certain frequencies associated with keyboard strokes and the use of noise gates and filters.
Noise Gates And Filters
Noise gates are tools that allow sound above a certain threshold to pass through while blocking out sound below that threshold. By setting the threshold just above the level of keyboard noise but below your voice, you can effectively minimize the keyboard sounds in your recording.
- Setting Up a Noise Gate: Setting up a noise gate requires careful adjustment of the threshold, attack, release, and ratio settings. The threshold should be set just above the keyboard noise level, the attack and release should be adjusted to ensure that the gate opens and closes smoothly, and the ratio should be set to adequately reduce the noise.
- Using High-Pass Filters: High-pass filters can be used to cut off frequencies below a certain point, which can help in eliminating the lower frequency sounds associated with keyboard strokes. This ensures that your voice comes through clearly while minimizing the keyboard noise.
Conclusion
Achieving pristine audio quality in your recordings and live sessions is a multifaceted endeavor, requiring attention to both your physical environment and the digital realm of audio processing. By strategically placing your microphone and keyboard, selecting the right type of microphone, and implementing acoustic treatment, you lay the groundwork for clear, keyboard noise-free audio.
The journey doesn’t end there, as software solutions like Digital Audio Workstations, noise gates, and filters play a crucial role in refining your sound. Post-production brings it all together, offering a final opportunity to polish your audio and ensure that your voice stands out, unmarred by background noise.
With these strategies in hand, you are well-equipped to create a professional audio setup that ensures your voice is heard loud and clear, free from the distractions of keyboard noise.
