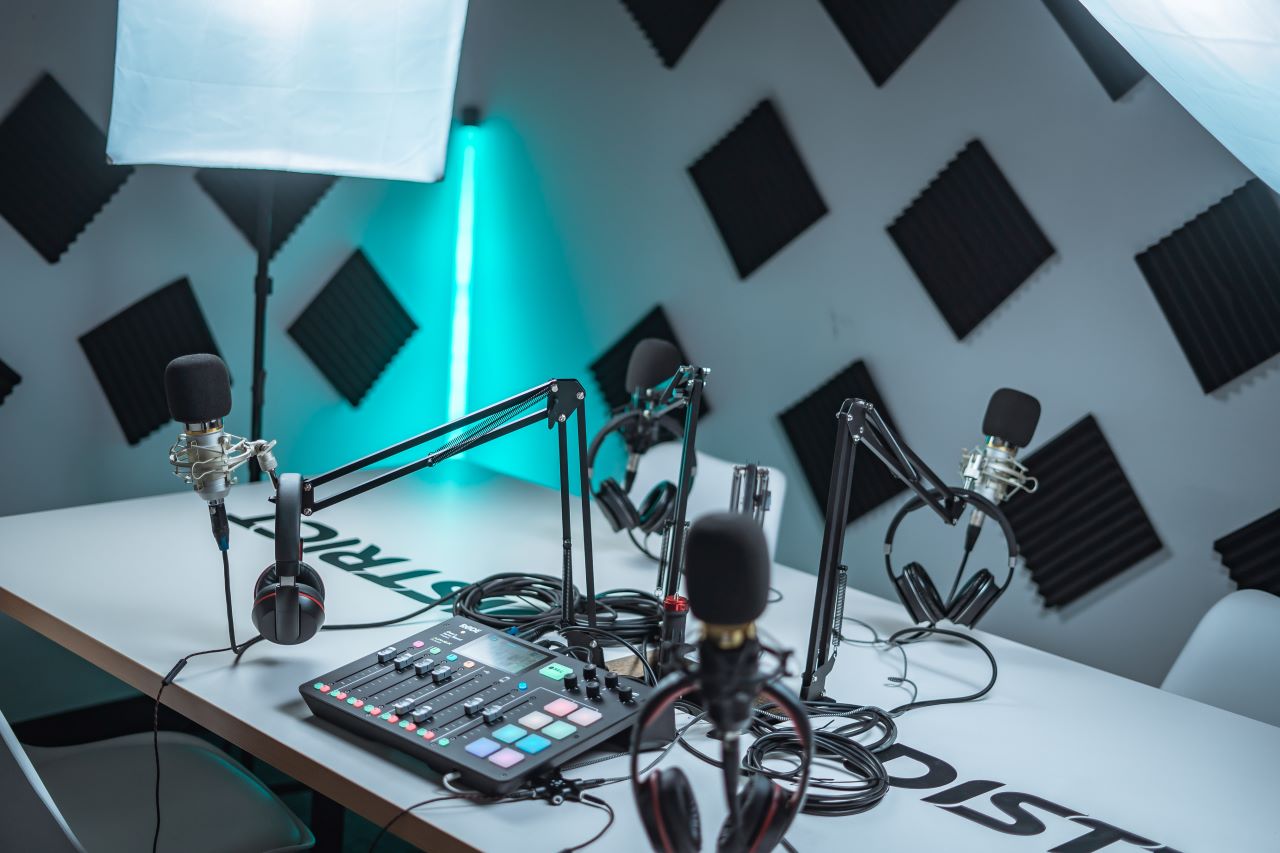
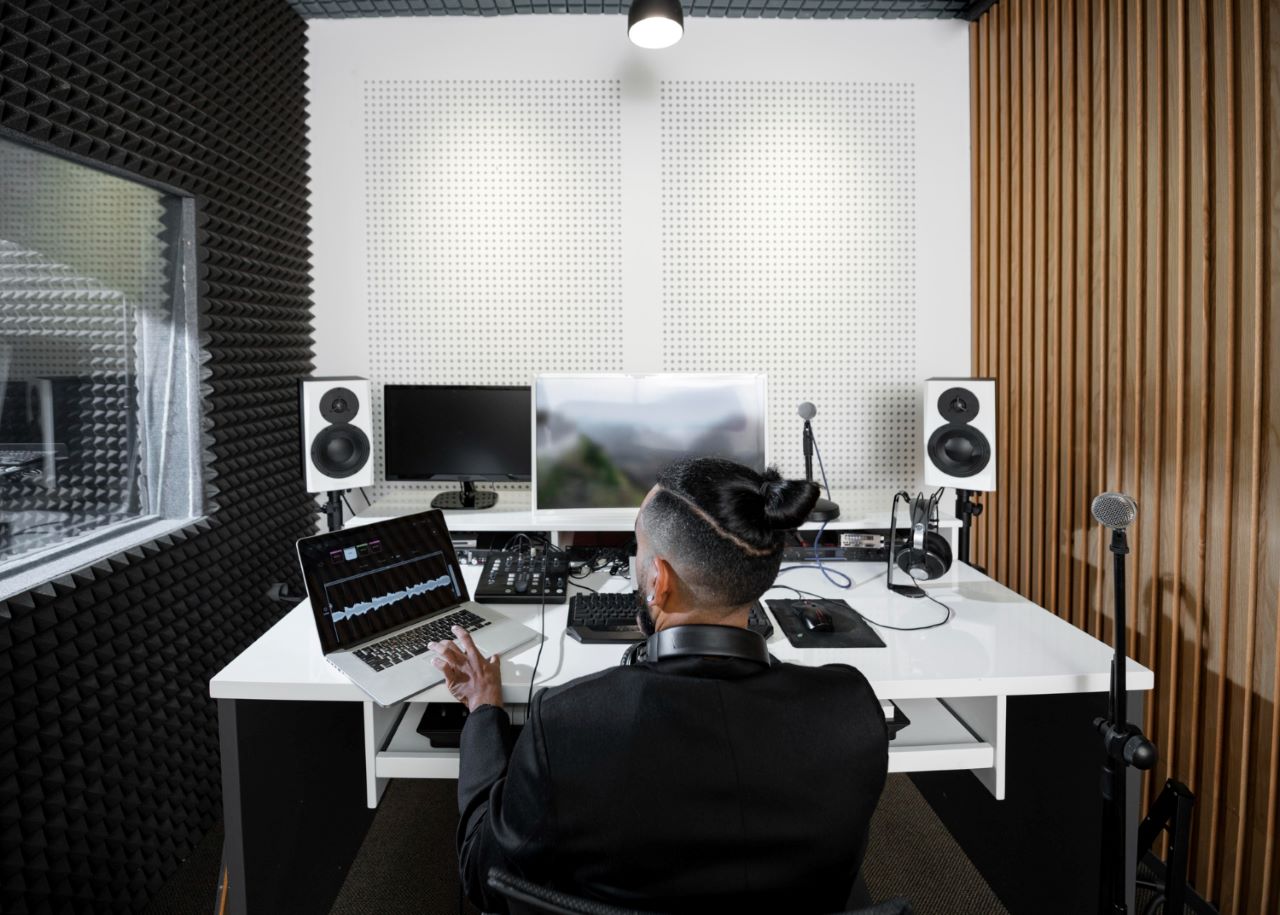
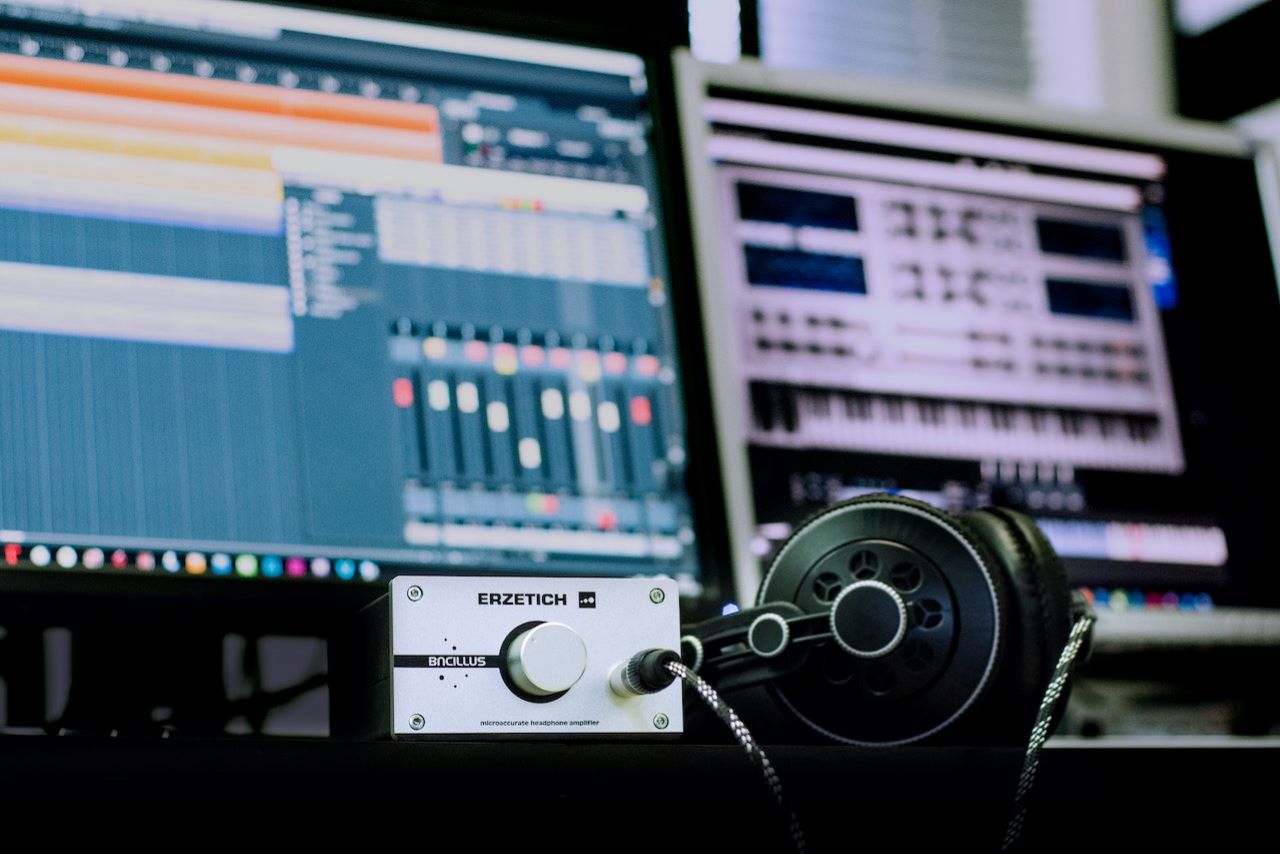
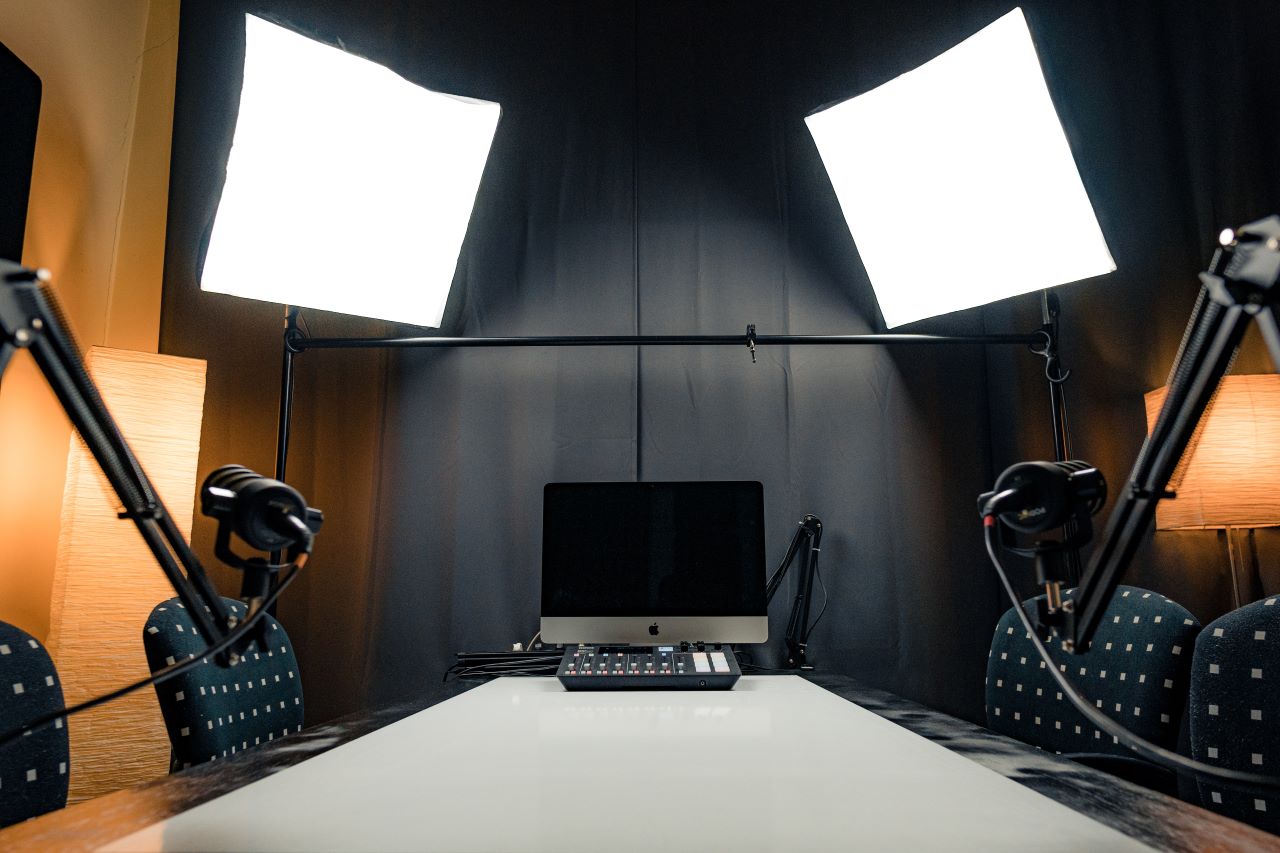
Ever been in the mood to share your voice with the world but felt lost when it came to setting up the perfect podcast recording studio? Trust me, you’re not alone. But hey, that’s exactly why you’re here, right? In this guide, I’m going to walk you through all the essentials you’ll need for a home podcast studio setup that rocks. Stick with me, and you’ll go from podcast newbie to pro in no time!
Podcasting is more than just speaking into a mic; it’s about delivering crystal clear sound quality, having the right ambiance, and of course, connecting with your audience. So, without further ado, let’s dive into the world of quality recording studio setups!
Related: Podcast Starter Kit
Contents
Understanding Your Podcasting Needs
Before you rush out and buy the fanciest equipment for your own podcast studio, take a step back. What’s your podcast about? Who are you trying to reach? How much are you willing to invest?
Defining Your Podcast’s Purpose
When starting out, it’s essential to have a clear vision. Are you aiming to create a comedy podcast? Share business insights? Maybe you’re keen on interviewing top experts in your field? Your purpose will guide your content, format, and even the professional podcast studio setup equipment you’ll need.
By aligning your equipment to your podcast’s purpose, you ensure that the listener gets an experience tailored specifically to your content. For instance, if you’re doing ASMR, you’ll need a sensitive microphone with a pop filter that can pick up even the faintest whisper. That makes sense, right?
Identifying Your Target Audience
Who do you want to talk to? Millennials, parents, tech-geeks, travel enthusiasts? Understanding your target audience is paramount. It affects everything from the topics you cover to the type of equipment and audio files you might need.
You see if you’re targeting a younger demographic used to high-quality sound from platforms like Spotify, you’ll need to prioritize audio clarity. On the other hand, if your audience is more laid-back, they might be forgiving of a few audio imperfections (but still, aim for the best quality!).
Assessing Your Budget
Real talk: Setting up a podcast studio can get pricey. But here’s the good news: You don’t need to break the bank to start podcasting. In fact, some of the best podcasters began with the basics, using free or affordable podcast editing software, and upgraded over time.
Consider what you’re willing and able to spend now. There’s always room for improvement down the road! Set a realistic budget, and remember, it’s about quality, not quantity.
Essential Equipment For Podcast Studio Setup
Launching a podcast? Exciting times are ahead! But let’s face the music (pun intended): audio quality can make or break your podcast’s success. Sure, content is king, but even the most engaging narratives can be tarnished by poor audio. That’s where top-notch equipment and a good digital audio workstation come into play.
Setting up a podcast studio might seem daunting at first. There are countless gadgets and gears to sift through. But don’t sweat it. I’ve curated a list of equipment essentials to help you navigate this tech maze. These are the game-changers, the must-haves, the items that’ll elevate your podcast from good to downright professional. Let’s delve deep!
Microphones
Your microphone is the proverbial mouthpiece of your podcast. It can be the difference between sounding like you’re broadcasting from a bustling subway station or from a top-tier recording studio.
Types of Mics
A microphone is much like the brush of a painter – each one serves a unique purpose, and the results vary based on the nuances of the tool. Choosing the right one is essential for capturing that perfect sound. Let’s dive deep into each type.
Dynamic Microphones
Built for endurance and reliability, dynamic microphones are the workhorses of the audio world.
- Functionality: These mics operate without a need for external power. They employ a diaphragm/voice coil/magnet assembly that moves within the mic, generating an electrical current (the audio signal).
- Environment Suitability: Their inherent design makes them highly resistant to moisture and other environmental factors. Thus, they’re perfect for on-stage performances or any setting where robustness is a necessity.
- Sound Capture: Known for their ability to capture direct sounds, dynamic microphones are excellent when background noise is a concern. While they may lack the broad frequency response and the sensitivity of condenser mics, they excel in focusing on the main audio source.
Condenser Microphones
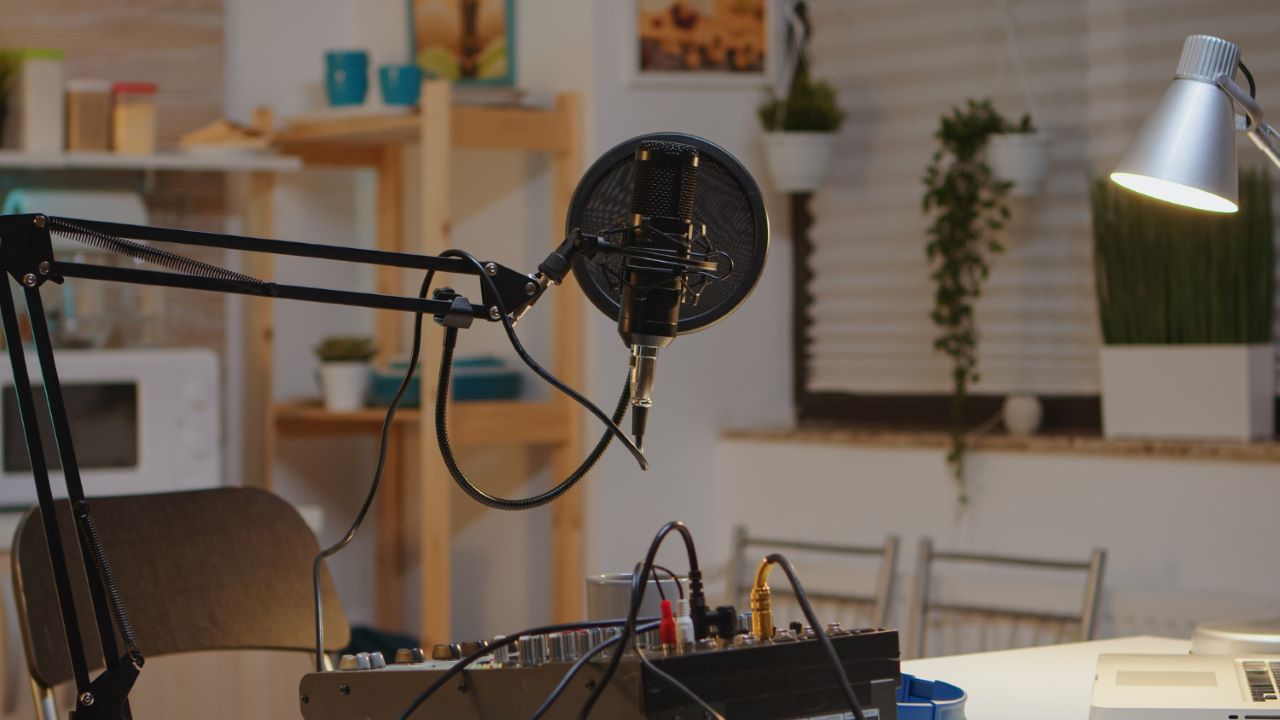
Image by DCStudio on Freepik
The audiophile’s choice, condenser microphones, are renowned for their sensitivity and flat frequency response.
- Functionality: Unlike dynamic microphones, condensers need external power. This can come from batteries or an external phantom power source, typically provided by mixers or audio interfaces.
- Environment Suitability: Their sensitivity makes them the first choice for studio recordings. They capture a broad range of frequencies, from the nuanced tones of a vocal performance to the intricate details of an instrument.
- Sound Capture: The sound is richer, more detailed, and more ‘alive’. However, they can be sensitive to loud sounds, and their intricacy might sometimes require soundproofing or a treated environment to get the best results.
Related: Do You Need A Cloudlifter For Shure SM7B?
Lavalier Microphones
Often seen clipped to the lapels of news anchors or interviewees, these are the discreet champions of the microphone world.
- Functionality: They’re small, clip-on mics designed to pick up speech. While they can be both dynamic and condenser types, condenser lavaliers are more common due to their compact size and sensitivity.
- Environment Suitability: Lavaliers shine in scenarios where hands-free operation is vital – think interviews, presentations, or theater performances.
- Sound Capture: They’re engineered to capture speech clearly, but their small size means they might not be the best choice for recording music or a full range of frequencies.
Shotgun Microphones
These are the snipers of the audio world – pointed, precise, and exact.
- Functionality: Recognized by their elongated bodies, shotgun microphones have a design concentrated on capturing sound from a specific direction.
- Environment Suitability: Often mounted on boom poles or cameras, they’re staples in film and TV production.
- Sound Capture: Their design allows them to focus on a particular sound source, isolating it from peripheral noises. The longer the mic, the narrower its area of sensitivity.
Connectivity Options
How a microphone connects to your recording device or system is as crucial as the mic itself. It can influence the quality of the recording and the flexibility of the setup.
USB
The modern-day solution for quick and easy audio recording.
- Functionality: USB microphones convert analog signals into digital inside the microphone itself. This digital signal then travels via a USB cable to your computer or recording device.
- Benefits: For budding podcasters or those new to recording, the USB microphone offers a plug-and-play solution. No need for external gear – just connect, and you’re set.
- Limitations: While highly convenient, USB mics might not always deliver the same audio quality as their XLR counterparts. They can sometimes be limited in terms of nuanced settings or adjustments.
XLR
The professional’s choice, XLR microphones, are all about delivering superior sound quality.
- Functionality: Unlike USB mics, XLR microphones send out an analog signal. This requires an audio interface or a mixer to convert that signal to digital for recording.
- Benefits: With XLR, you’re looking at a higher level of sound quality. These microphones offer a broader frequency response and better dynamic range. They’re also more versatile, fitting into various setups and often delivering more consistent results.
- Limitations: They require additional gear (like an audio interface or mixer). The initial setup might be more complex, and there’s a steeper learning curve involved.
Headphones
The headphones you choose can heavily influence your recording and editing process. You’ll need them to monitor your voice and ensure that the sound quality remains top-notch.
Over-Ear vs. On-Ear vs. In-Ear
The headphones you choose can have a profound effect on your podcasting experience, both for you and your listeners. The design you opt for can determine sound quality, comfort, and practicality. Here’s a deep dive into each type:
Over-Ear Headphones
Often seen in professional recording studios, over-ear headphones encase the entire ear within their cushioning.
- Comfort & Fit: By enveloping the ear, these headphones can be incredibly comfortable, even for long recording or editing sessions. The design prevents direct pressure on the ears, reducing fatigue.
- Sound Quality: The larger size often allows for bigger drivers, resulting in a richer sound with a broader frequency range. This helps in capturing minute details during editing.
- Noise Isolation: Due to their design, over-ear headphones offer superior passive noise isolation, creating a personal listening oasis. This can be especially beneficial in noisy environments.
- Potential Downsides: Their bulkier design makes them less portable and might cause some warmth around the ears after prolonged use.
On-Ear Headphones
A midpoint between over-ear and in-ear, these headphones rest directly on the outside of your ears.
- Comfort & Fit: Being smaller and lighter, they’re generally more portable. They apply direct pressure on the ears, which might become uncomfortable over extended periods.
- Sound Quality: While they can deliver impressive audio, the smaller design might mean a compromise in the depth of sound compared to over-ears.
- Noise Isolation: On-ear headphones typically provide moderate noise isolation. While they can minimize some ambient noise, they’re not as encapsulating as over-ears.
- Potential Downsides: Potential discomfort over time and less effective noise isolation.
In-Ear Headphones
These are the smallest of the bunch, plugging directly into your ear canal.
- Comfort & Fit: They’re ultra-portable and light. However, the fit can be hit-or-miss based on ear shapes. It’s crucial to find the right ear tips for a comfortable and secure fit.
- Sound Quality: Modern in-ear headphones, especially higher-end models, can deliver stunning sound quality. However, they might not offer the expansive soundstage or deep bass that over-ear models provide.
- Noise Isolation: Many in-ears offer excellent noise isolation, especially if they have a good seal in the ear. Some models even offer active noise cancellation.
- Potential Downsides: The in-ear design might be uncomfortable for some, and there’s a risk of them falling out if not fitted correctly.
Importance of Neutral Sound Signature
A neutral sound signature is essential for accurate audio monitoring. It means the headphones don’t artificially boost bass, mids, or highs, ensuring you hear a recording as it truly sounds.
Audio Interfaces
These are your gateways to professional podcasting. They bridge the gap between your microphone and computer, converting analog signals into digital formats your software can work with.
What is an Audio Interface?
In layman’s terms, it’s a device that ensures your awesome microphone talks seamlessly with your computer. Think of it as a translator who can proficiently convert one language to another without losing any essence.
Connectivity Options for Interfaces
The method you use to connect your audio interface to your computer can dictate the quality and speed of your data transfer. Here’s an in-depth look:
USB-C
This is quickly becoming the go-to for many modern devices.
- Functionality: USB-C represents the evolution of the traditional USB port, offering faster data transfer and more power delivery.
- Speed: Generally faster than its predecessors, it can handle more data simultaneously, essential for high-resolution audio.
- Compatibility: With many modern computers adopting USB-C, it offers a seamless connection experience without needing many adapters.
- Potential Limitations: While fast, it’s still outpaced by some other connection types like Thunderbolt 3.
Thunderbolt 3
A powerhouse in the connectivity world.
- Functionality: Thunderbolt 3 combines data transfer, video output, and charging in a single connector. It uses a USB-C connector but offers even faster speeds.
- Speed: One of the fastest options available. For tasks that require real-time processing or multiple tracks, Thunderbolt 3 is invaluable.
- Compatibility: More commonly found on higher-end laptops and desktops, especially from brands like Apple.
- Potential Limitations: Devices that support Thunderbolt 3 tend to be more expensive. Plus, not all devices with USB-C ports support Thunderbolt 3.
PCIe (Peripheral Component Interconnect Express)
A direct lane to the computer’s heart.
- Functionality: PCIe slots are found inside desktop computers and allow for direct connection to the motherboard, ensuring super-fast data transfer.
- Speed: Due to its direct connection to the motherboard, it’s one of the fastest methods available, especially for tasks that require a lot of data bandwidth.
- Compatibility: Limited to desktop computers with available PCIe slots.
- Potential Limitations: Not suitable for laptop users or those with compact PC builds.
Mixers
Want to control multiple sound sources simultaneously? Do you dream of tweaking audio levels on the fly? That’s where a mixer comes in handy. Having a mixer is like having a mini sound studio at your fingertips. It lets you control, mix, and adjust different audio sources to create that perfect sound blend for your podcast.
Analog vs. Digital Mixers
In the world of audio mixers, the battle between analog and digital rages on. Here’s a thorough comparison:
Analog Mixers
The classic choice, analog mixers have physical circuits and hardware.
- Functionality: These mixers use tangible knobs, faders, and switches for adjustments. The audio signal remains analog throughout the process.
- Tactile Feedback: For many, the hands-on experience of an analog mixer feels intuitive and direct. The physical controls can be quicker to adjust in live situations.
- Sound Warmth: Some users believe analog mixers offer a warmth to the sound that’s tough to replicate digitally.
- Potential Limitations: Analog mixers can be bulkier. They might lack the advanced features, presets, and effects that digital mixers offer.
Digital Mixers
Modern, compact, and packed with features.
- Functionality: Digital mixers convert the analog audio signal into digital. They often come with screens for visualization and can be controlled via external devices like tablets.
- Versatility: One of their biggest strengths. They can save multiple profiles, offer a variety of digital effects, and often come with built-in audio interfaces.
- Sound Quality: Provides consistent sound quality and allows for precise adjustments.
- Potential Limitations: Might have a steeper learning curve for those used to analog setups. Some purists believe they lack the ‘warmth’ of analog.
Portable Digital Recorders
These are the unsung heroes of remote podcasting. Whether you’re interviewing someone in their living room or capturing the sounds of nature, they’ve got your back.
Benefits of Having a Portable Recorder
- Quality: Many of these devices capture crystal-clear sound.
- Versatility: Use them as a backup or as your primary recording device on the move.
- Convenience: No need for a laptop or additional equipment.
Acoustic Treatment
You might have top-tier equipment, but if your recording environment echoes more than the Grand Canyon, you’re in for a tough time. The environment in which you record is as critical as the equipment you use. Proper sound treatment ensures that unwanted reverberations, echoes, and ambient noises don’t muddy your pristine audio.
Basic Acoustic Solutions
Your room’s acoustics can make or break your recordings. Here are some fundamental solutions to optimize your environment:
Acoustic Foam Panels
These are the bread and butter of room treatment.
- Functionality: Foam panels help absorb sound waves, particularly mid-to-high frequency sounds. They reduce reflections and echoes.
- Placement: Ideal for walls and ceilings, especially at reflection points, which can be determined by the “mirror method.”
- Benefits: They can drastically improve the clarity of recordings by reducing unwanted reverberations.
- Potential Limitations: They might not be as effective for low-frequency sounds.
Bass Traps
Essential for rooms with a booming low-end problem.
- Functionality: These are designed to absorb and trap low-frequency sounds, preventing them from muddying your recordings.
- Placement: Corners of the room, both vertical and horizontal, as low frequencies tend to build up in these areas.
- Benefits: They help create a balanced sound environment, ensuring bass frequencies don’t overpower other sounds.
- Potential Limitations: They can be bulky, and for optimal effect, you might need several.
Diffusers
When absorption isn’t the only solution, diffusers come into play.
- Functionality: Rather than absorbing sound, diffusers scatter it in various directions, breaking up reflections and reducing echoes.
- Placement: Often placed on the rear wall of a recording or listening space, but they can be used effectively on side walls too.
- Benefits: They help in creating a more ‘live’ or ‘natural’ sound environment, ensuring a balanced soundstage without overly deadening the room.
- Potential Limitations: Effective diffusers can be relatively large and more expensive than other acoustic treatments.
Setting Up Your Podcast Studio
Congrats! You’re now the proud owner of some fantastic podcasting equipment. But assembling them to create that perfect studio ambiance? That’s where the real challenge begins. Setting up your podcast studio is much like creating an artist’s canvas – it requires patience, precision, and a bit of creative flair.
Positioning Your Equipment
The heart of any podcast setup is the equipment positioning. Think of it as your stage setting; everything needs to be in the right place for the magic to unfold.
- Microphone Positioning: Get this wrong, and your stellar content might just fall on deaf ears. Too close? Brace yourself for distortions and that uncomfortable “popping” sound. Too far? You might sound like you’re broadcasting from the next room. Ensure you adjust the angle and height in sync with your sitting or standing posture. Experiment, find that sweet spot, and then lock it in.
- Environment Influence: Don’t overlook the ambiance. Hard surfaces can bounce sound waves, creating that dreaded echo. Soft furnishings, like rugs, curtains, or even strategically placed cushions, can be your secret weapon against this.
Related: 4 Person Podcast Setup
Wiring And Cable Management
There’s an unsung hero in your podcast studio: clean wiring. Sure, it’s not as glamorous as your shiny new mixer or microphone, but it’s the backbone of a seamless operation.
- Bundle, Label, Repeat: Group your cables by their function. Power cables in one bundle, audio cables in another. Labeling might seem overkill now, but when you’re trying to troubleshoot or reconfigure, those tiny labels are a godsend.
- Safety First: Aside from looking neat, well-managed cables are less prone to wear and tear. Keep them away from walkways to avoid tripping hazards. Use hooks, clips, or even simple cable ties to keep everything in place.
Testing Your Setup
Think of this as the dress rehearsal before the grand premiere. Sure, the excitement of hitting the record button is palpable, but restraint can be your best friend here.
- The Silent Test: Before you even utter a word, listen. Listen for hums, buzzes, or any other anomalies. They might seem minor but can amplify when recording.
- The Sound Test: Record a few minutes of generic content. Play it back. Listen for clarity, any background noise, or unexpected interruptions.
- Feedback Loop: Share this test recording with a friend or colleague. Fresh ears might catch something you missed.
Podcast Studio Setup: Maintenance And Upgrades
Just like a car, your podcasting equipment needs regular maintenance. Neglect it, and you might find yourself with a sudden breakdown right when you’re gearing up for that big interview.
Keeping Equipment Clean
Dirt and electronic equipment are arch-nemeses. A speck of dust might seem harmless, but over time, it can degrade your equipment’s performance.
- Regular Clean-Up: Schedule a weekly cleaning session. A soft cloth can wipe away most surface grime. But for those hard-to-reach areas? A can of compressed air can be your best ally.
- Protection is Key: Consider dust covers for your equipment, especially if your studio is in a high-traffic area.
When to Consider Upgrading?
Your podcasting journey is evolutionary. What served you at the beginning might not suffice as you grow, diversify, and attract more listeners.
- Technical Limitations: Constantly finding workarounds for your equipment’s limitations? That’s a clear sign you need an upgrade.
- Aging Equipment: Wear and tear are inevitable. If you find your gear is frequently malfunctioning, it’s time for a replacement.
- Stay Updated: The world of podcasting tech is always evolving. Regularly check for new models or software upgrades to stay ahead of the curve.
Related: Best Podcast Video Camera
Conclusion
Embarking on a podcasting adventure is not just about having a message to share; it’s also about ensuring your voice reaches listeners with clarity, depth, and authenticity. The tools you employ—whether it’s the type of microphone that suits your recording environment, the headphones that give you perfect feedback, or the mixer that balances your soundscape—are the unsung heroes behind every successful podcast episode.
Understanding the intricacies of over-ear, on-ear, and in-ear headphones will guide you to make a choice that suits your comfort and audio needs. The connectivity options, from the rapidity of Thunderbolt 3 to the directness of PCIe, affect not only the quality but also the fluidity of your recording process. Then there’s the world of mixers—whether you’re an analog purist or a digital futurist, the essence is in mastering your tool of choice.
And let’s not forget the environment you’re in, the unsaid element that can elevate or undermine your sound. Simple acoustic solutions, from foam panels to bass traps and diffusers, can transform an amateur-sounding recording into a professional masterpiece.
But beyond the gear and the tech, remember the heart of your podcast: your content. These tools are just facilitators. At its core, podcasting is about connection—a bridge between your voice and the eager ears of listeners worldwide. Equip yourself with knowledge, arm yourself with the right tools, and the world becomes your audience. Here’s to crisp sound, clear messages, and the endless journey of sharing and connecting. Dive deep into the world of sound, and may your podcasting endeavors resonate far and wide.
