Have you ever wondered how to edit audio in iMovie? Not only it’s a free video editor, it’s for MacOS and iOS devices, and its intuitive like all Apple gear. Perfect for editing your podcast. You can download it from the iTunes library if you don’t have it already.
In this guide we’ll show you how to:
- Load up your recording
- Trim it and adjust the settings
- Export it audience-ready
In both iPhone/iPad as well as Mac computers. All in simple steps.
If you prefer to edit your podcast on Audacity, Anchor, or GarageBand, we also have you covered.
How to Edit a Podcast in iMovie on a Mac
Once you’ve recorded your episode, you’ll need to open it in iMovie, then we can start editing the audio file
Step 1: Create a New iMovie Project
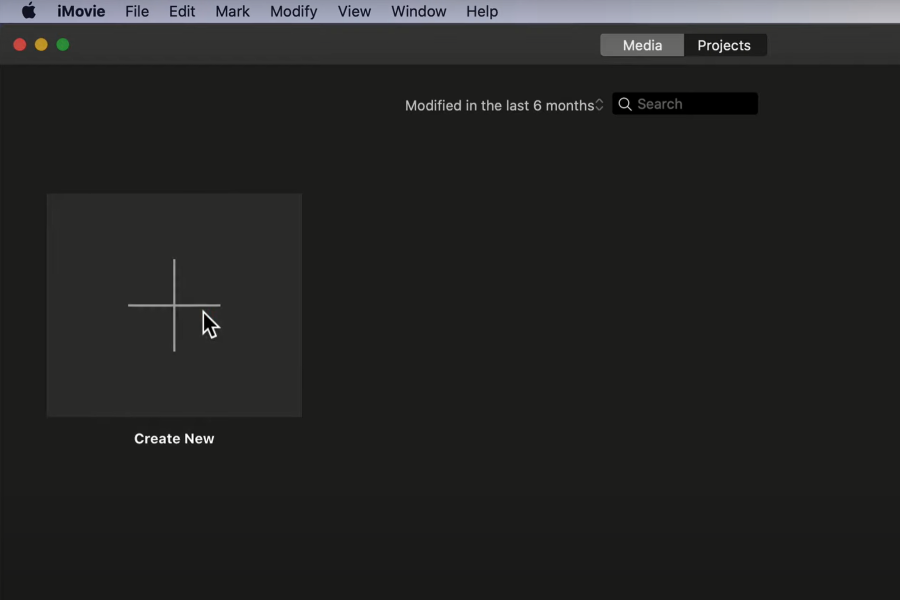
Once you’ve open iMovie you’ll be greeted with the project browser, which will be a blank screen and a big plus sign if you have never created a video project before.
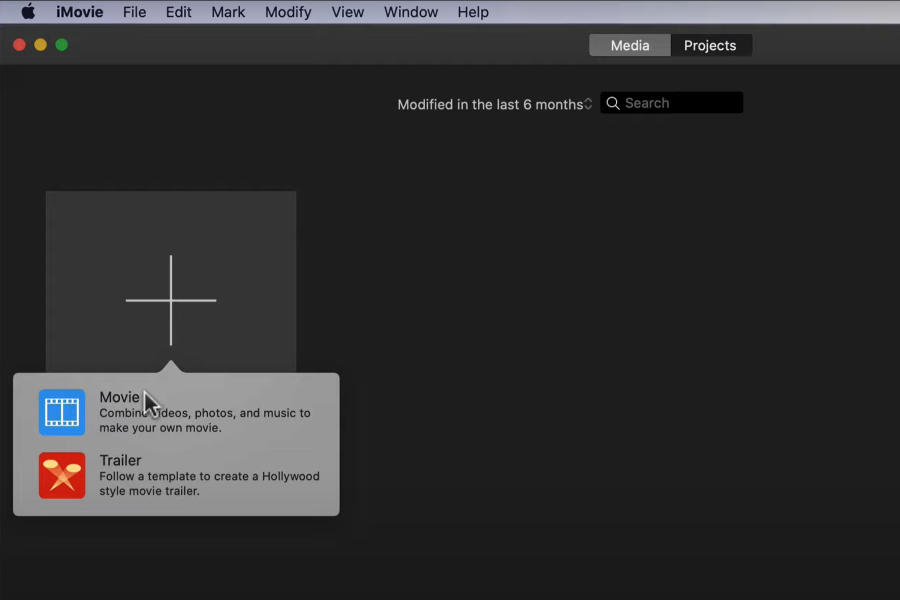
Click on the plus sign and select “Start a Movie Project” from the view drop to create a new project.
Step 2: Load the Sound Clips You Want to Edit
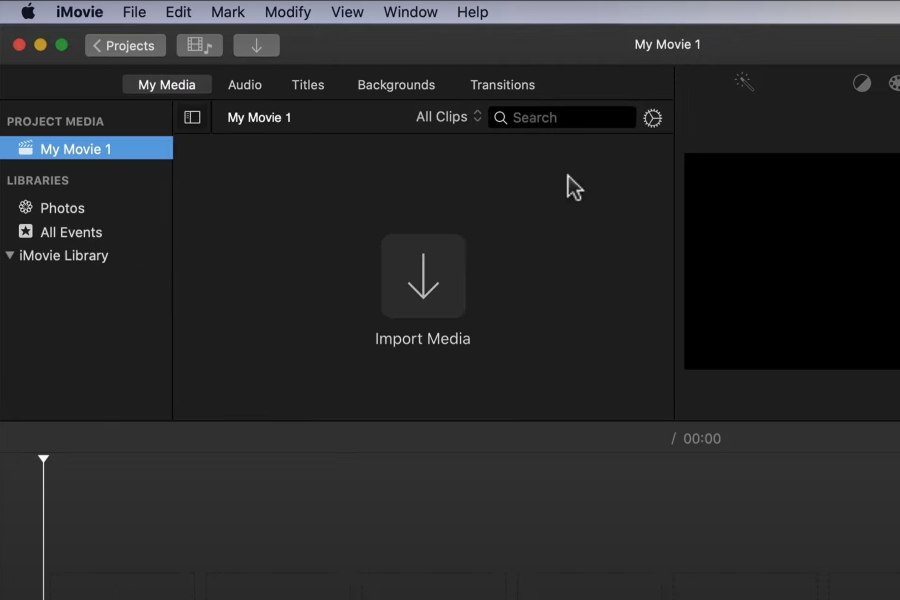
You can add a new clip by clicking on the down facing arrow which is the import button at the top left of the screen or by clicking on the Import Media button in the media browser window.
You’ll also want to load in any other clips you may want to add to the project. For example musc tracks for the intro and outro of the episode or any special effects.
Step 3: Drag the Clips into the Timeline Viewer
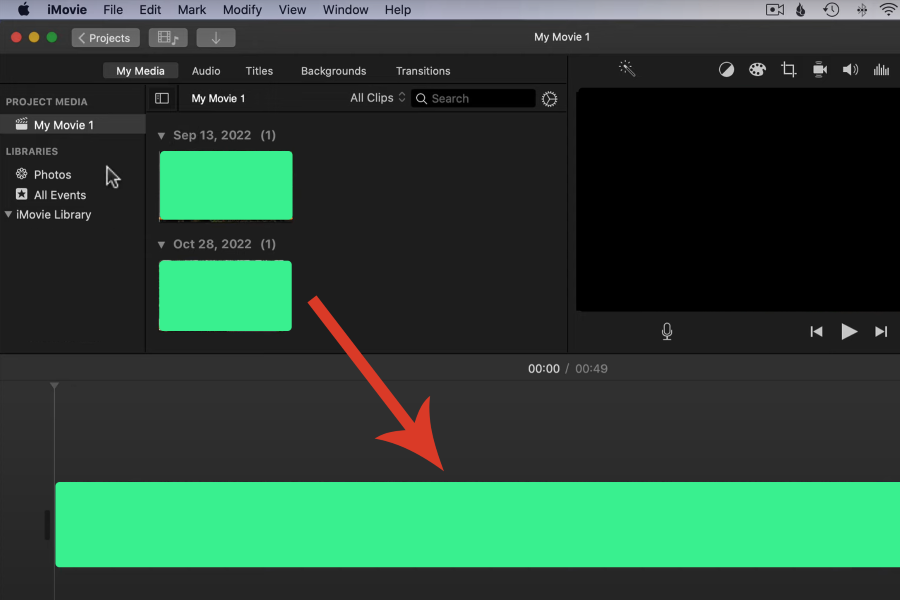
In order to be able to edit the audio clips, you’ll need to drag each of the files into the timeline viewer.
Any background music clip or sound effects will display under video in the timeline viewer when dragged into it.
Step 4: Adjust the Start and End of your Recording
At this stage it’s a good idea to clip any unnecessary parts from the beginning or the end of the clip by clicking and dragging from the edges of the selected clip.
Step 5: Trim, Clip or Split the Recording
Now you are ready to edit the audio you’ve brought in. You’ll need to be able to do so by trimming the clip, splitting it into parts (for easy deletion for example or to add another clip in between) or clipping the end or start of it.
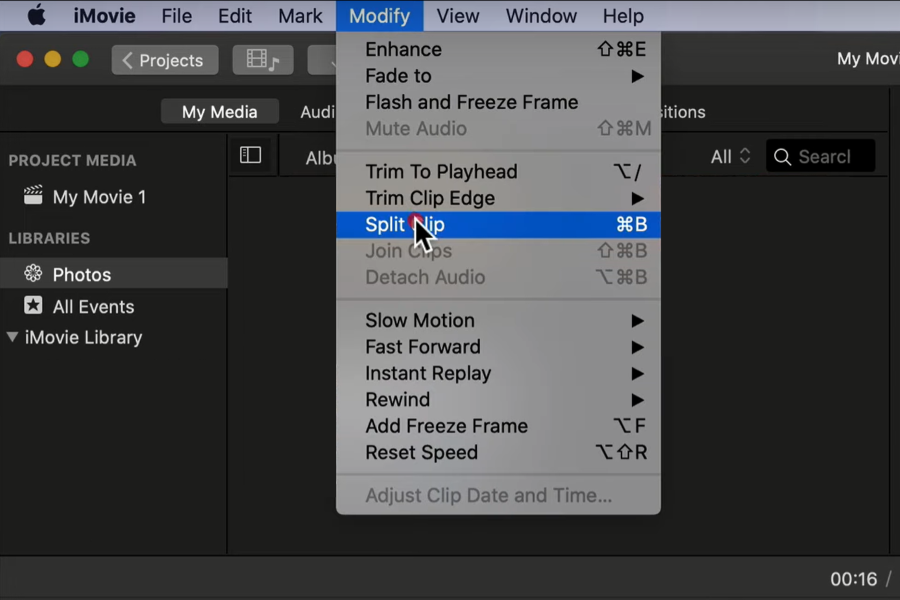
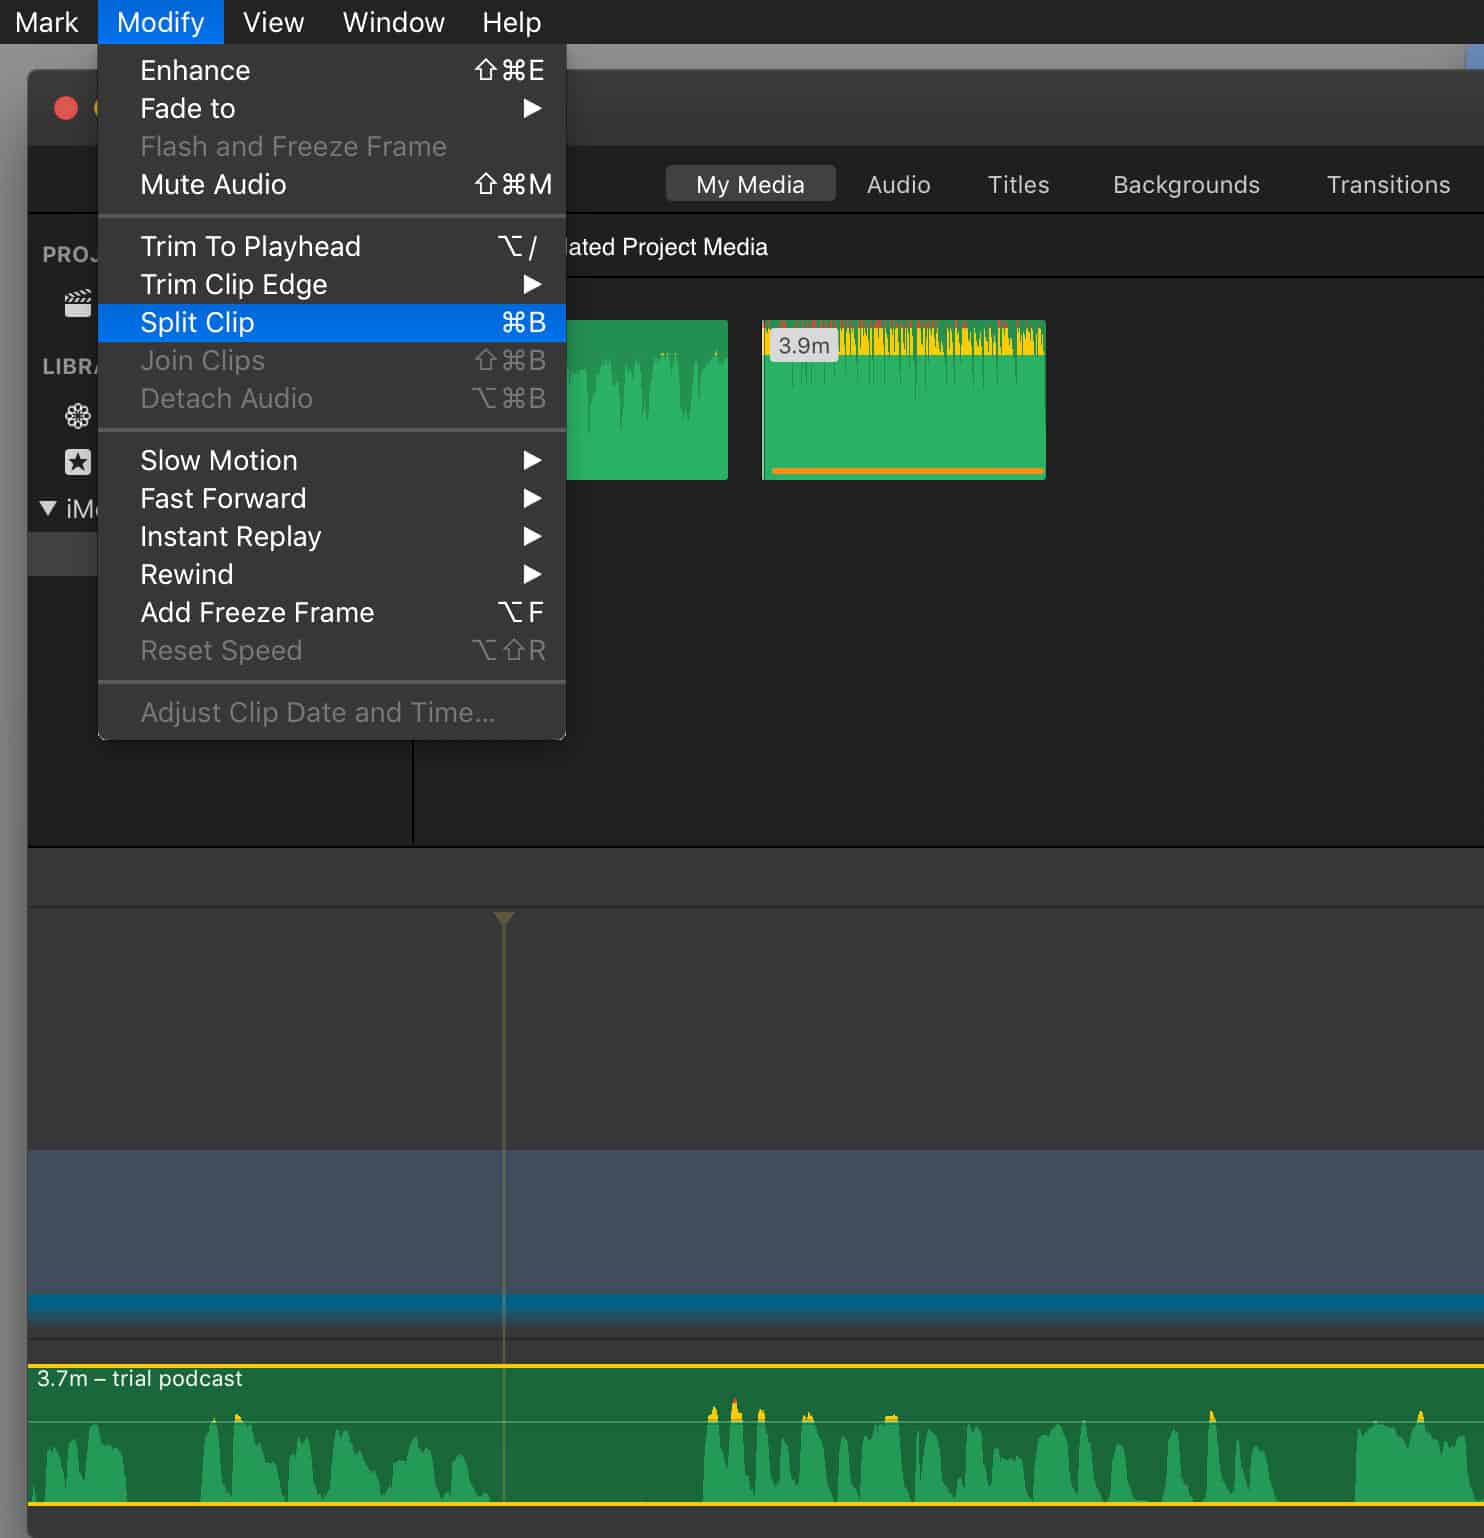
There is a handy menu for this. You can access these options by cliking on the “Modify” option on the top menu bar. There you will see the main three you will use:
- Trim to Playhead: Place the playhead (or cursor) where you would like the current clip to start and use this option to remove the section before the playhead.
- Trim Clip Edge: You can click, hold and move on the edges of a clip to change the starting or ending of the clip. But if you want more control, you can use this option to nudge frame by frame these movements before you apply changes to the trim area.
- Split Clip: As the name describes, this will cut the clip into two sections right down the position of the playhead. Very useful to remove unwanted parts, keep reading to find out more.
Related: GoPro for Video Podcasting: How to Shoot and Edit Awesome Videos.
How to Use Split Clip to Remove Unwanted Parts
Scroll left or right with a trackpad or magic mouse (or use CMD+ or CMD- to zoom in and out) and examine your track.
Did you find some long silences (with the giveaway flat line) or some ramblings or false starts? Don’t worry! Here’s how to cut it out:
- Click inside the track to select it in the timeline. A yellow outline will let you know it’s selected.
- Place the Playhead (vertical marker) at the start of what you want to chop out.
- In the main menu, choose Modify > Split Clip. You now have two clips.
- On the second clip go to the end of what you want to delete and place the Playhead there.
- Click on Modify > Split Clip again. You’ll be left with three clips: One clip you want to keep, the middle one that you want to delete, and another clip you want to keep.
- Select the middle clip and press your delete key.
- Shunt the remaining sections together in your timeline.
Step 6: Adjust Volume
Click in your podcast track first to focus on it. Then click on the volume icon in the viewer window top right to show clip volume levels, and use the sliders to control the volume. You can tap on the volume button to mute as well.
You may need to play with the clips’ volumes if you recorded them at different times. For example your intro outro or if you are placing intro/outro music would normally require a volume change.
Step 7: Automatically Enhance Audio
In the same menu as above, you’ll be able to automaticall enhance the audio. This will boost the average volume on the selected audio clip and it usually give much better results than the original audio to the entire clip.
Step 8: Apply Noise Reduction
Find the bar graph icon top right for the Noise Reduction tool.
and adjust the slider accordingly until you reduce any background noise you accidentally recorded.
You’ll want to use the lowest number that achieves best results. Otherwise you may eat into the desired signal you want to keep.
Related: Can You Use Final Cut Pro To Edit Podcasts?
Step 9: Finally, Export Your Audience-Ready Edit
Use the “share” button at top right. Choose the File option, then Audio Only, and MP3 for the file format.
This produces the file you’ll upload to your podcast host, so keep it in a special iMovie podcast folder. It will be the first of many you edit in iMovie.
How to Edit a Podcast in iMovie on an iPhone/iPad
Step 1: Create a New iMovie Project
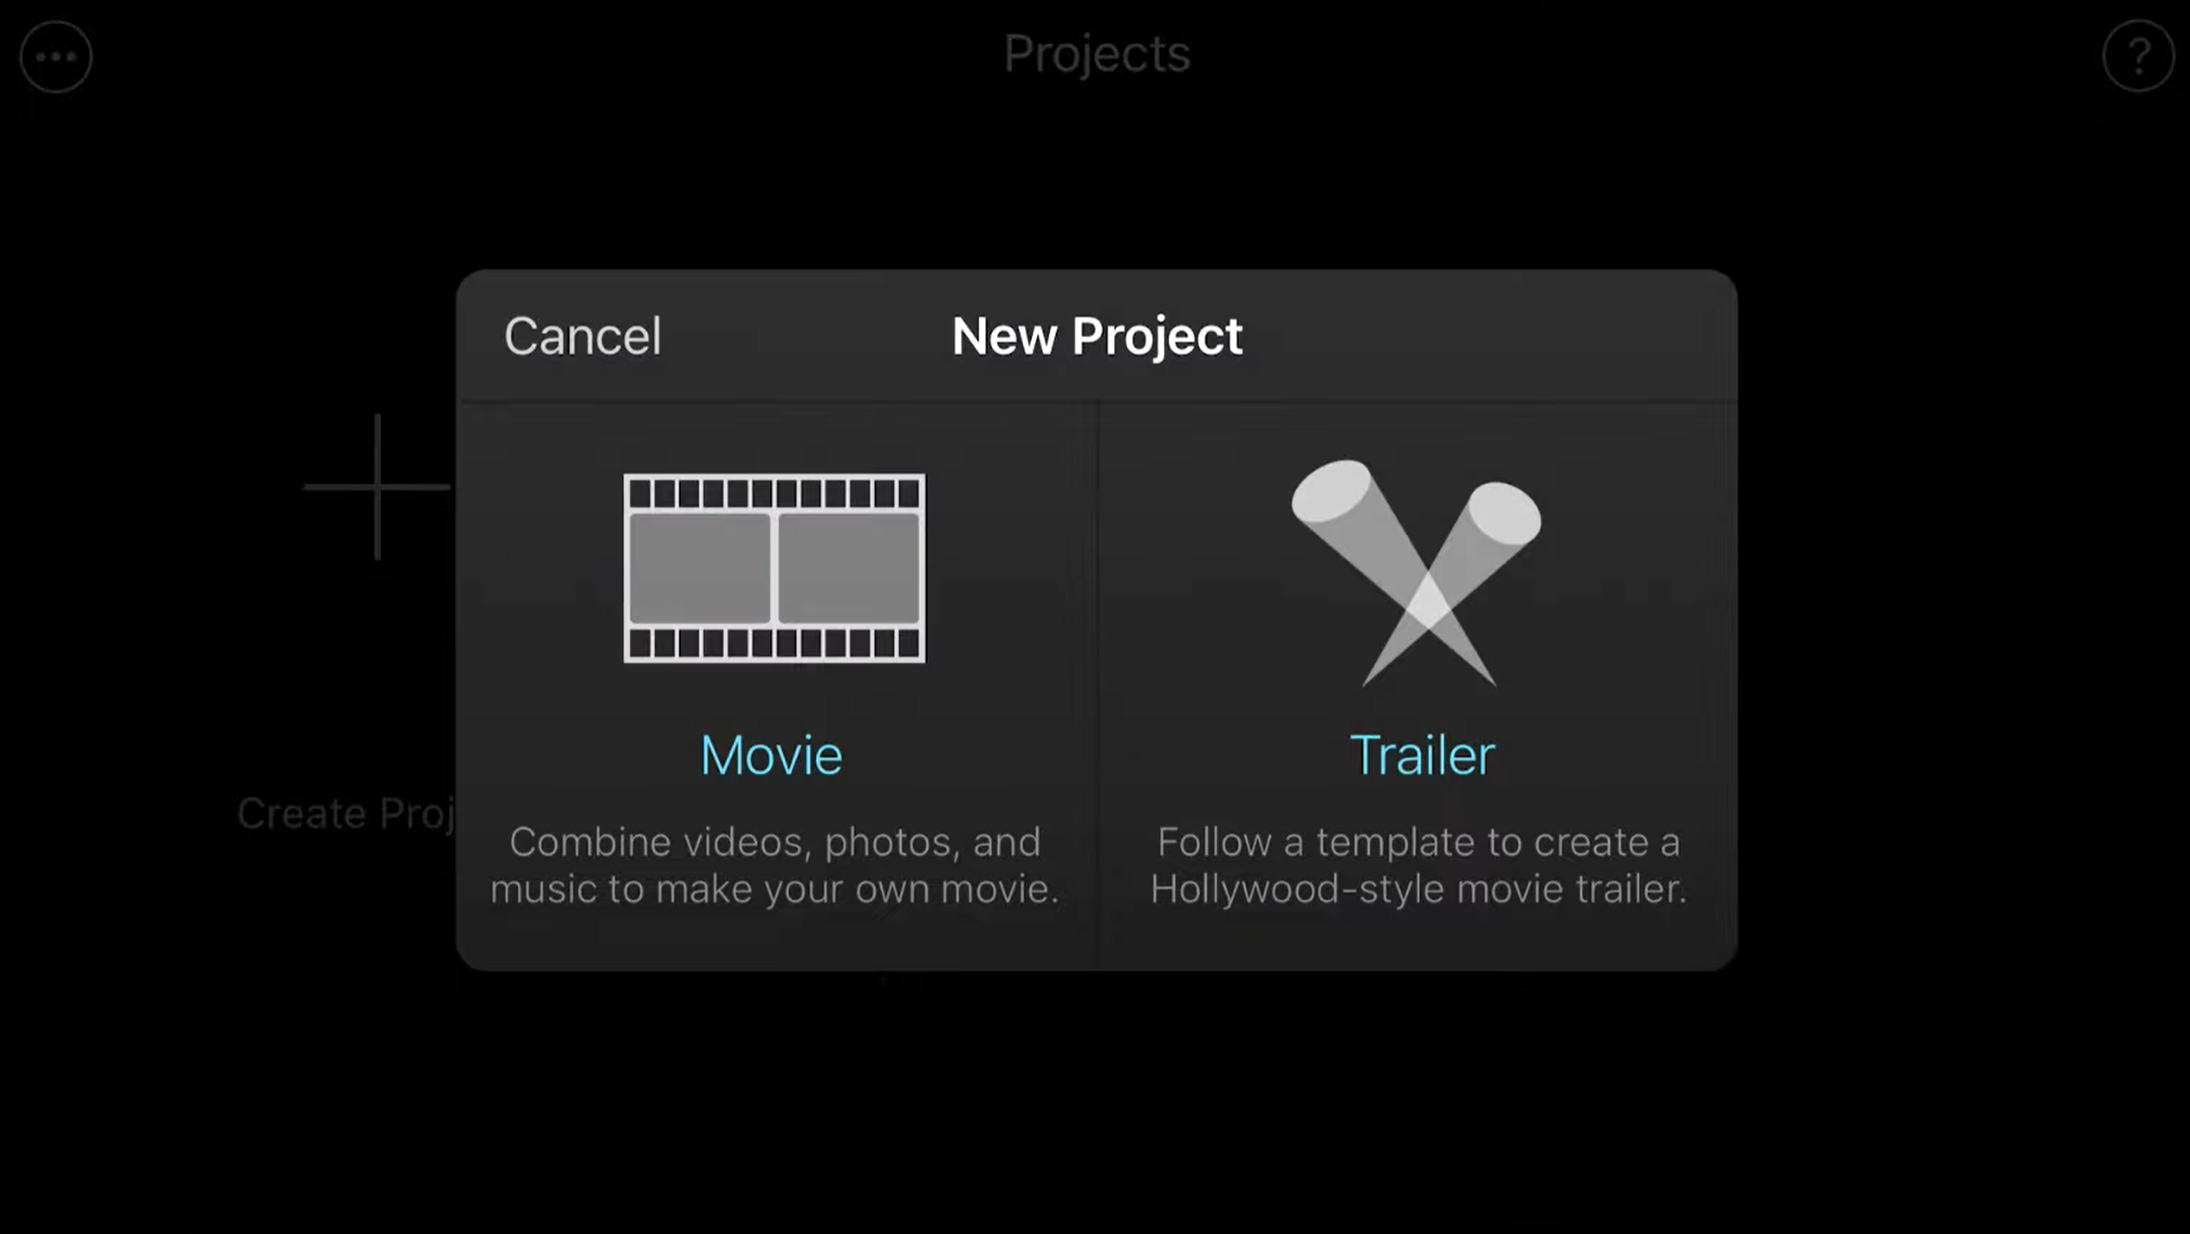
Open the app on your device and tap on the plus button to create a new project.
Select Movie.
Step 2: Load the Sound Clips You Want to Edit
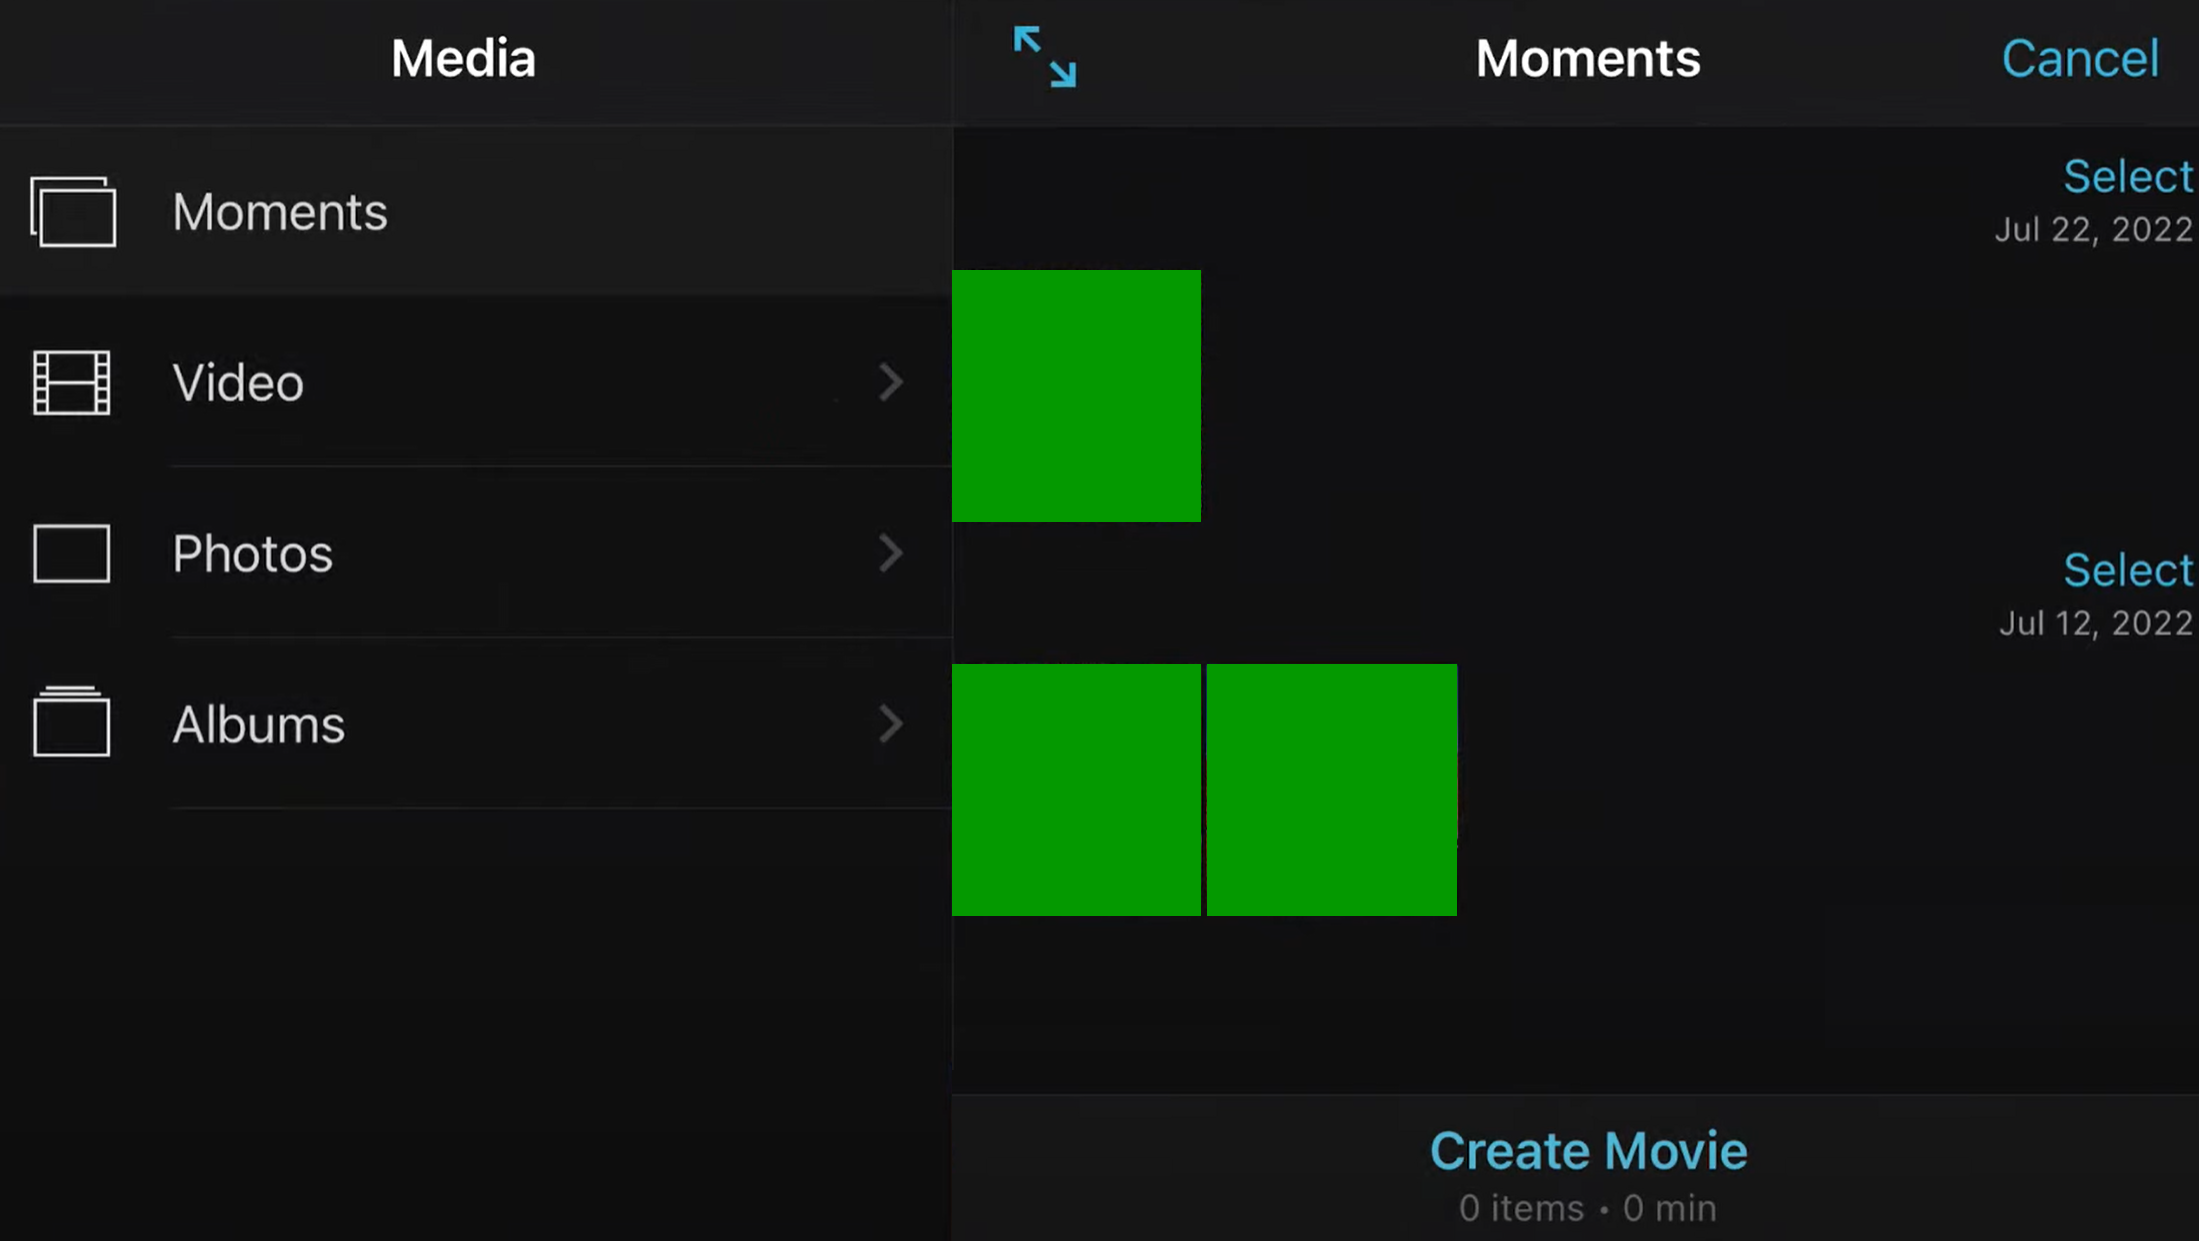
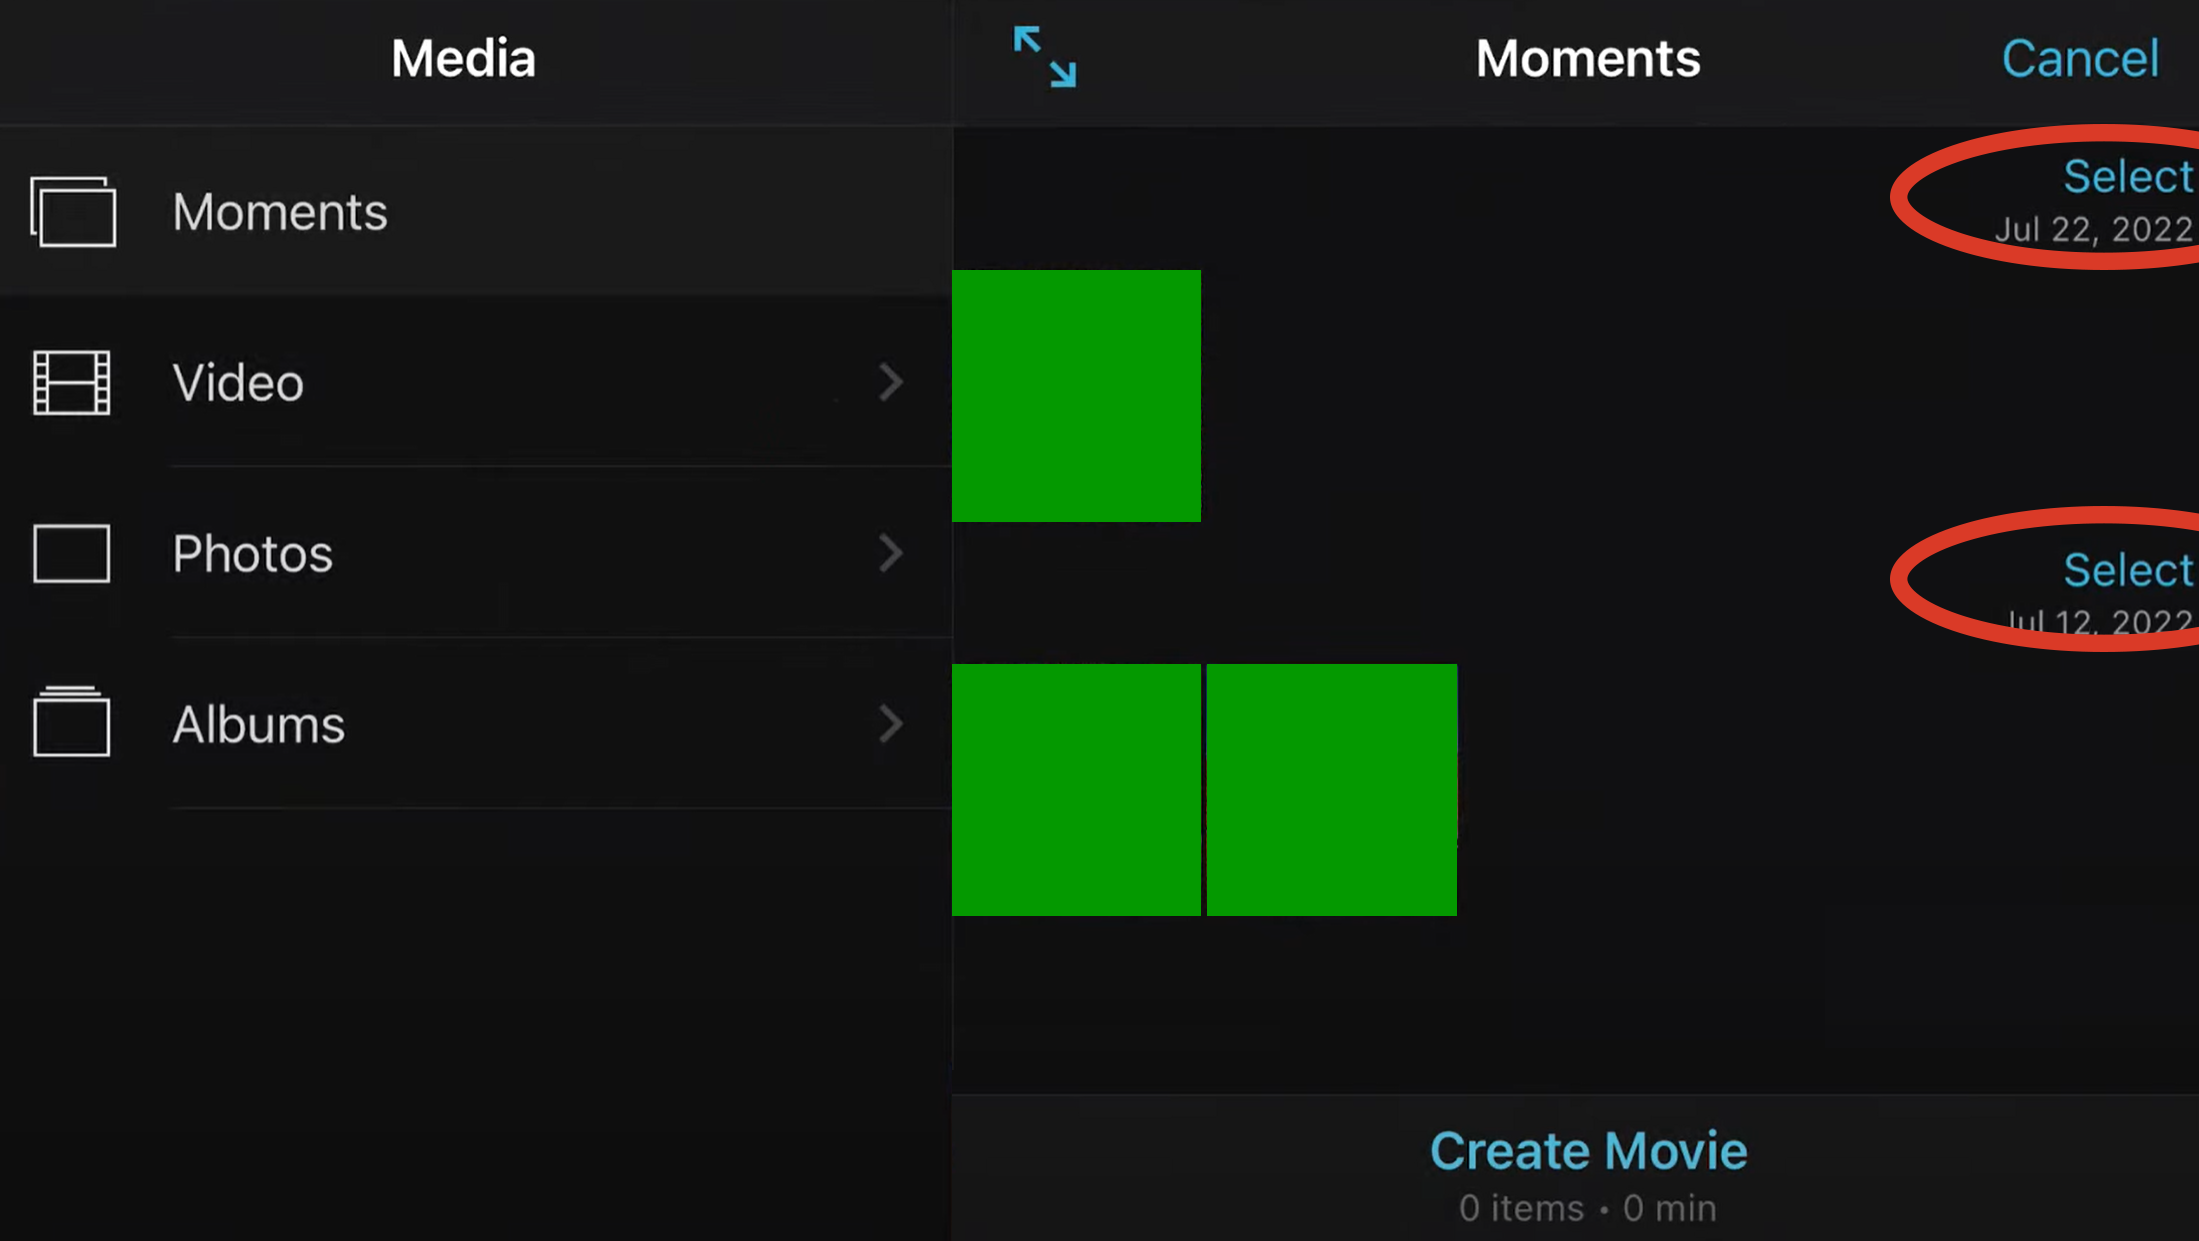
You can do it on the next window by selecting the clips or moments from your device.
Just select all the clips you’d like to add by clicking on Select.
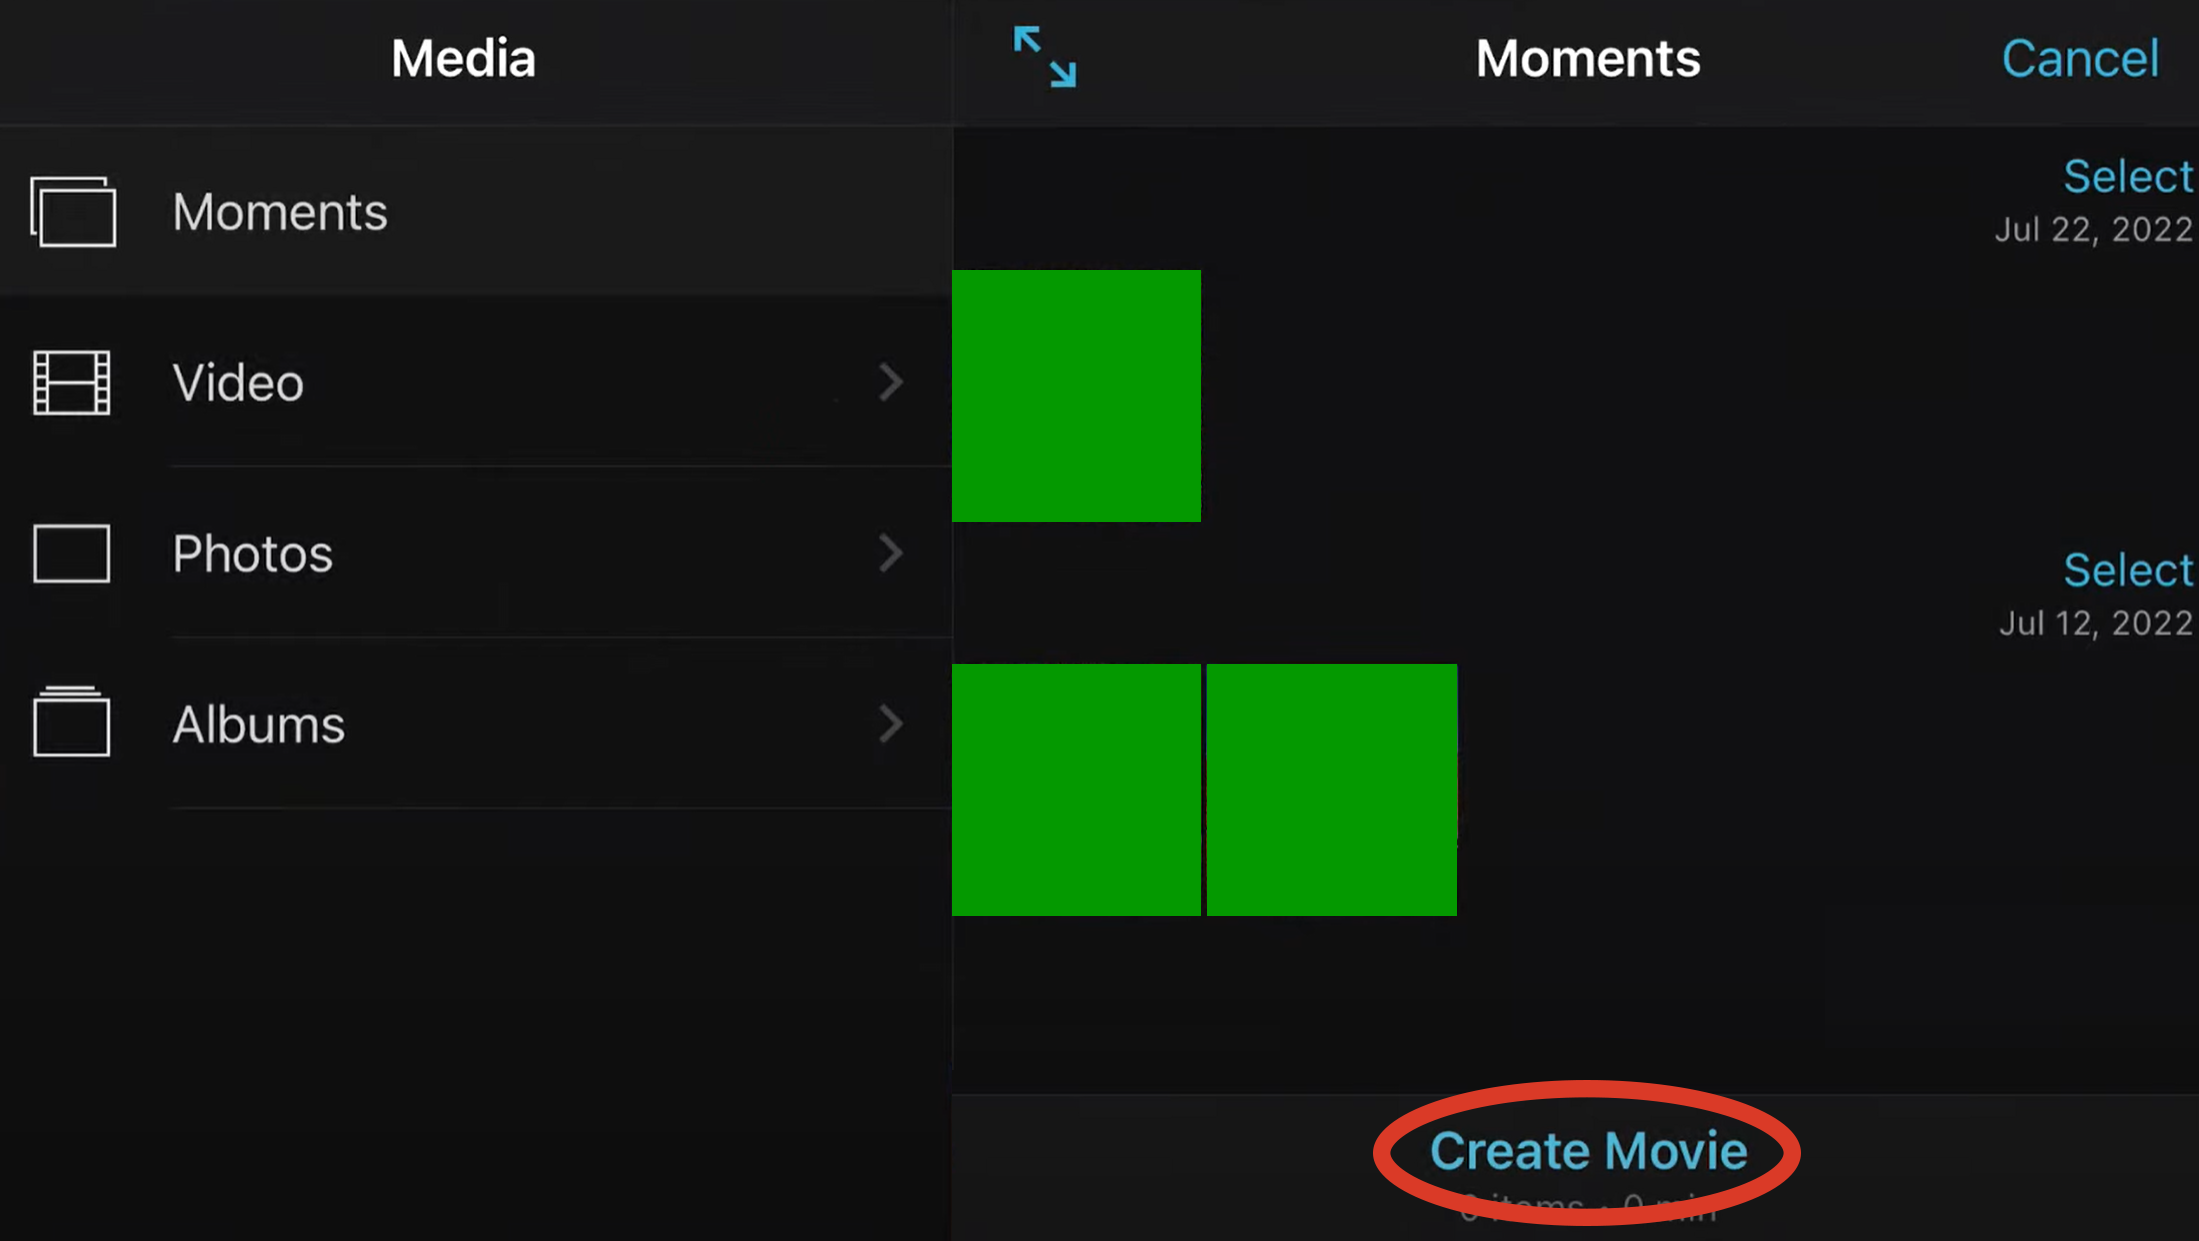
And then you are ready to tap on the Create Movie button at the bottom.
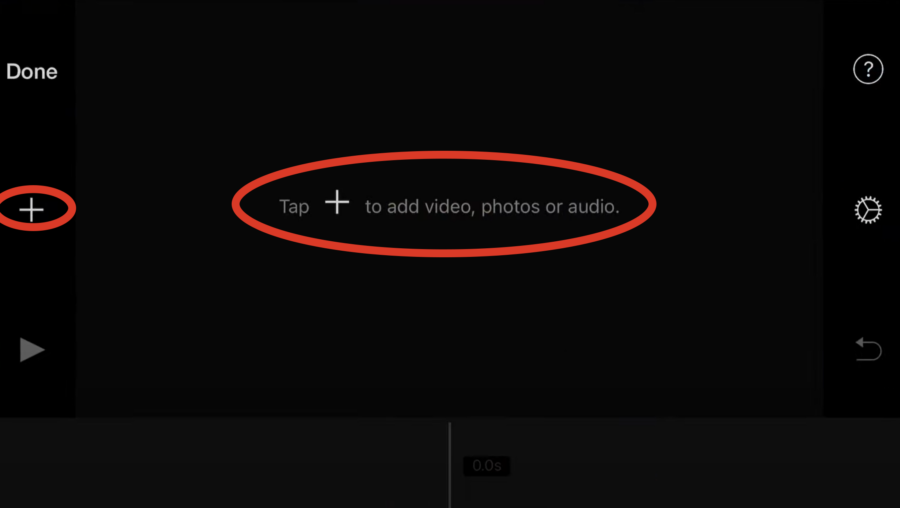
Once you have created the movie, you will see the following blank project.
Here you are also able to add more clips by tapping on the + signs on the screen.
And in the next screen, you’ll be able to browse your content library to add more media to the project.
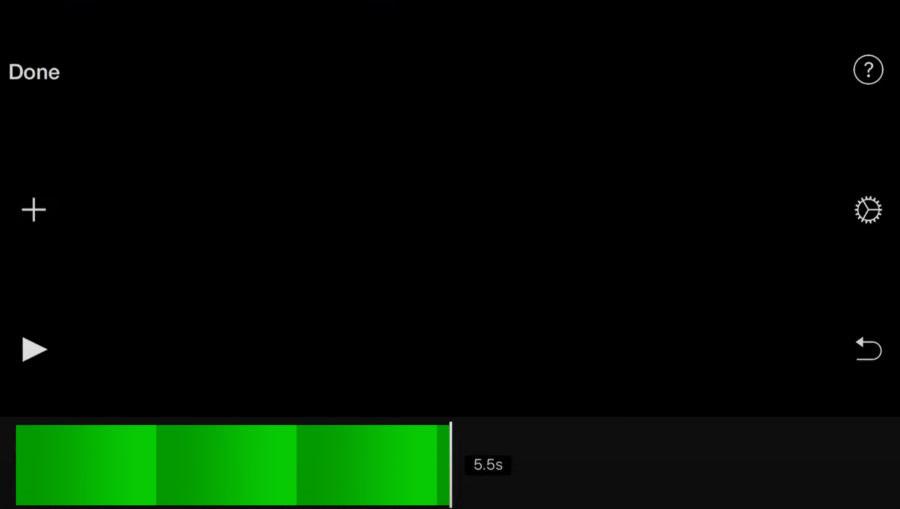
Once you have loaded the clips to edit you’ll be able to see them in the timeline viewer at the bottom of the screen.
Step 3: Trim or Cut Down the Clip
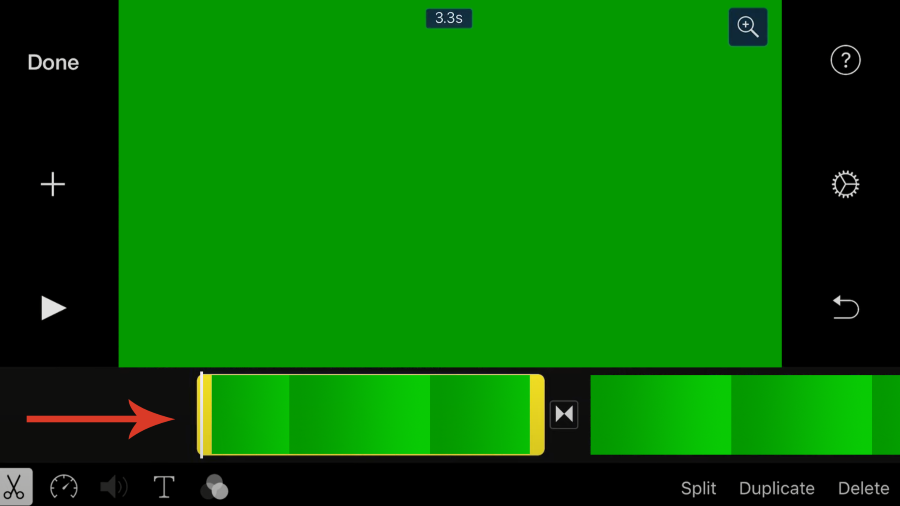
To change the length of the clip, tap and drag sideways on the edges of the clip.
Step 4: Split the Recording
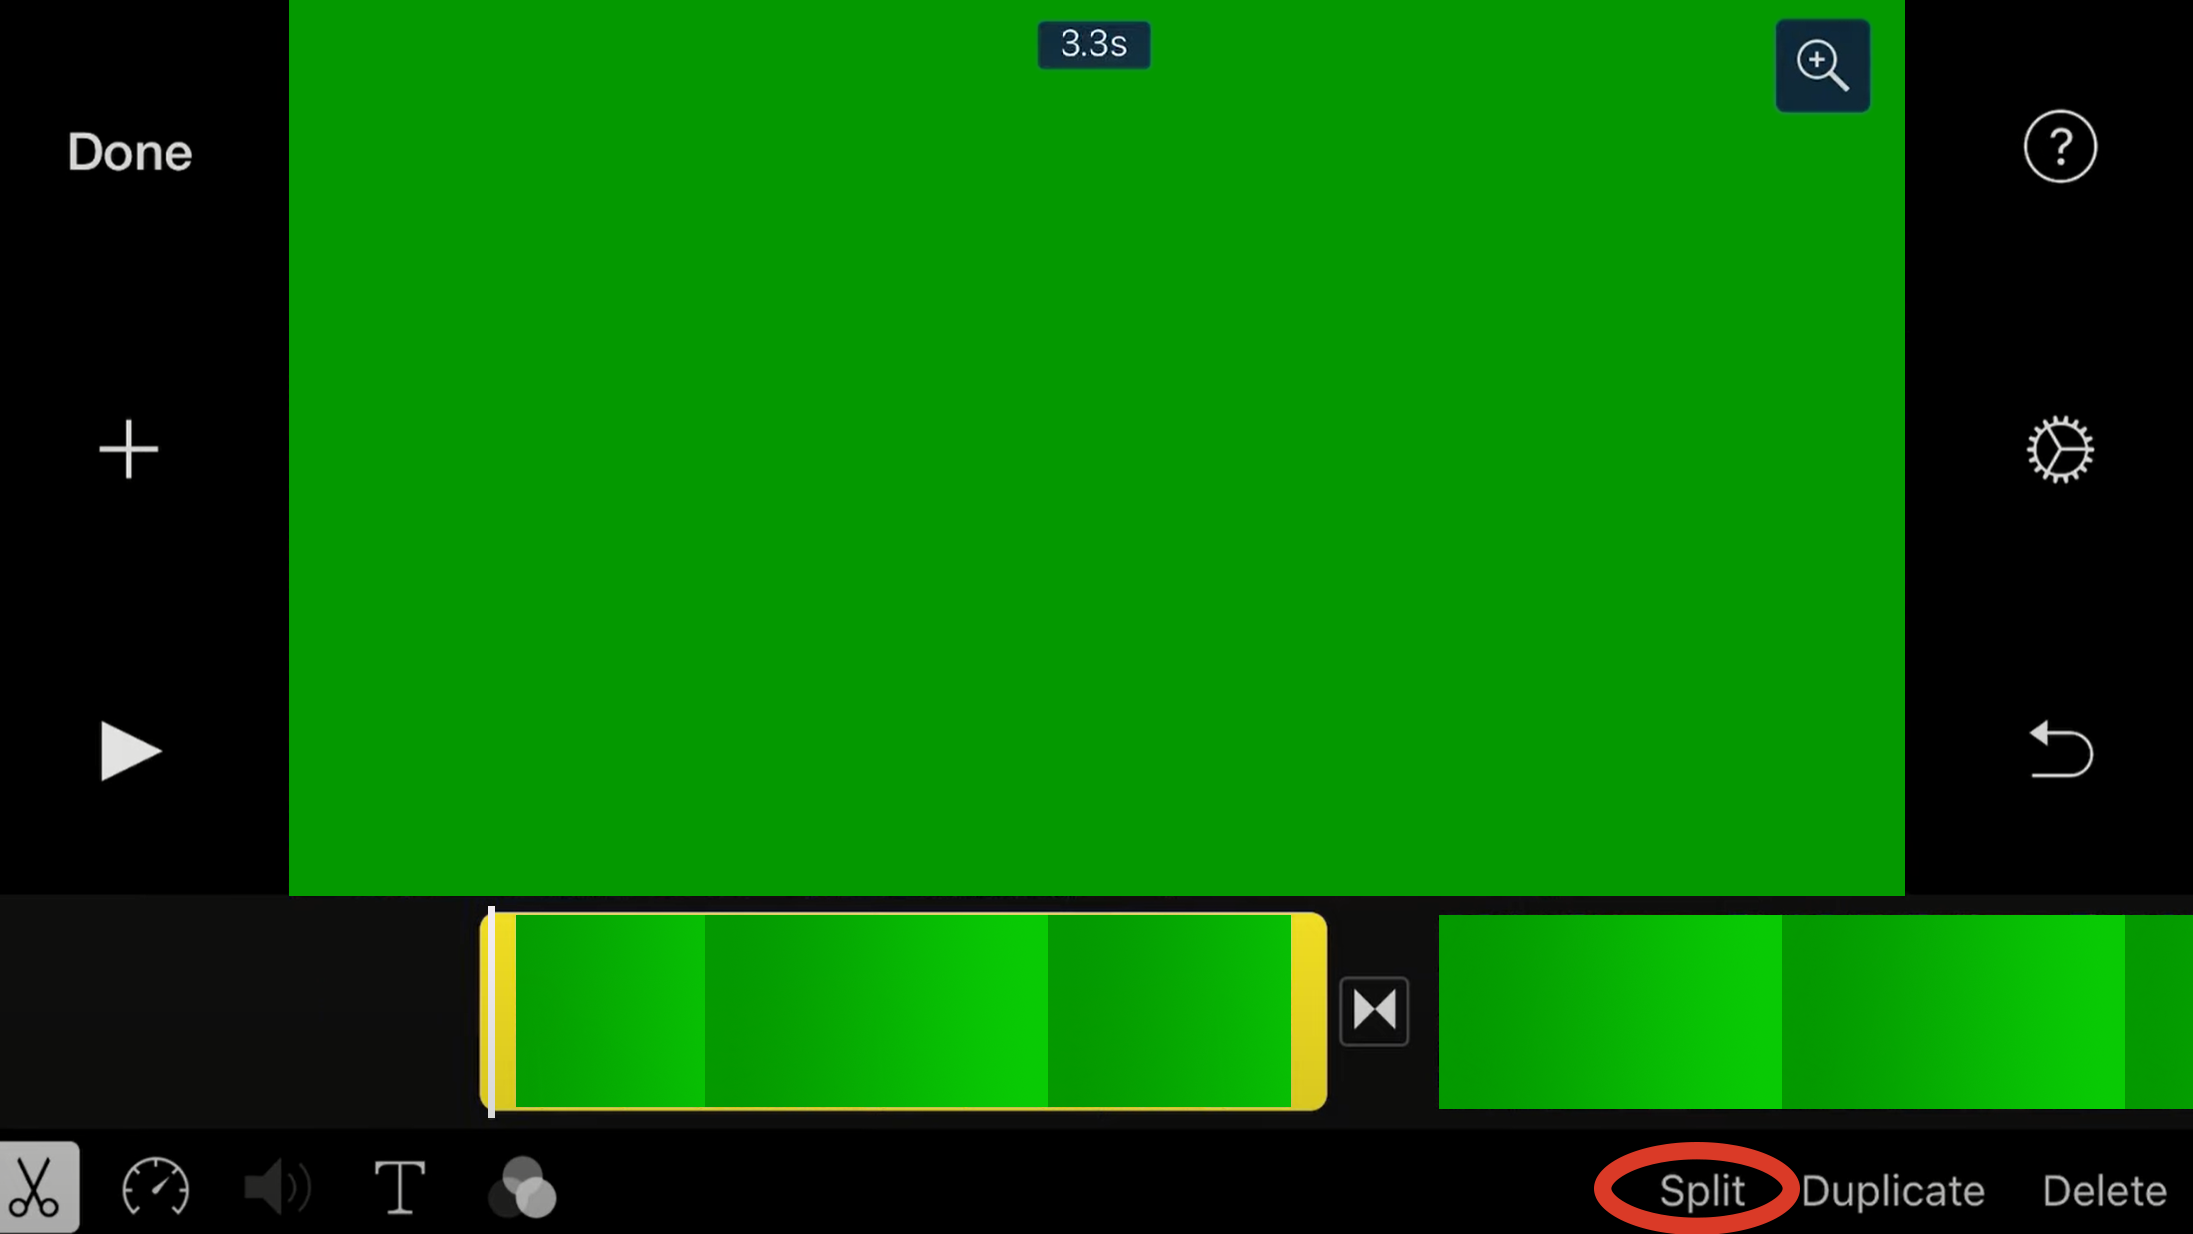
Tap on a clip to bring up the bottom editing menu. The move the playhead to the position where you’d want to split the clip in two. Tap on Split to split the clip in half.
Step 5: Add Sound Effects and Music
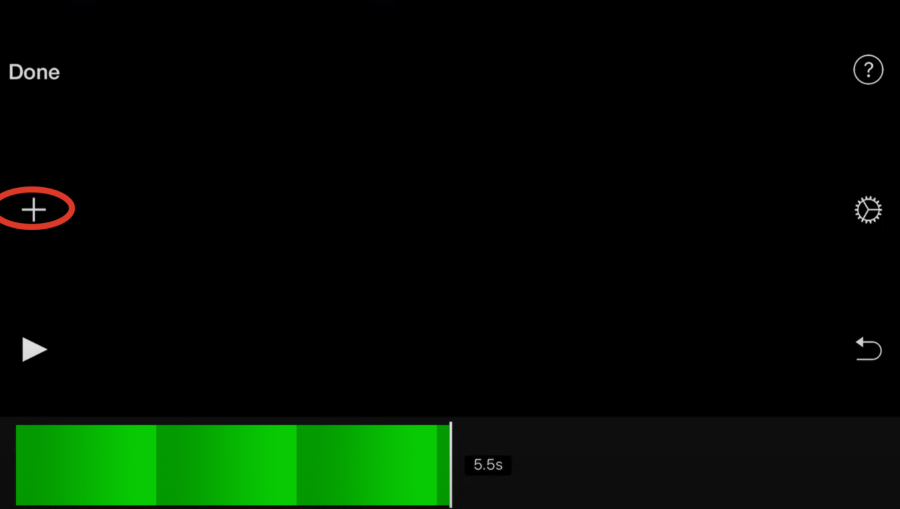
Tap on the plus “+” sign and select an audio file to add sound effects to your recording. You can do the same that you would to any other clip: trim, cut, move, etc.
These clips will show under the video clips in two additional layers: sound effects and music as foreground audio clips and a background audio track.
Step 6: Export the Final Edit
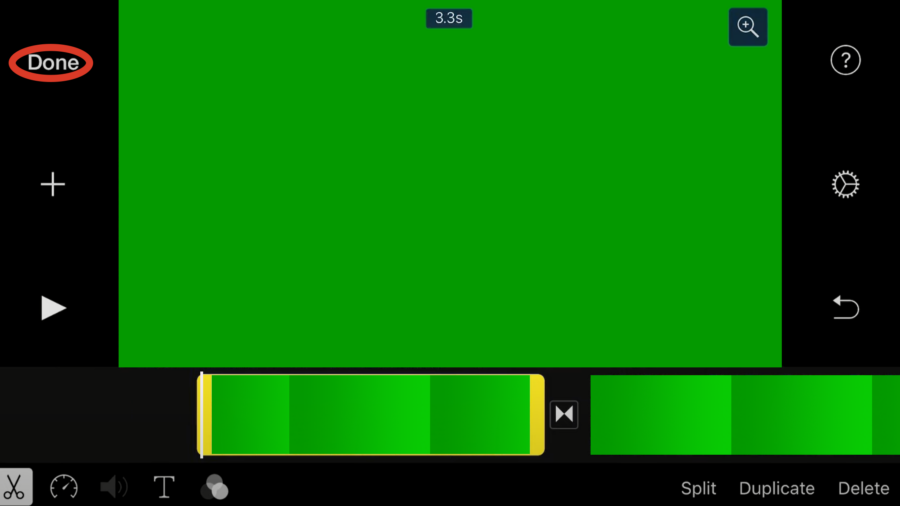
Once you are ready, tap on the Done button at the top left of the screen to export the video.
This will bring up the saving screen. Here you can view, change the name, export or delete the project. You can also hit the play button to preview the final recording.
Tap on the Export button at the center bottom of the screen.
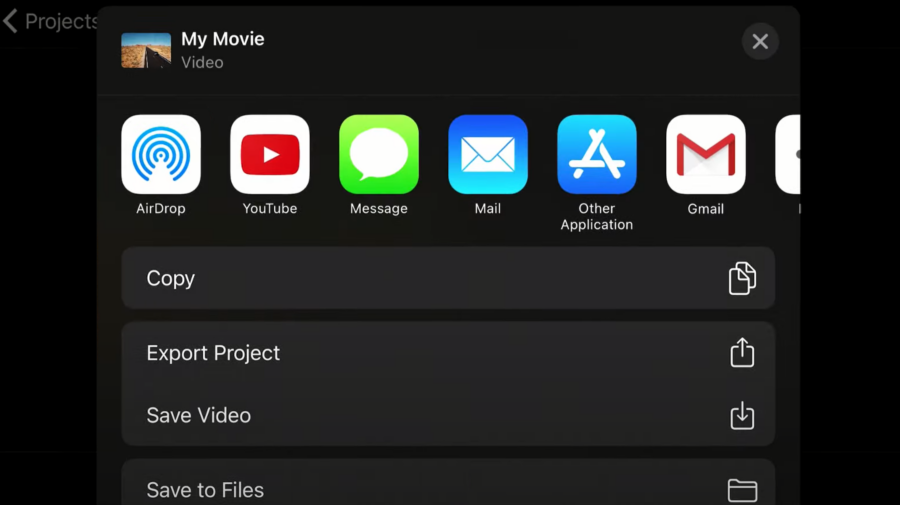
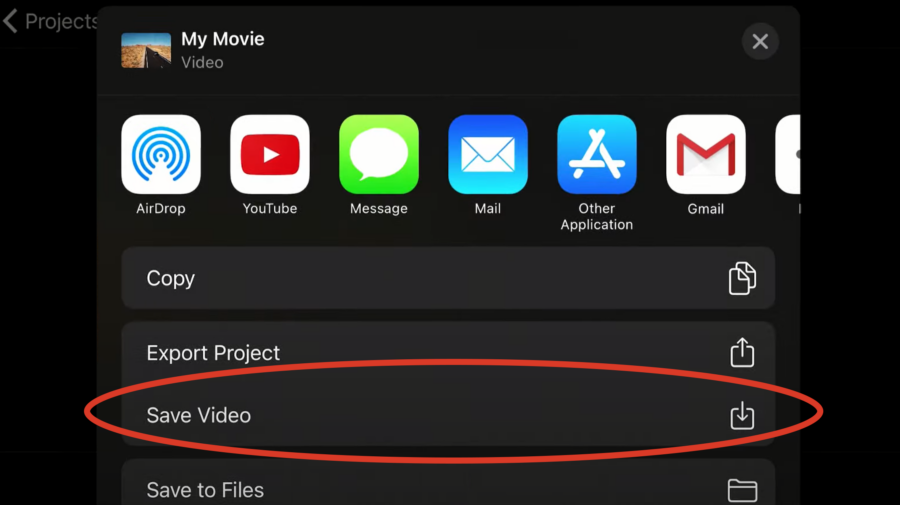
And finally tap on Save Video in the export options menu.
Conclusion
iMovie is a powerful video editor. Editing a podcast in iMovie is not only possible but recommended. Just load in your raw clips from your recording session; edit, trim, cut the clips until you are satisfied and; finally export the final clip ready to upload to your favorite podcast hosting. For further reading, you can check out our post on how to make a podcast on a Mac.
