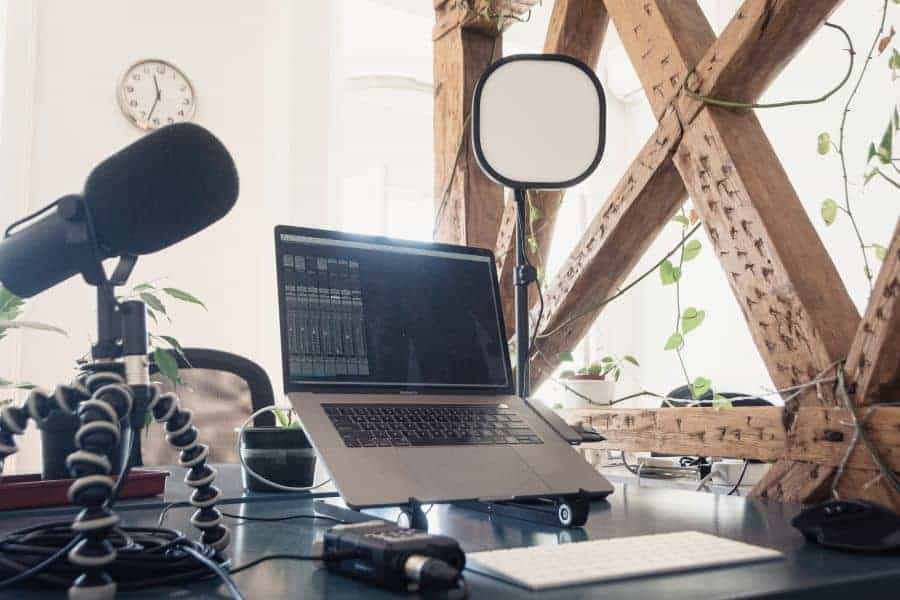
It sounds unbelievable but you can learn everything you need to know today to record your first podcast. Follow these 3 easy steps and you’re out of the gate:
- Plug in an external mic.
- Use a free recording program like Audacity.
- Export it in MP3 format.
We can’t make it easier than that! If you follow above steps you will avoid making a bad podcast.
The most important thing is to get your brilliant show on the road.
This guide will guide you on how to record locally on your laptop. For recording a podcast with multiple speakers across the globe / internet, check out our How to Record A Podcast from Multiple Locations guide.
So fire up your laptop and let’s start!
Related: 8 Best Laptops for Recording Podcasts and Best Budget Laptop For Podcasting
Contents
1 Why You Should Ignore Your Laptop Microphone
The simple reason is: built-in microphones pick up all the vibrations from the laptop and table making it sound terrible. The result is like listening to an opera singer in a cavern! So what really matters is: which USB external microphone will you use and why?
In fact, splashing out on a USB mic should be your one expense. Many are available and any of them will be better than your laptop microphone. Luckily, the quality of these USB mics has improved dramatically since podcasting took off in a big way. That’s good news.
Related: How to Do a Podcast Over Discord.
However, you’ll need to choose one. So which type of USB mic is best?
You may see what’s called a condenser mic. But that’s not what you want – mostly because you can’t just plug and play, which is what you need for laptop podcasting. Condenser mics also need a power source, and are often best used in an officially built acoustic studio.
We could diverge here and discuss the science of mics, but we’re keeping it simple and easy.
So what you’re looking for is a plug-and-play dynamic mic. They’re tough (you’re bound to knock it over at least once!) and they’re also great for live sound – especially for podcasting when there’s only you speaking.
Whichever brand you choose, you can enhance the mic’s ability if you record your podcast in a room with curtains and carpets. The soft surfaces help dampen and absorb any sound reflection.
You’ve now plugged in your external mic – time to move on to free software recording apps.
2 Record Your Podcast With Free Apps – and a Paid Option

How to Record a Podcast on Your Laptop
You’ll need some studio recording software. Sounds a bit high tech but it’s easy with free apps.
Firstly, Audacity. This is the most downloaded free audio software. It’s perfect for recording a podcast on your laptop, and an excellent choice – although the interface is not as intuitive as you perhaps expect these days. It works on all systems.
What else is available besides Audacity?
One excellent choice is the free WavePad. It sports a more intuitive interface than Audacity and has seriously good features, especially for when you take your podcasting further.
However, if you’re sure you’re only wanting to do talk podcasting and will not use large music files, another good choice is Ocenaudio – small in scope and size, and works on various operating systems.
And that paid option we mentioned? At the top end – and probably best if you already have an Adobe subscription that covers it! – is Adobe Audition. This may be your first laptop podcast, but we’d be wrong to assume you’re not already using Adobe creative products! So Audition is a good one to bear in mind. But it comes at a price.
Finally, before you press the Record button, one more thing: check your software’s audio settings by doing some tests. For instance, if you are recording in Zoom, check the settings of the audio before recording.. See how to do it in Audacity.
And make sure you’ve actually turned on that USB mic. Recording a blank, perfect talk is pointless at best and soul destroying at worst! But let’s turn to exporting your podcast.
Related: How to Fix Audacity Catalina Microphone Problem
Step 3: Why Export Your Podcast in MP3 Format?
You need to save and export your podcast files appropriately: this usually means MP3 format (which is also the best choice for Spotify).
Other suggestions you might see are MP4 (for audio and video) or WAV (audio only). But the quality of the sound from these options is rather more than your audience (or you!) can appreciate! And MP3 is better for exporting your laptop podcasts.
That’s because MP3 files are smaller and uploading and downloading will therefore be faster. You don’t want to give your internet provider or data allowance a heart attack! And as we implied, you won’t notice the slight lowering of sound quality. No one listening to a podcast expects CD quality. So, when exporting, if your software asks for a bitrate, tell it 128 or above and you’re good to go in MP3!
Related: How to Find Your Zoom Recordings in Just a Few Simple Steps
How Does That Seem? Easy Enough?
We’ve now covered all 3 easy steps to recording a podcast on your laptop:
- plug in a dynamic USB mic,
- download free studio software to record the podcast, and
- export your masterpiece in MP3 for good audio quality.
That’s it. You can now record podcasts on your laptop like a pro!