Congratulations on choosing the Shure SM7B, one of the most iconic microphones in the podcasting industry! This microphone’s legacy is solidified by its versatility, from recording Michael Jackson’s “Thriller” to being a favorite for countless podcasters.
And now, it’s time to learn how to set up Shure SM7B. This article will guide you through every step to ensure that your Shure SM7B is perfectly suited for your endeavors, ensuring high-quality audio in all your recordings.
Related: Do You Need A Cloudlifter For Shure SM7B?
Contents
The Basics Of Shure SM7B
Before diving into the setup, it’s essential to understand the basics. The Shure SM7B is a directional microphone, specifically a dynamic cardioid microphone that has set the industry standard for both music and speech due to its smooth and wide-ranging frequency response.
It’s designed to capture audio in its purest form, isolating the vocals from any background noises, which is why it’s a preferred choice for many professionals. With the right setup, this microphone promises not just to capture sound quality but to amplify the essence of every recording.
Related: Best Microphones For Recording in Podcasting
Pre-Setup Considerations

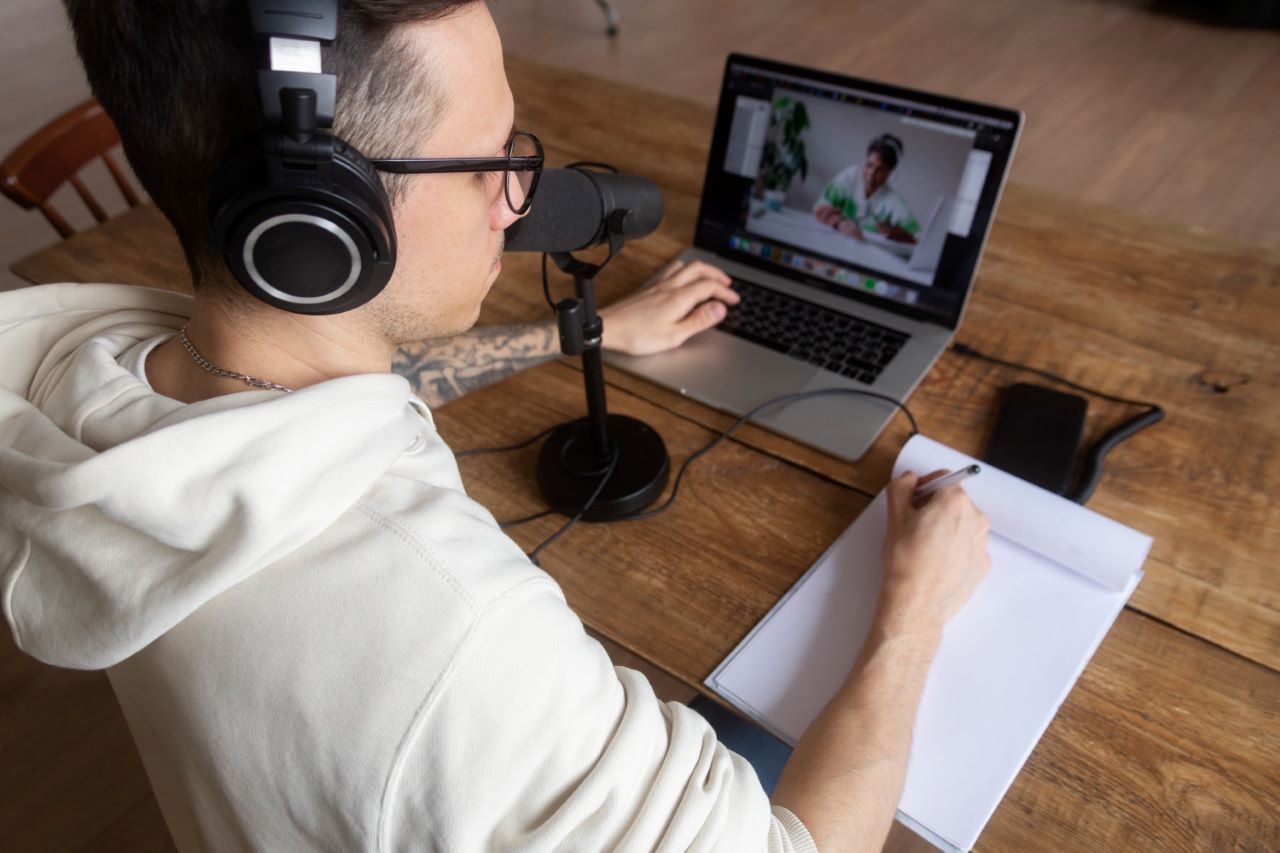
Image by Freepik
Just like setting up a tent before camping, setting up a microphone requires some pre-setup considerations to ensure the best output.
Choosing The Right Location
The location of your recording is paramount. An ideal spot would be a quiet room with minimal external noises and echoes. While it’s easy to focus on external sounds, internal noises such as the hum from an air conditioner or the buzz from electronics can equally disrupt recordings. Spend some time in the room, listen keenly, and identify any potential sources of noise.
Equipment Checklist
Once you have your perfect spot, it’s time to ensure you have everything you need for the setup. Beyond the Shure SM7B, other essentials include an XLR cable, a stand or boom arm, and an audio interface or mixer. You might also consider adding a pop filter to clear plosive sounds and a shock mount to reduce vibrations, ensuring the cleanest sound possible.
Related: What is Joe Rogan’s Podcast Studio Setup?
Assessing Your Room’s Acoustics
Even the best microphones will falter in a room with poor acoustics. If your chosen room has a lot of echo, think about introducing soft furnishings like rugs or curtains that can absorb sound. For those looking to go the extra mile, investing in foam panels or diffusers can transform any space into a professional studio.
Understanding Your Equipment
Every piece of equipment that accompanies your Shure SM7B plays a crucial role in the sound quality output. Taking the time to acquaint yourself with the intricacies of each item, like familiarizing yourself with the features of your audio interface or understanding the nuances of gain levels, will certainly pay off.
How To Set Up Shure SM7B [4 Steps]

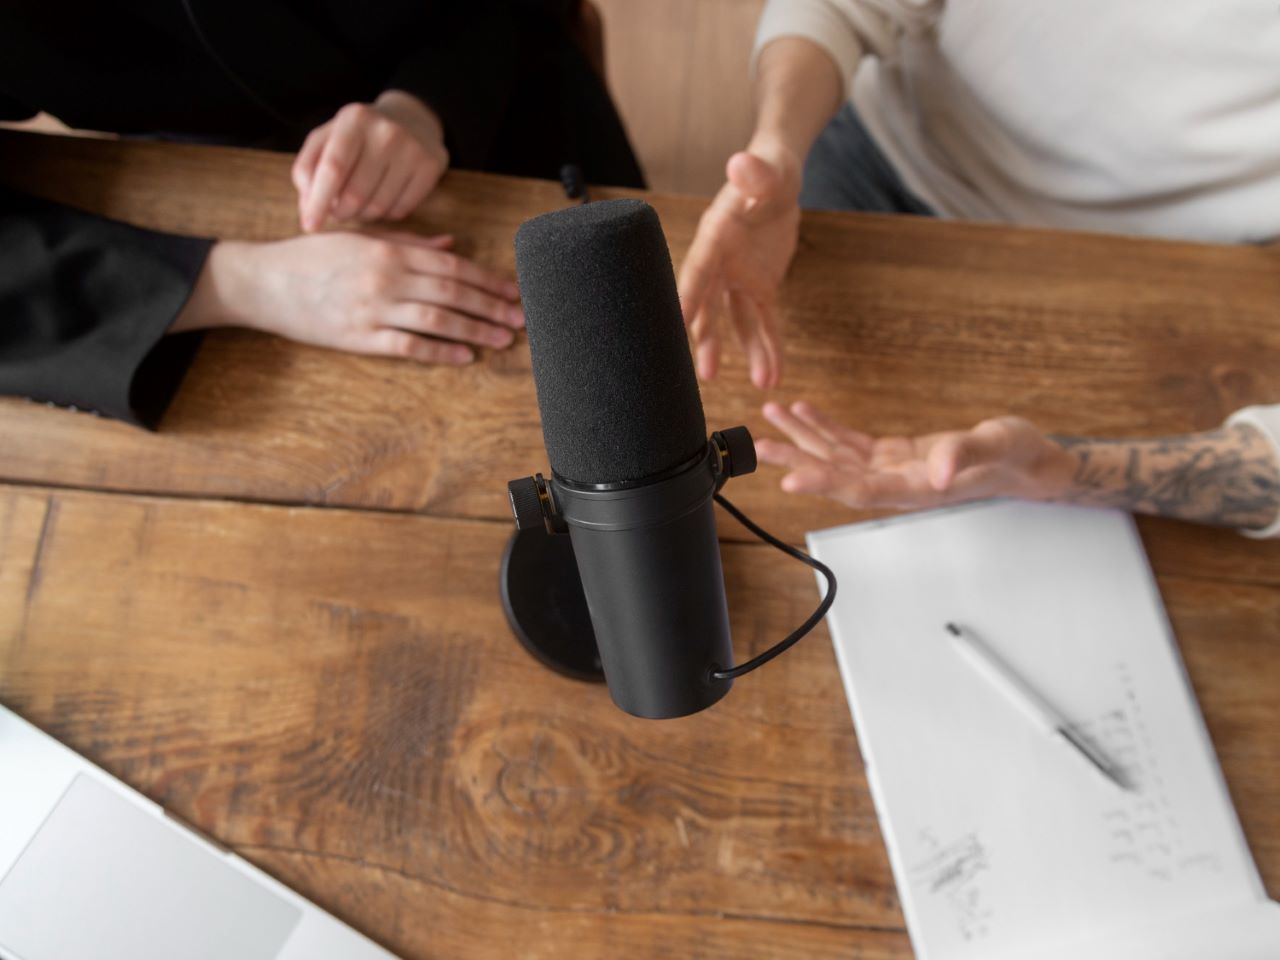
Image by Freepik
With your pre-setup considerations sorted, you’re now ready to delve into the actual setup process.
Step One: Unboxing And Checking Components
The moment of unboxing a new piece of equipment, especially something as renowned as the Shure SM7B, is always filled with a mix of excitement and anticipation. When you open that box, you’re not just revealing a mic; you’re unveiling countless opportunities for creativity and expression. So, let’s do this right.
As you gently remove the microphone from its packaging, take a moment to appreciate its design and build. The SM7B is built to last, with a robust construction that promises durability. Inside the box, along with the microphone, you should find a foam windscreen designed to minimize air and wind noise, ensuring that your recordings are crystal clear.
There’s also a switch cover plate and, of course, the indispensable user guide. This guide is your roadmap to understanding and making the most of your microphone. As you lay out these components, inspect each for any signs of damage or wear, even if it’s brand new.
Manufacturing anomalies, though rare, can happen, and it’s always best to ensure everything is in pristine condition from the outset.
Step Two: Connecting To A Stand Or Boom Arm
Now, let’s get this beauty ready for action. Depending on your recording setup, you’ll either be using a stand or a boom arm. Both serve to hold the microphone securely and ensure optimal positioning for recording.
When connecting your SM7B to a microphone stand, make sure the stand is on a stable surface and free from any risk of being knocked over. If you’re using a boom arm, which is often preferred by podcasters or streamers, ensure it’s clamped securely to your table or desk.
As you screw the microphone onto your stand or boom arm, ensure it’s tight enough to hold the microphone securely but not overly tight to risk damaging the threads. Position the microphone at mouth level, and consider the angle too – you want to speak into the front of the microphone where the Shure logo is, not the top.
Related: Shure SM7B vs Rode NT1A
Step Three: Connecting The XLR Cable
With your microphone securely in place, it’s time to get it connected. The Shure SM7B uses an XLR connector, known for its balanced sound transmission and resistance to interference. When connecting the XLR cable, ensure that you’re plugging it into the correct port on the microphone.
You should feel a reassuring click as the cable locks into place. Always handle cables gently, avoiding any unnecessary bends or kinks. Run the other end of the XLR cable to where it’ll be connecting, ensuring there’s a bit of slack so that there’s no undue stress on the cable or its connections.
Step Four: Connecting To An Audio Interface Or Mixer
Your audio interface or mixer acts as the bridge between the microphone and your computer or recording device. This step is crucial because these devices often handle the heavy lifting of converting the analog signal from your microphone into a digital signal your computer understands.
First, ensure your interface or mixer is turned off to avoid any potential electronic pops or surges. Then, plug the other end of the XLR cable into the designated microphone input. Once securely connected, power on your interface or mixer. Most interfaces will have a gain or level knob. This control allows you to adjust the input volume of the microphone.
Start with it at a mid-level, and you can adjust as necessary once you begin testing the sound. Remember, the goal is to achieve a clear sound that’s loud enough without any distortion.
With these steps completed, you’re now ready to embark on your recording journey with the Shure SM7B. It’s not just about the technicalities; it’s about ensuring that the emotion, passion, and essence of every sound get captured flawlessly.
Related: Shure SM7B Switches
How to Position the Shure SM7B to Get the Best Sound
The Shure SM7B is a cardioid studio microphone designed to produce quality sound through its dynamic pickup.
In order to capture the best quality sound for a podcast, you want to be within 3 to 6 inches of the microphone and with the microphone off axis from the direction of your mouth. You want to do this to reduce the plosive “P” sounds captured as you talk. Instead of directly talking into the microphone, this will help you talk past the microphone, to the side of the front of it.
For recording instruments or vocals for instruments, you want to be as far as 2 to 12 inches away. The microphone is directional which means it captures sound from the front and rejects sound from the rear, so you need to be in front of it.
Related: Shure SM7B vs Rode PodMic. Which is a Better Podcasting Mic?
How close should I be to the Shure SM7B?
Depending on whether you keep the windscreen on or the pop filter, you will want to be within 3 to 6 inches of the mic. Get as close to two inches from the Shure SM7B with the windscreen on to take advantage of the proximity effect, which will boost the low end of your voice, giving it a clearer, warmer bass sound. When you use an external pop filter, you can get farther away from the microphone to about as much as six inches.
Related: Shure SM7B vs Audio Technica AT2035 Comparison Guide
How do I get the best sound out of my Shure SM7B?
The Shure SM7B includes many features on the microphone that allows you to test and adjust each of the settings to make sure you get the sound you want. Set the gain control so that you hit about -18 dB. This is an appropriate range if you plan on boosting the gain in post-production. If you don’t think you will be editing the sound, you can set the gain so that it hits about -3 dB to -6 dB when you’re talking. If you do get loud, you will want to move farther from the microphone so it doesn’t distort and clip the sound your voice is making.
Use the thinner windscreen to get a brighter sound and the thicker windscreen if you make too many plosive sounds. The low cut filter switch on the back of the microphone can be switched on to reduce muddiness; however, this can take away from the warmth of the sound. The presence boost switch helps to make words sound clearer.
Related: Rode Procaster vs Shure SM7B
Addressing Common Issues

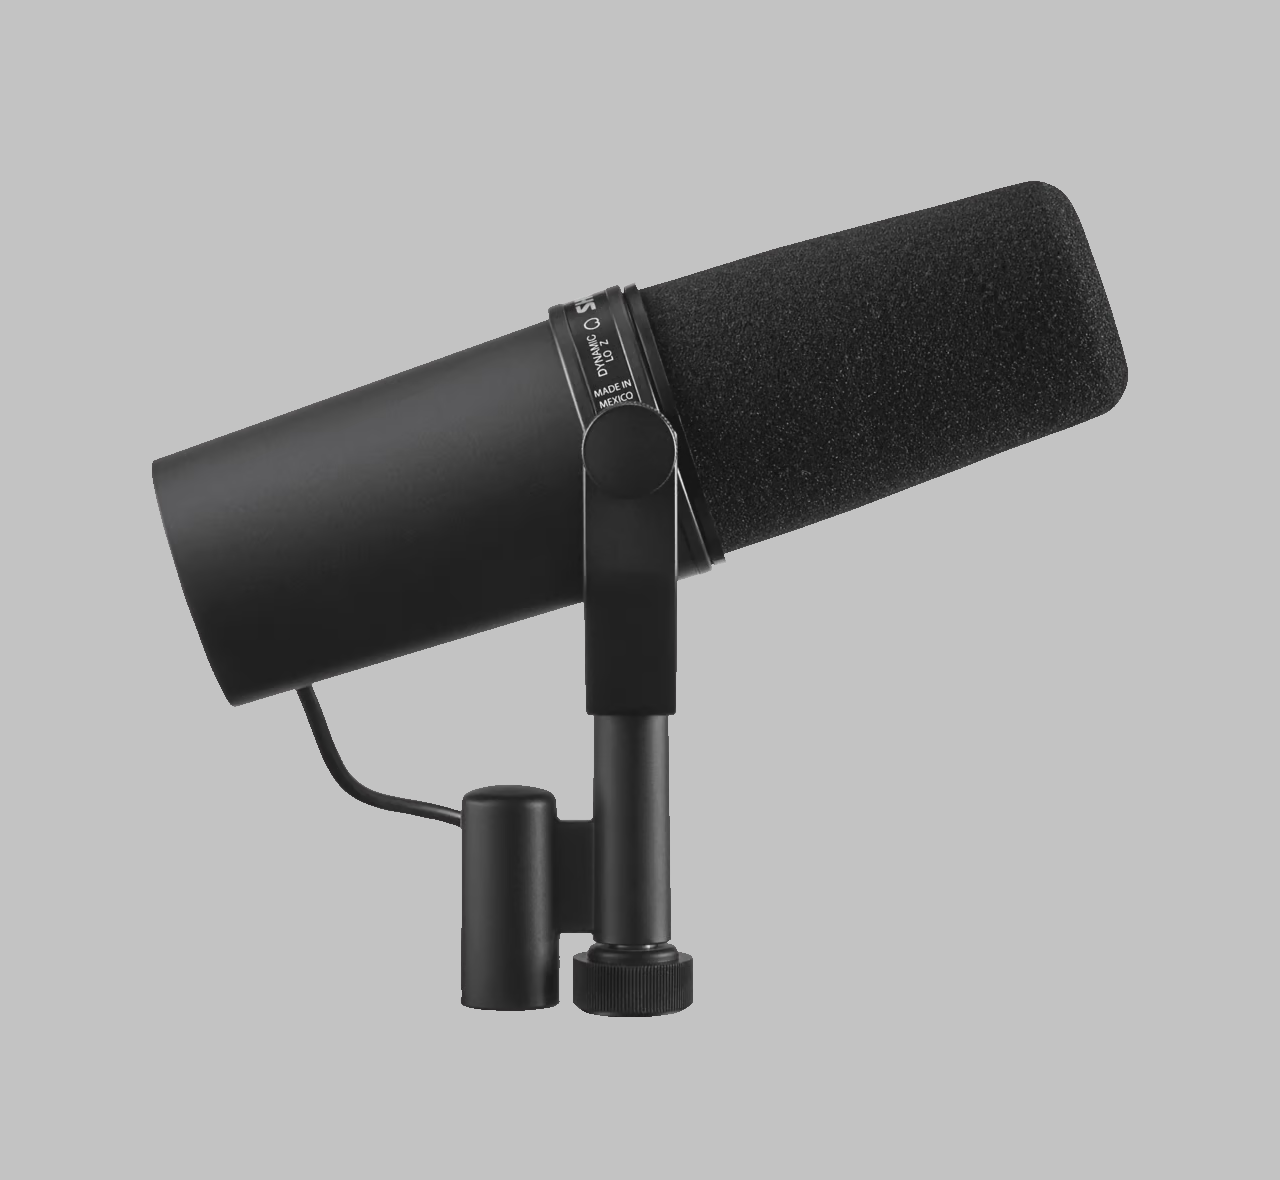
The SM7B is a professional dynamic microphone that operates best with preamps that provide +60dB of gain. Image Source.
Like any technology, you might run into some hitches. Let’s address some common ones.
Low Output Level And The Need For A Preamp
The Shure SM7B’s low output level is a known issue. It might require a little amplification. You can remedy this by investing in a dedicated preamp or using a device like the Cloudlifter to enhance the signal strength. Also, familiarize yourself with the gain settings on your interface; a slight adjustment can make a world of difference.
Minimizing Background Noise
Even with the best preparations, unexpected background noises can arise. Adjusting the microphone’s positioning or tweaking room elements can sometimes solve this issue. In persistent cases, considering noise gates or specialized post-production software might be beneficial.
Related: Why Is My Shure SM7B So Quiet?
Conclusion
The journey of setting up the Shure SM7B is one that transforms a piece of technical equipment into a vessel for creativity, passion, and communication. From the moment of unboxing to the final connection, each step is crucial in ensuring that the microphone delivers its optimal performance.
So, if you’re a budding podcaster, an aspiring musician, or a seasoned radio host, understanding the nuances of setting up this microphone can make a profound difference in the quality of your content.
The Shure SM7B is more than just a microphone; it’s a testament to the beauty of sound and the stories we tell through it. With this guide, we hope you not only set up your microphone correctly but also embark on countless adventures in the realm of audio, capturing moments, melodies, and messages that resonate.
Related: Shure SM7B vs Blue Yeti and SM7B vs SM58