Audacity is a fantastic piece of audio editing software for beginners. It’s free to use and is designed to be extremely simple and user-friendly.
There are two different ways to delete an audio section when using Audacity. The program’s Selection Tool can be used to cut part of your audio, or you can do a Split Delete.
But before you begin the editing process, you first need to know how to import your audio.
Importing an Audio File into Audacity
Firstly, it’s best just use .wav or .aiff files, as they are uncompressed files. You may want to import an mp3 file (which is compressed audio), and while this is possible, the overall quality won’t be as good.
This is because once you go to export your finished audio file from Audacity, the file will be recompressed. So, if you’ve already imported compressed audio, which will have to be compressed again, the audio will lose quality.
- First, you will need to download Audacity and open the program on your device.
- Next, click File in the Menu Bar at the top of the screen.
- Now click Import, then click Audio.
- Finally, select the audio you wish to import from your device.
You are now ready to start editing!
How To Delete an Audio Section in Audacity
Audacity is a free, open source, cross-platform audio software. Image Source.
There are two different ways to delete audio from your track.
Use the Selection Tool
The Selection Tool lets you highlight parts of a track to copy, paste, or delete a section.
- Open the audio file you wish to edit by following the above instructions.
- Hover your mouse over the edge of the audio you wish to delete, and it should transform into a little hand appear.
- Click and drag the hand over the section of audio, and you will see a blue selection box appear over this section.
- You can now either click Edit Menu at the top of the page and press Delete or use your keyboard shortcut for Delete, Ctrl + D.
Perform a Split Delete
It’s important to note that whenever you delete an audio section using the Selection Tool, the remaining audio will move to fill the gap which has been left from the deletion. This can disrupt the timing of your audio, so if you want to prevent this, you can do a Split Delete instead.
- Open your Audacity audio file.
- Hover your mouse until the hand appears.
- Use the hand icon to select the audio section you want to remove.
- Once it’s selected, go to the Edit menu at the top of the page, and press Split Delete. This separates the audio into separate clips. Alternatively, you can use the keyboard shortcut for Split Delete, which is Ctrl + Alt + K.
Doing it this way will delete the track section and leave a silent gap in its place, rather than moving the rest of the audio around.
Related Questions
How to Use The Time Shift Tool
Once you have performed a Split Delete, you can use Audacity’s Time Shift Tool. This allows the user to move separate clips into the gap created from the Split Delete.
- Perform a Split Delete, as shown in the previous step. Make sure you have left enough room for the
- Select the audio clip you wish to move, by using the hand icon.
- Drag the selected audio section to the gap.
Make sure that the gap you’re moving the audio to has enough space for it. E.g. if the audio clip is 7 seconds long, the gap should also be 7 seconds long.
How to Use the Trim Audio Tool
This is a great tool if you have an audio recording with sections that don’t contain anything useful, such as a quiet part of a song, or an awkward gap in an interview. The Trim Audio tool removes all audio in a clip, except the part you want to keep.
- Start by selecting the audio you want to keep
- Use the Trim Audio keyboard shortcut - Ctrl + T. This will remove any surrounding audio from the section.
How to Use the Envelope Tool
The Envelope Tool allows the user to change the volume of separate audio clips by shrinking the volume. This tool can be used at different points of the audio file, to create a handy sound level guide for you to follow during editing.
- Start by clicking on the Envelope Tool, located in the Audacity toolbar at the top of your screen.
- You’ll notice a blue line surrounds the track.
- The cursor will transform into two white arrows that point upwards and downwards. This shows where you can place an anchor point on the edge of the track.
- You can now click and drag the edge of the wave towards the middle to change the volume of that section.
The smaller the waveform, the quieter the sound will be. Once you’ve played with the Envelope Tool a few times and heard the difference it makes, you will quickly be able to understand how it works.
Also, changing the audio level will not affect the overall audio quality, it just changes the volume of the individual audio segment.
How To Use the Noise Reduction Tool
There’s nothing more disruptive than unwanted noise overpowering your audio. You can quickly remove this background noise by using the Noise Reduction tool.
Bear in mind that the Noise Reduction Tool can’t remove sounds like speaking, it removes constant sounds such as monitor humming or air conditioning which have disrupted large parts of your recording.
- Highlight part of the track where you can only hear the unwanted noise, and nothing else.
- Click on Effect at the top of your page.
- Then click Utility > Noise Removal > Noise Removal
- Press Get Noise Profile
- The software will take a few seconds to scan the highlighted, so that it can be identified for removal.
- Once the scanning is done, highlight the parts of your audio which the disruptive noise needs to be cut from . Or you can highlight the whole track if the noise is present throughout, using keyboard shortcut Ctrl-A.
- Go back to the the Noise Removal Tool by pressing Effect > Utility > Noise Removal > Noise Removal
- There are three sliders which you can adjust: the level of reduction by moving the Noise Reduction - alters level of reduction
Frequency Smoothing - will reduce clunky sounds
Attack/Decay - helps to recover the original audio that could be lost during this reduction process.
You should play with the noise reduction tool several times and press Preview, to get the best quality sound. By adjusting the three sliders each time, you will be able to remove the background noise without negatively affecting the original audio.
Once you’re happy with the preview, click OK to process your track.
Related: How to Remove Background Noise & Static in Audacity: The Ultimate Guide
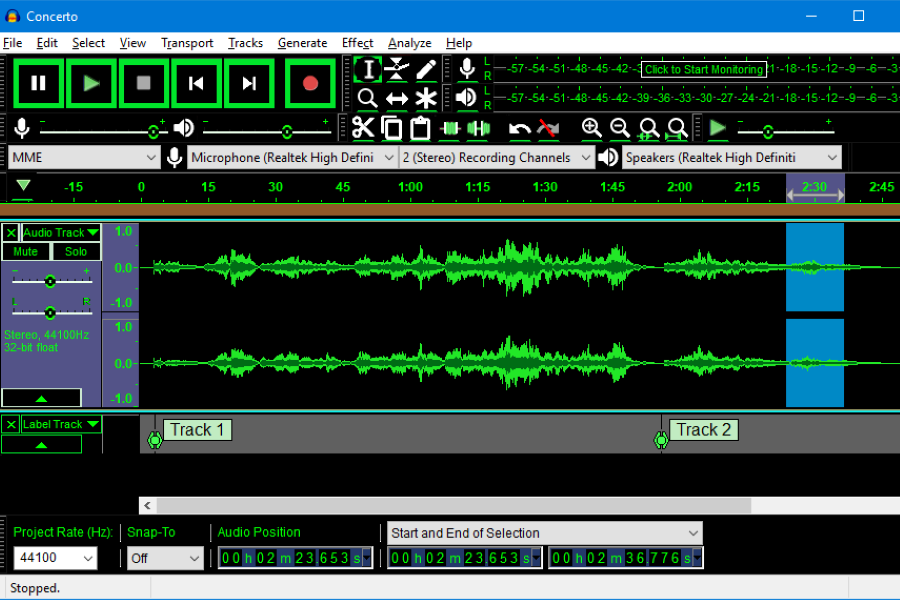
How To Add Labels to Identify Audio Segments
When you are editing in Audacity, it can be hard to know which audio sections are which. By creating audio labels, you’ll be able to easily keep track of your clips and save some time.
- Highlight the audio section you would like to label
- Click Edit > Labels > Add Label at Selection
- Begin typing your desired label on the Label Track
- Drag the outside edges of the label to decide which audio section your label is for.
How to Undo and Redo in Audacity
When you first start out in audio editing, it can be easy to make mistakes. Luckily, there are undo and redo buttons within the software. At the top of the page, you will find two curved arrows, facing left and right - these are the undo and redo buttons.
To save time, you can also use the keyboard shortcuts: undo is Ctrl + Z and redo is Ctrl + Y.
Related: How to Cut Audio: Editing in Audacity
Article Summary
To summarise, we explained that there are two different ways to delete audio when editing in Audacity:
- Using the Selection Tool
- Performing a Split Delete
We also explained the following editing tools:
-
- Time Shift Tool - lets you move audio around
- Envelope Tool - alters the volume of individual audio sections,
- Noise Reduction Tool - to remove unwanted background noise.
- Labels - to label audio segments
- Undo & Redo - to fix your editing errors quickly.
We hope that you have enjoyed learning about the Audacity editing process. Thank you for reading this article!