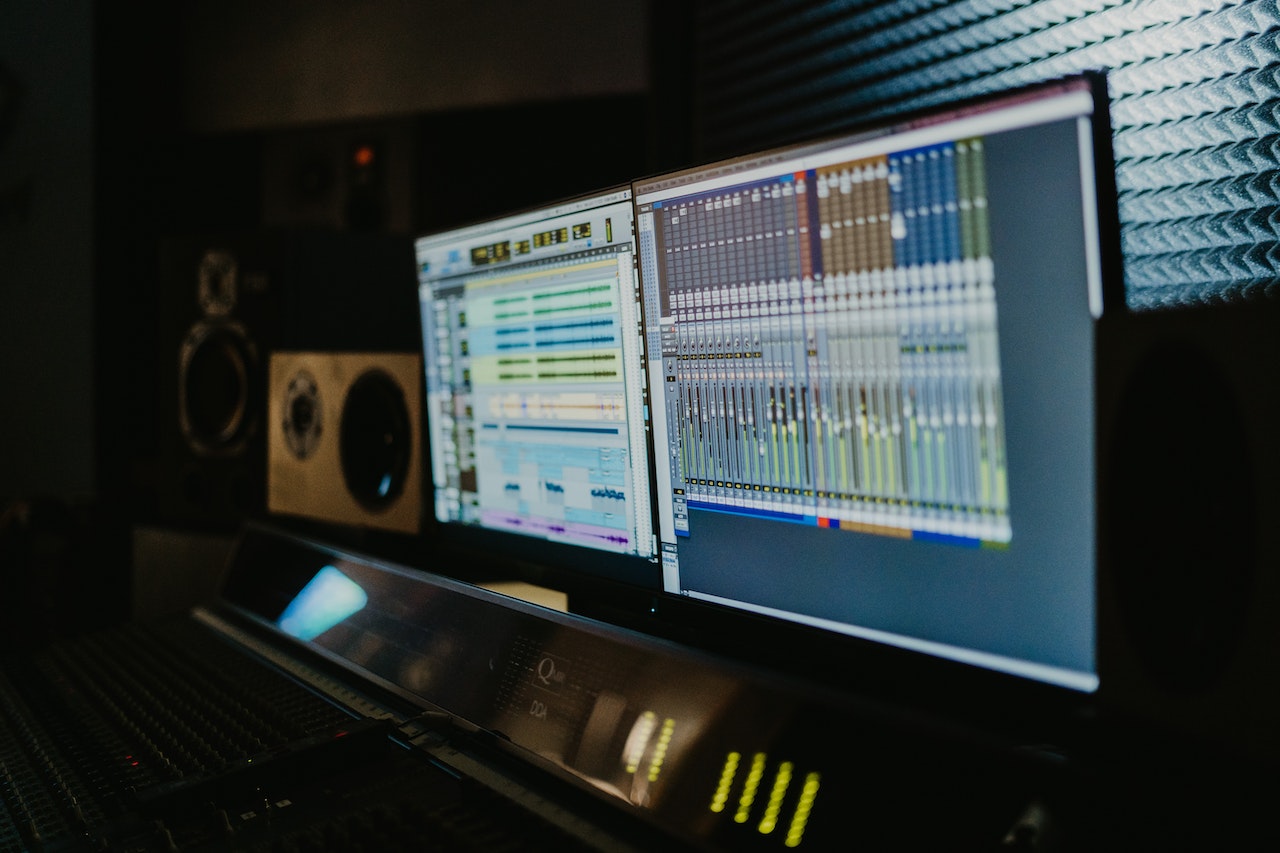
So, you’ve decided to dive into the world of podcasting? Awesome choice! With over 2 million podcasts out there, joining this booming community might seem daunting. But fear not. This guide will walk you through every step, ensuring you sound like a pro from episode one. Ready? Let’s dive in!
Podcasts are an incredible medium. They’re intimate, customizable, and accessible from almost anywhere. Whether you’re aiming to entertain, educate, or inspire, podcasting offers unparalleled versatility. But to get there, you need to know the basics. This article covers how to record podcast shows, from choosing a topic to podcast recording software to publishing your masterpiece.
Related: Best Podcast Recording Software
Contents
Preparing For Your Podcast
Before you hit record, let’s set some foundational stones. Preparation is key. You wouldn’t bake a cake without a recipe, right? The same principle applies to recording podcast audio.
Finding Your Niche
The heart and soul of any podcast lie in its niche. Your niche defines your target audience, the subjects you’ll tackle, and even the tone and style of your content. The first step in defining your niche is introspection. Reflect on your passions, knowledge areas, and topics that genuinely excite you. A podcast on a topic you’re passionate about will naturally radiate enthusiasm and energy, drawing listeners in.
However, passion alone isn’t enough. Once you’ve identified potential areas, conduct market research. Understand the demand, existing content in that space, and areas where you could offer a unique perspective or voice. The key lies in balancing what you love with what an audience would be keen to consume. It’s this intersection that often yields the most engaging and successful podcasts.
Scripting vs. Improvisation
Scripting offers a structured approach, ensuring that you stay on track and cover every critical point. Audio files can be pre-recorded or even played live during a session. It can be especially helpful for those who might be nervous or are just starting out. A well-prepared script can act as a safety net, ensuring your podcast remains coherent and cohesive. However, the flip side is that reading directly from a script can sometimes come across as stiff or inauthentic.
On the other hand, improvisation can lead to genuine, spontaneous moments that resonate with listeners. These raw, unscripted segments can be gold, driving engagement and creating memorable moments. But if you’re considering recording podcasts using a digital audio workstation, improvisation might require more post-recording work.
But beware of going off on tangents or missing vital information. For many, a blend of the two works best. A loose outline or bullet points can guide the episode, allowing for spontaneous moments within a structured framework.
Selecting Co-Hosts or Guests
Choosing the right co-host or guest can elevate your podcast’s quality. When considering co-hosts, think about dynamics. You want someone who complements your style and brings a different perspective or expertise. The interplay between hosts can be a significant draw for listeners. It’s not just about content but also about the chemistry. Audiences often grow attached to hosts’ personalities and their rapport.
For those who aim to podcast remotely, technology plays a crucial role. Tools for remote recording ensure seamless interaction between hosts, regardless of their physical location.
When it comes to guests, relevance is key. Ensure that they offer value in the context of your podcast’s theme or the specific episode’s focus. But beyond expertise, look for guests who can communicate effectively. Audio editing software can be a lifesaver when polishing your final product.
A knowledgeable guest who cannot articulate well can detract from the episode. Preparation is also essential. Brief them in advance, ensuring they know the format, topics, and any other relevant details.
Related: What Is The Best Way To Record A Podcast?
Setting Up Your Recording Environment
Have you ever heard a podcast with tons of background noise? Annoying, right? Your environment is crucial. Let’s make sure your listeners stay for your content, not leave due to poor audio quality. Whether you’re recording in a professional podcast recording studio or your bedroom, the principles remain the same.
Choosing A Quiet Space
Your recording environment plays a pivotal role in sound quality. External noises can be highly distracting for listeners and can overshadow even the most compelling content. Start by scouting potential spaces in your home or workspace. Listen carefully. Even places that seem quiet can have subtle, persistent noises, like a humming fridge or a distant radiator.
Once you’ve identified a spot, test it out. Record audio samples and play them back to listen for any unwanted sounds. Remember, it’s not just about finding the quietest space but also about finding a space where you can control the noise variables. Sometimes, simple solutions like hanging thick curtains or placing a rug can make a significant difference in sound quality.
Acoustic Treatment
While professional studios spend thousands on acoustic treatment, podcasters can achieve excellent sound quality with budget-friendly solutions. At its core, acoustic treatment is about controlling how sound behaves in a room. It’s about preventing echoes, minimizing external noise, and ensuring a clean, clear recording. And when the time comes for the final touches, relying on robust podcast editing software can make all the difference.
Begin with understanding the room’s acoustics. Clap loudly and listen. If you hear a lingering echo, you might need to address it. Acoustic foam panels can be a great starting point. These panels absorb sound, reducing reflections.
Additionally, diffusers scatter sound waves, preventing any particular build-up, while bass traps absorb low-frequency sounds. Even if you’re on a tight budget, everyday items like bookshelves, couch cushions, or even hanging blankets can make a noticeable difference.
Remember, once you’re done with everything and ready to share with the world, platforms like Apple podcasts can be your go-to place to reach a broader audience.
Getting Comfortable
It’s not just about sound quality. Your comfort directly impacts your performance during recording sessions. If you’re uncomfortable, it might manifest in your voice, leading to a less engaging listening experience. Start with seating. A comfortable chair that offers good posture can make longer recording sessions manageable.
Consider the room’s ambiance. Natural lighting can be invigorating, while a well-placed lamp can offer a warm, cozy feel. Personalize your space. Surrounding yourself with items that inspire or calm you can help foster a positive recording environment. Remember, if you’re at ease and relaxed, it’ll reflect in your content, leading to better engagement with your listeners.
Lighting For Video Podcasts
If you’re venturing into video podcasts, lighting becomes crucial. Good lighting not only ensures that viewers can see you clearly but also sets the mood and tone for your content. The first step is to use any available natural light effectively. Natural light offers a soft, flattering glow. However, depending on the time of day and your location, it might not always be reliable.
To complement or replace natural light, invest in some basic lighting equipment. Ring lights are a popular choice among podcasters and vloggers, providing even lighting that reduces shadows. Softboxes diffuse light, casting a broad, soft light that’s perfect for video.
Always adjust and test multiple settings to see what looks best on camera. And remember, sometimes less is more. Overly bright lights can be as detrimental as dim ones.
Keeping A Backup
Technical mishaps are a podcaster’s nightmare. Imagine wrapping up an exceptional recording session only to find out there was a power glitch, and you’ve lost everything! Prevention is key here. Always have a backup power source. An uninterruptible power supply (UPS) can give you those vital extra minutes to save your work in case of an outage.
Digital backups are just as crucial. Regularly save your work on external hard drives or cloud storage. Having multiple copies ensures that you don’t lose your hard work. Adopt a habit of saving frequently during editing or recording sessions. It might seem tedious, but it’s a small step that can prevent significant headaches.
Equipment Essentials For Recording
Your voice is the star of the show. Make sure it shines with the right gear.
Microphones
The microphone is perhaps your most crucial piece of equipment. It’s the bridge between your voice and your listeners. While it might be tempting to go for cheaper options, investing in a decent microphone can make a world of difference in sound quality.
USB microphones are an excellent option for beginners. They’re plug-and-play, needing no additional equipment. They offer decent sound quality suitable for podcasting.
However, if you’re looking to take your sound quality to the next level, consider XLR microphones. While they require an audio interface for connection, they provide superior sound. They capture nuances in your voice, providing a richer, more professional sound.
Whatever your choice, always ensure you position your microphone correctly and use accessories like pop filters to further enhance sound quality.
Audio Interfaces
If you’ve chosen an XLR microphone, an audio interface is non-negotiable. Think of it as the middleman between your microphone and your computer. It converts the microphone’s analog signal into a digital one that your computer can process. When choosing an interface, consider the number of inputs you need. If it’s just you, a single input is sufficient. But if you plan on having multiple hosts or guests, you’ll need multiple inputs.
Additionally, look at the interface’s bitrate and sample rate as they affect recording quality. Most modern interfaces offer excellent sound quality, but it’s always good to check. Another feature to consider is phantom power, which is essential if you’re using condenser microphones. Lastly, ensure that the interface is compatible with your recording software and computer.
Headphones
Good headphones are a podcaster’s best friend. They allow you to hear exactly what your audience will hear, letting you spot issues or errors before publishing. When choosing headphones, opt for closed-back designs. Unlike their open-back counterparts, they isolate external noise, giving you a pure, unadulterated sound.
Comfort is another factor to consider. You might be wearing these for extended periods, so ensure they fit well and don’t cause discomfort. It’s also beneficial to have headphones with a flat response, meaning they don’t artificially boost bass, treble, or mids. This ensures you get an accurate representation of your recording, allowing for better editing decisions.
Software
Your recording software acts as your digital workspace. It’s where you’ll spend hours recording, editing, and perfecting your podcast. For beginners, Audacity is a fantastic choice. It’s free, relatively user-friendly, and offers a range of features suitable for podcasting. However, as you grow, you might crave more advanced features.
This is where software like Adobe Audition comes in. Offering a suite of professional-grade editing tools, it’s perfect for podcasters looking to elevate their content. Whichever software you choose, ensure you spend time learning its ins and outs. Familiarize yourself with essential tools, keyboard shortcuts, and any features that streamline your workflow.
How To Record Podcast Shows
Let’s make sure your recording session is as smooth as butter.
Voice Technique
Your voice is your primary tool as a podcaster. And just like any tool, you need to maintain and use it effectively. Before recording, do some vocal warm-ups. Simple exercises can help clear your voice and ensure it’s at its best. Pay attention to your pacing.
A common mistake for beginners is to speak too fast. Ensure you’re speaking clearly at a comfortable pace, allowing your listeners to follow along easily.
Posture is another overlooked aspect. Sitting upright not only benefits your health but also impacts your voice quality. It allows for better breath control and clearer articulation. Hydration is vital. Drink plenty of water before and during recording. Avoid caffeinated or sugary drinks, as they can dry out your vocal cords, leading to a raspy or tired voice.
Multi-Track Recording
Multi-track recording can be a game-changer, especially if you have multiple hosts or guests. By recording each person’s audio on a separate track, you get granular control during the editing process. Say one person’s microphone picks up some unwanted noise; with multi-track recording, you can address this without affecting other voices.
Not only does this make editing errors or unwanted noises easier, but it also allows for individual volume adjustments. This ensures a consistent, balanced sound throughout. While it might seem complex, most modern recording software offers multi-track capabilities. It’s a simple step that can significantly improve your podcast’s production quality.
Handling Mistakes
Nobody’s perfect. Even seasoned podcasters make mistakes. When you stumble or mispronounce a word, don’t panic. Panicking can throw off your rhythm for the rest of the recording. Instead, take a brief pause, regroup, and then continue. These errors can easily be edited out in post-production.
In fact, knowing that mistakes can be fixed in editing can be liberating. It allows you to focus on the content and flow rather than getting bogged down by minor errors. However, don’t rely too heavily on post-production. Strive for the best recording possible, using editing as a tool to polish, rather than fix, your podcast.
Post-Recording Processes
Your recording is just the raw material. Now, let’s polish it.
Editing Your Podcast
Editing is where the magic happens. It’s where you transform raw recordings into polished episodes. Start by listening to your recording, noting down areas that need adjustment. This could be silences, umms, and ahhs, or any other discrepancies. Good editing software will allow you to trim, cut, and adjust these with ease.
Beyond the basics, consider leveling your audio. This ensures consistent volume levels throughout. Background noise can be a nuisance, but tools like noise reduction can help eliminate these. However, use such tools sparingly. Over-editing can make your podcast sound artificial or over-processed. The goal is to enhance, not alter.
Adding Music And Effects
Music and sound effects can elevate your podcast, giving it a professional touch. An engaging intro tune can set the tone for your episode, while carefully placed sound effects can emphasize points or add humor. However, a word of caution: always ensure you have the right to use any music or effects. Many sites offer royalty-free tracks suitable for podcasts.
When incorporating music or effects, ensure they complement, not overshadow, your content. They should be subtle enhancements, not distractions. Adjust volume levels to ensure they don’t drown out voices. Also, consistency is key. If you’ve chosen a particular intro or outro tune, stick with it. It becomes part of your podcast’s identity, familiar and recognizable to your listeners.
Exporting And Saving Your Podcast
Once you’ve put in the hard work of recording, editing, and fine-tuning your podcast episode, the next essential step is exporting and saving it. This might sound simple, but with numerous file formats and bit rates, it can become a tad complex.
When exporting your podcast, it’s crucial to choose the right format. MP3 is the most universally accepted format for podcasts. Why? It offers a great balance between file size and audio quality, which is essential when listeners are downloading or streaming your content. Remember, larger files can be off-putting due to extended download times and more significant data consumption.
FAQs
Can I Record A Podcast For Free?
Absolutely! While investing in specialized equipment and software can elevate your podcast’s quality, it’s entirely possible to start without spending a dime. Several free recording and editing software options are available, like Audacity, which is highly recommended for beginners due to its user-friendly interface and versatile features.
For hosting and distribution, platforms like Anchor offer free podcast hosting, making it easier to share your content with the world. However, keep in mind that as you grow and seek more advanced features or better audio quality, you may want to consider investing in your podcasting venture.
Can You Record Podcast Shows With Just Your Phone?
Yes, you can! Modern smartphones come with surprisingly decent built-in microphones, suitable for basic podcasting. There are also several apps available, both for iOS and Android, which allow you to record, edit, and even publish your podcast episodes directly from your phone.
Apps like Anchor, Spreaker Studio, and GarageBand (for iOS) are designed to make mobile podcasting seamless. While this method might not yield studio-quality sound, with a quiet environment and some post-recording tweaks, you can achieve a satisfactory audio output. For those looking to improve quality further, there are also external microphones available that can connect directly to your smartphone.
Related: Best Microphone App for Android
How Do I Record High-quality Audio For Podcasts?
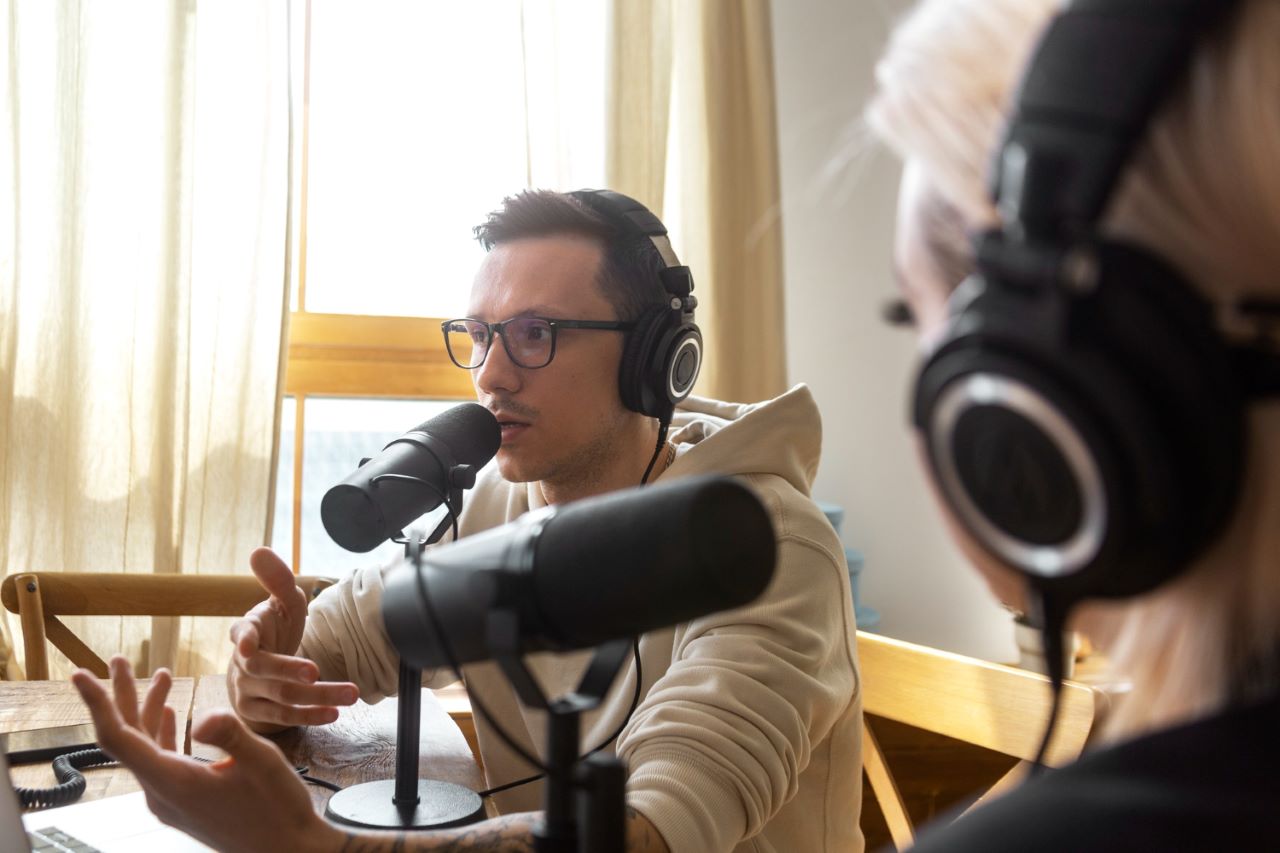
Image by Freepik
Recording high-quality audio is a combination of the right equipment, environment, and technique. Here’s a quick rundown:
- Equipment: Invest in a good quality microphone. While USB microphones can offer decent quality, XLR microphones generally provide superior audio. An audio interface can also be a game-changer, ensuring that your microphone’s output is captured accurately on your computer.
- Environment: Your recording environment plays a significant role. A quiet room with minimal background noise is essential. You can further optimize this space with some basic acoustic treatment like foam panels or even DIY solutions like hanging blankets or using pillows to dampen sound reflections.
- Recording Technique: Ensure that you speak directly into the microphone at an optimal distance (usually a few inches away). Use pop filters to prevent plosive sounds from causing audio peaks. Also, monitor your audio levels to ensure they’re consistent and not peaking into the red zone, which can cause distortion.
- Post-production: Investing time in editing can drastically improve your audio quality. Use software to eliminate background noise, level out volume discrepancies, and enhance overall sound quality. Remember, while good recording practices are paramount, post-production is where you refine and perfect your audio.
By following these guidelines and consistently learning and experimenting, you’ll find your audio quality improving with each episode you produce.
Conclusion
Podcasting has emerged as an influential medium capable of reaching audiences worldwide. But as with any form of art, the devil is in the details. Success in podcasting isn’t just about having a great voice or unique idea; it’s about ensuring every component, from preparation to post-production, shines with quality and intent.
Having read through this guide, you’re now equipped with the knowledge to not only start your podcast journey but to do so with a professional edge. Remember, while equipment and techniques are critical, your authenticity is the real star. Stay true to your message, continue learning and refining your craft, and most importantly, enjoy the process.
Every episode is a new adventure, a new story, and a new opportunity to connect. So, grab your mic, set up your space, and let your voice be heard. After all, the podcasting world awaits your unique contribution. Are you ready to make some audio magic?
